Ever since I started making projects with the Arduino, I’ve had a desire to shrink them down to a single, small circuit board. One of my first projects, a customizable SLR intervalometer, was packed in a phonebook-sized cardboard box and used the Arduino Deumilanove connected to a breadboard with jumper wires. I brought the box out to Central Park at 5am to make a timelapse of the sunrise, but when I got to the park, I spent 20 minutes fixing the connections between the Arduino, the breadboard, and the components. Since then, I’ve explored a few different ways of shrinking projects down and making them more robust. For the intervalometer, I designed a circuit board that had female header pins to seat an Arduino Nano. It was a huge improvement on the design, but I knew I could do a lot better.
I tried to teach myself AVR programming, but ran into a lot of snags along the way. By the time I got an LED to blink, I had invested hours in the project (a stark contrast to my first Arduino experience) and was feeling quite discouraged. I also tried using PICAXE chips. While it was much easier to get started with these chips than with AVR programming, I felt like I was abandoning all my years of C programming to learn a form of BASIC that’s an entirely different animal from when I used it as a kid.
When I came across this tutorial by MIT Media Lab’s High-Low Tech Group, I was elated. They walk you through the process of using the Arduino IDE and programming language to program 8 pin ATtiny45 or ATtiny85 chips. Not only that, but they also walk you through using an Arduino board to act as the programmer, or ISP. I had everything I needed, except for the chips, so I eagerly awaited my rush shipment of ATtinies.
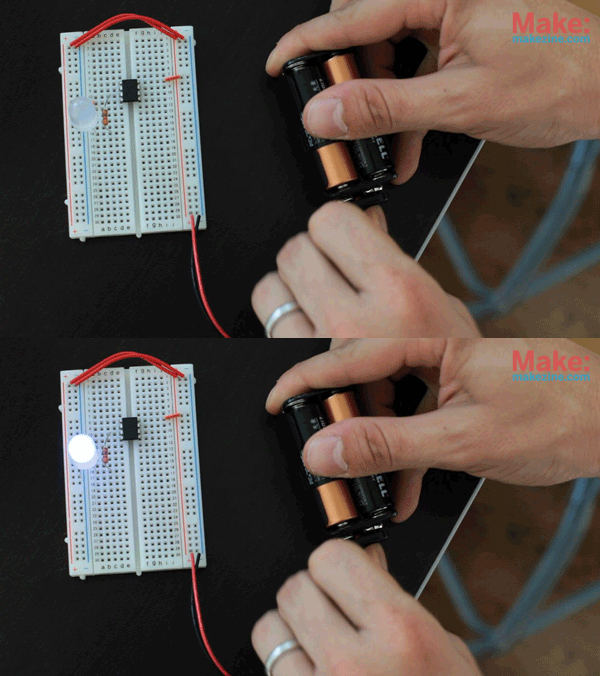
I followed the tutorial and found that it was actually rather easy to program these little chips using the Arduino code and IDE. I tried out the basic digital and analog I/O functions and they all worked as expected. I did a little experimentation with a few other functions with some success, so your milage may vary. To test it all out, I even made a cute little blinky toy within about an hour. I’m now thinking about revisiting my intervalometer project and shrinking it down from a cardboard box to a mini Altoids tin!
More:
ADVERTISEMENT


