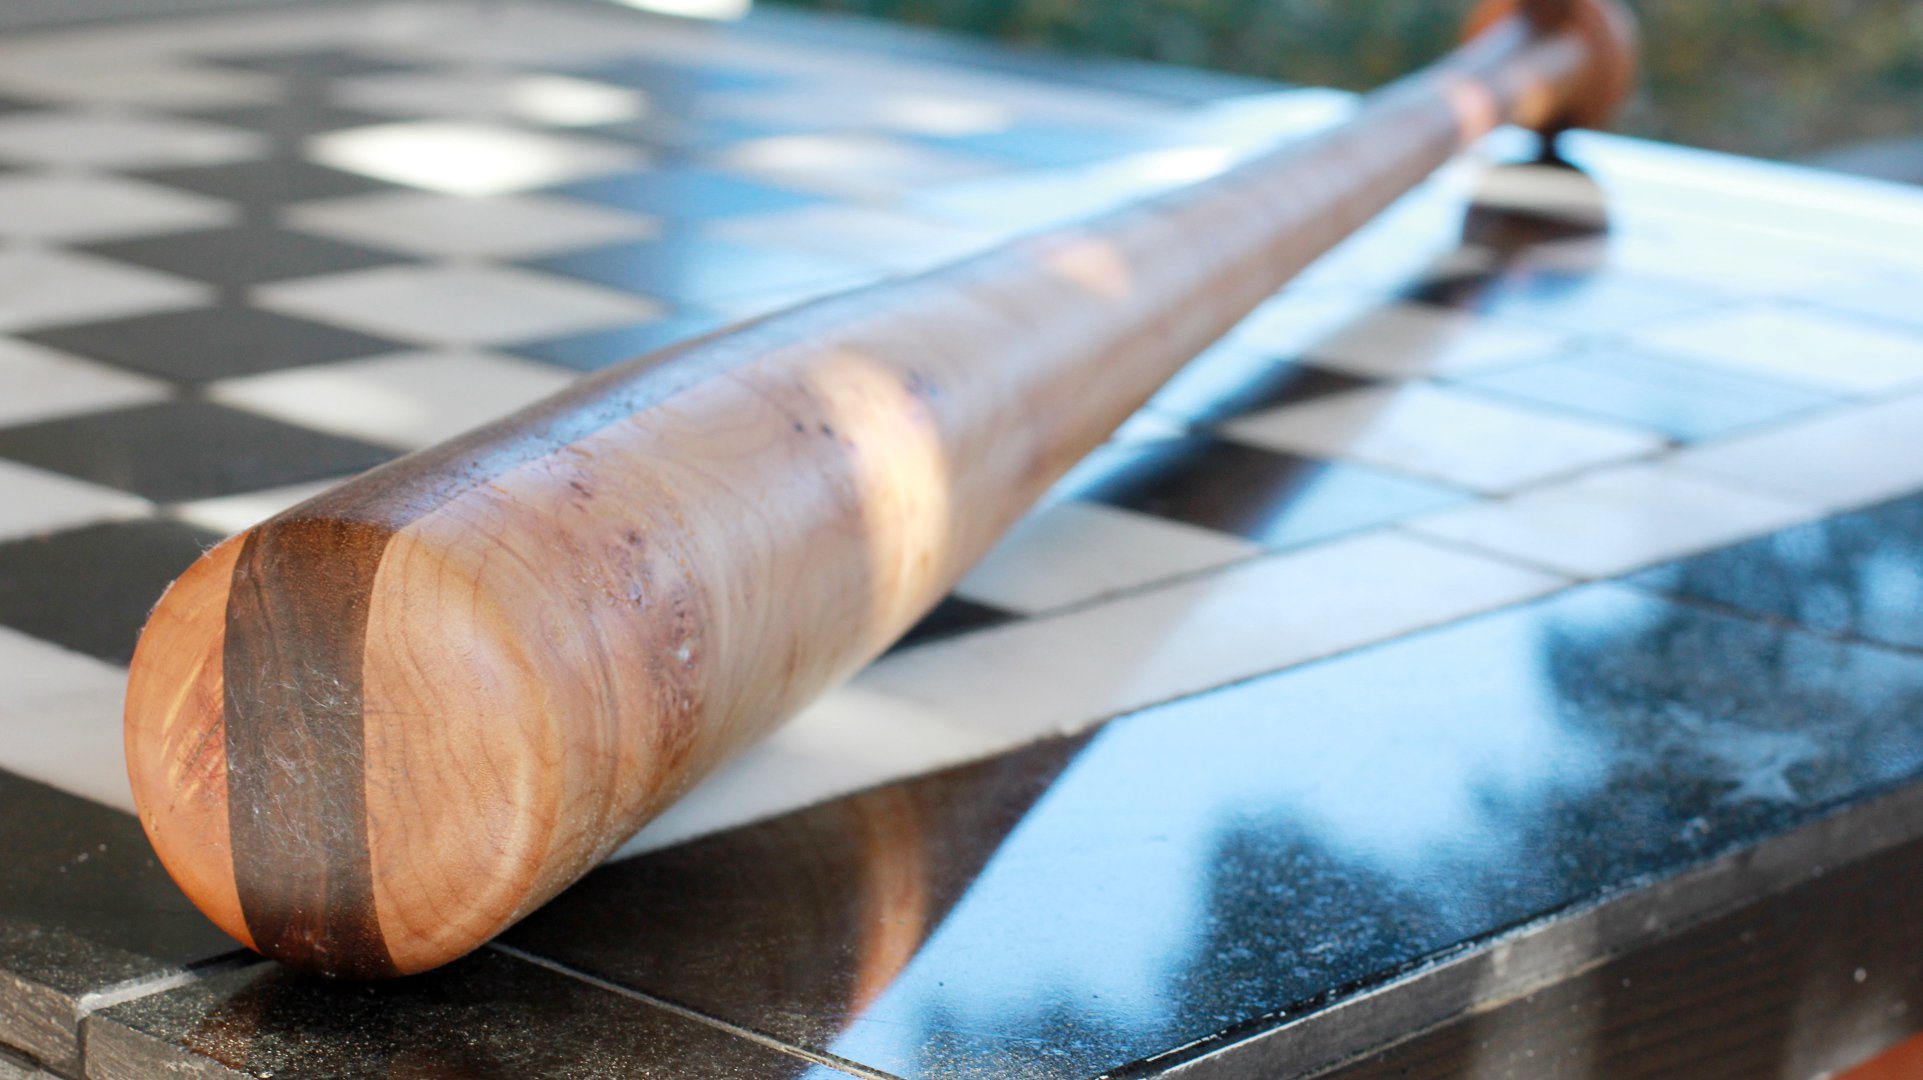
In this video, I make a baseball bat from scratch, using maple and walnut. Most baseball bats are made with a solid piece of wood such as ash, hickory, or maple. However, I thought it would look really cool to add some walnut. So, I first got three boards, two maple and one walnut, that were at least 40 inches long. I then made sure that the wood was nice and flat. I jointed it and ran it through my thickness planer.
The next major step was to glue the boards together. I used yellow carpenter’s glue and sandwiched the walnut in between the maple and used lots of clamps to get one piece.
After the boards dried over night, I jointed the piece and then trimmed it on the table saw. I then made sure the piece was as round as possible, so I cut 45 degree cuts off the corners, to prepare the wood for the lathe.
Now I was finally ready to start turning! I started out with rounding and squaring the wood as much as possible before shaping into a baseball bat. I used an old 1950’s Mickey Mantle bat as a guide for this bat. Because the bat is so sloped, you have to take frequent measurements down the length of the bat to ensure you get a uniform piece.
Once the bat was turned, I sanded first with 80 grit, then I moved on to 220, and I finished it with 320 grit sand paper. To finish it off, I used some tung oil and wax polish, then I cut off the edges with a Japanese saw, labeled the bat using ink jet transfer, and carved out a piece of aluminum for the handle with my “Darbin Orvar” logo. Then it was simply a matter of trying it out, and it worked great!
1 thought on “Darbin Orvar: A Baseball Bat from Rough Lumber”
Comments are closed.
ADVERTISEMENT
Join Make: Community Today


Awesome bat. This would make a great presentation or trophy bat. The tung makes it look really sweet.