This article appeared in Make: Vol. 91. Subscribe for more maker projects and articles!

Hundreds of millions of electric toothbrushes are sadly discarded each year, yet most people don’t realize that toothbrush parts are salvageable! Using the motors and magnets inside discarded electric toothbrushes (and toys and other small electronics) you can build all kinds of practical projects.

In Part 1 of this article we built five projects using repurposed Micro 150 or 130 motors. Here in Part 2, we’ll build five projects using the magnets found inside those motors.

Toothbrush and motor disassembly

These instructions are for the inexpensive electric toothbrush models that use replaceable AA batteries. Similar methods can be used for other varieties. Remove the toothbrush end cap and battery. Twist the case apart. Pull the motor out, and pry the “wobble” weight off the shaft with a pair of pliers.

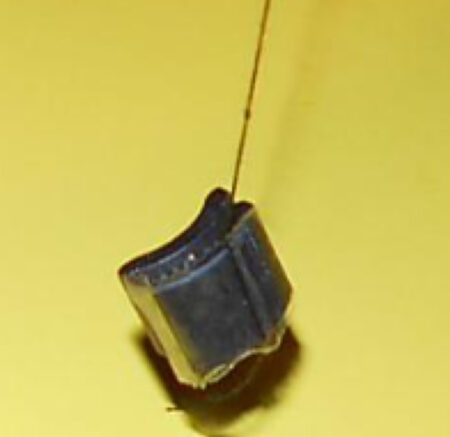
To open the motor case, pry the 2 side tabs upward with a small screwdriver. Remove the end cap and slide the rotor out of the case. The two curved magnets in the case are held in place by a V-shaped metal clip which you can pry out with pliers and a small flat blade screwdriver.

Magnet projects

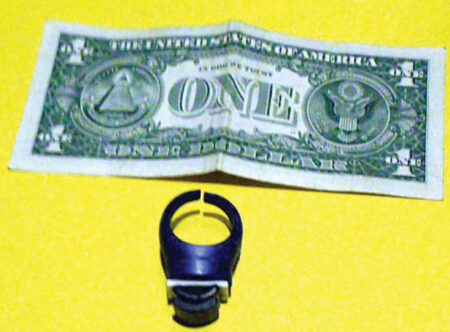
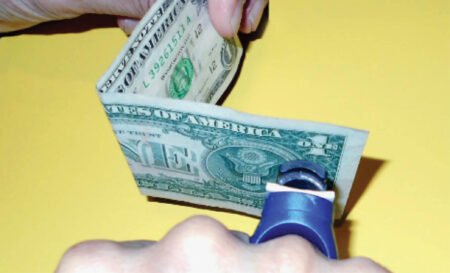
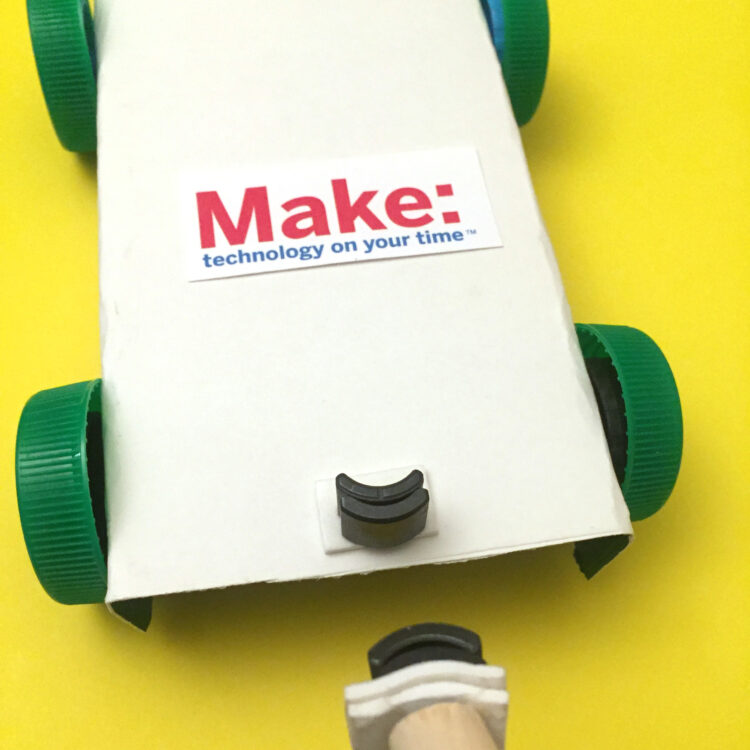
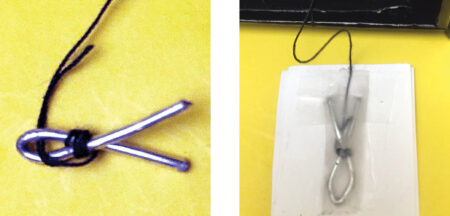
Reusing micro motors is lots of fun (see Part 1), but if you have a broken motor you can salvage the magnets inside to make these practical projects.

Project Steps

Counterfeit Currency Detector

If you doubt the validity of your paper money, you can take advantage of the ferrofluid in U.S. currency inks to test for counterfeit bills.

Simply tape two or more motor magnets together. To make the magnets easier to hold, you can tape or glue them to a ring, dowel, or toy wand.

Fold a dollar bill in half and hold it in the air. When you bring the magnets near the corner of the folded bill, it will move toward the magnets!

Sneaky Car

You can use magnets to propel a small toy car. If you don’t have a free-rolling car, you can quickly assemble a makeshift one using cardboard, bottle caps, and paper clips.

The example shown here is made with two straightened jumbo paper clips and a 6″×5″ piece of cardboard. Punch holes in the cardboard for the paper clip axles 1″ from the top and bottom and ½” from the sides. Then fold the sides down 1″ from the edge.

Bend the end of one paper clip at a right angle and then into a V shape. Secure it to a bottle cap wheel using double-sided foam tape. Stick the paper clip through the two holes, bend the other end the same way, and tape it to the bottle cap. Repeat for the second axle.

Tape a pair of motor magnets on the rear of the vehicle using adhesive foam tape, and you can move it with your ring or dowel. Make sure your vehicle magnets and ring magnets are pointing their North poles at each other so they will provide a repelling force.

Levitate Photos

The same set of motor magnets allows you to make a floating photo display! Obtain a small gift box and tape the magnets inside, at the top. Cut off a 2″ piece of a small paper clip and bend it so the ends cross each other. Then tie an 8″ length of black thread to it.

Tape a small piece of paper to the paperclip. Tape one end of the thread to the bottom of the box. Allow some extra thread to dangle so you can pull on it to alter the height of the picture. Finally, tape a small photo to the piece of paper.

When the photo is suspended at the proper distance from the magnets, it will appear to levitate (Figure ), since it’s attracted to the magnets but the thread is preventing it from moving higher. To hide the magnets you can cover them with black electrical tape.

Sneaky Compass

Direction finding is critical for hikers and campers. Magnets can be useful to locate the North/South bearing and possibly even save a life. Here are three ways to make a compass with your motor magnets:

Spoon Compass

Break the handle off a small plastic spoon and stick a small piece of adhesive foam tape to its center. Notice the bottom curve where the spoon balances, and stick the magnets there on the foam tape. Ensure the spoon can spin freely. If not, remount the magnets until it does.

Spin the spoon several times and it should always stop in the same position, which indicates the North/ South direction. Be sure to do this on a flat, smooth surface without any other magnets nearby.

Thread Compass

Wrap or tape a piece of thread to two motor magnets. Suspend the magnets, and they will eventually stop in the North/South direction.

Needle Compass

You can use a needle to make a sneaky compass — but instead we’ll use the small V-shaped magnet clip from inside our motor!

Straighten the clip. To magnetize it, stroke it with a magnet 20 times in the same direction. Stick the clip through a piece of sponge or adhesive foam tape and gently float it on the surface of still water. The clip will eventually settle and point in the North/South direction.

Circuit Activator

Toothbrush motor magnets can activate electrical devices at a distance and through objects. Here’s how to make a magnetically sensitive switch.

Connect a 3V–9V battery supply to a device like an LED or buzzer, in a circuit with wire and a paper clip as shown in. Tape the wire loop over the paper clip and ensure that they do not make contact. This acts as the circuit’s switch. When the paper clip moves toward and contacts the wire loop, it will activate the device.

Now carefully hold your magnet over the wire loop and paper clip. The paper clip will rise, touch the wire, and turn on the LED!

Going Further: If you substitute the wire and paper clip with a reed switch — a thin, magnetically sensitive switch — you can place this simple circuit inside greeting cards, toys, and more, using a 3V watch battery, an LED, and the reed switch.

Conclusion

Small motor magnets can provide many more possibilities for science and craft projects. Here are a few suggestions:

  • Motor magnets can be glued to small ornaments and photos to be held on your refrigerator or other metal panels.
  • Place magnets on desks or inside drawers to secure thumbtacks and paper clips.
  • Add small magnets to purses, cabinets, and the end of sliding doors to keep them closed.
  • Magnets can be used to detect studs in walls, and to find small parts, like screws, that have fallen on carpet and grass.

Photography by Cy Tymony and Bill Melzer. This project appeared in Make:Volume 91