Our civilization was built on a technology so advanced we still don’t know everything it’s good for. But somewhere along the way, most of us seem to have forgotten lashing: how to tie these things together.

Yet, if you can tie things together securely, you can make almost anything from practically nothing.

What will the next generation of Make: look like? We’re inviting you to shape the future by investing in Make:. By becoming an investor, you help decide what’s next. The future of Make: is in your hands. Learn More.

Project Steps

First, a little history...

Our civilization was built on a technology so advanced we still don’t know everything it’s good for. But somewhere along the way, most of us seem to have forgotten how to tie these things together.

Yet, if you can tie things together securely, you can make almost anything from practically nothing.
Consider the golf ball – underneath those dimples, an incredibly long rubber band subjects the core to almost 10,000 pounds of pressure.

The secret is in the wrapping – every turn adds pressure, which is the same principle at work in a lashing – the result is very strong, but with a little bit of give.

Learn the basics.

OK, get your sticks and line and we’ll tie our first lashing. Relax – this takes a little bit of practice, so expect to start over a couple of times.

Starting from your finger, wind the line counterclockwise around the vertical stick, then down around the horizontal stick, and clockwise around the lower portion of the vertical stick.

Always keep the line tight and tidy as you lay it down.

Keep going until you have enough wraps (usually 8 to 10 for twine and string).

Then, to really crank up the tension, add crossing wraps.

Then tie it off with a surgeon’s knot (which is just an overhand with an extra twist).

Almost done – now we lock the surgeon’s knot in with a square knot. There are fancier ways to do it, but this is sufficient and easy to remember.

It’s critical that the lashing is tight. So, if one gets loose, you can whittle a little wedge and pound it under the line to tighten it.

If you need to make a longer stick from 2 short ones, overlap and lash ’em.

Add a few loops across the lashing to tighten them up nicely.

Tying 3 sticks can be tricky, so instead of lashing all 3 together you can just lash them in pairs.

You can run the lashing between many sticks at once to create a quick decking.

A secure, flexible connection is made by running the lashing between the sticks.

The same technique can be extended to accommodate 3 sticks for a tripod.

Some durable line is used to keep the legs from splaying

These tripods can be very stable, remarkably strong, and can be used as a foundation for other structures.

A natural fork can add strength to your construction and you only have to lash to the strongest side – gravity does the rest.

If the line slips on the wood, carve out a couple of notches to give it some purchase.

It’s not exactly lashing, but when you need real compression, a few long loops around a pair of poles and a short stick make for a highly effective turnbuckle.

Now, build something.

If you’re going to build something big and complicated, you’ll want to make some sketches to help you work out the details.

Not everything has to be sticks. We’ll just finish it off with a heavier line here to make a railing.

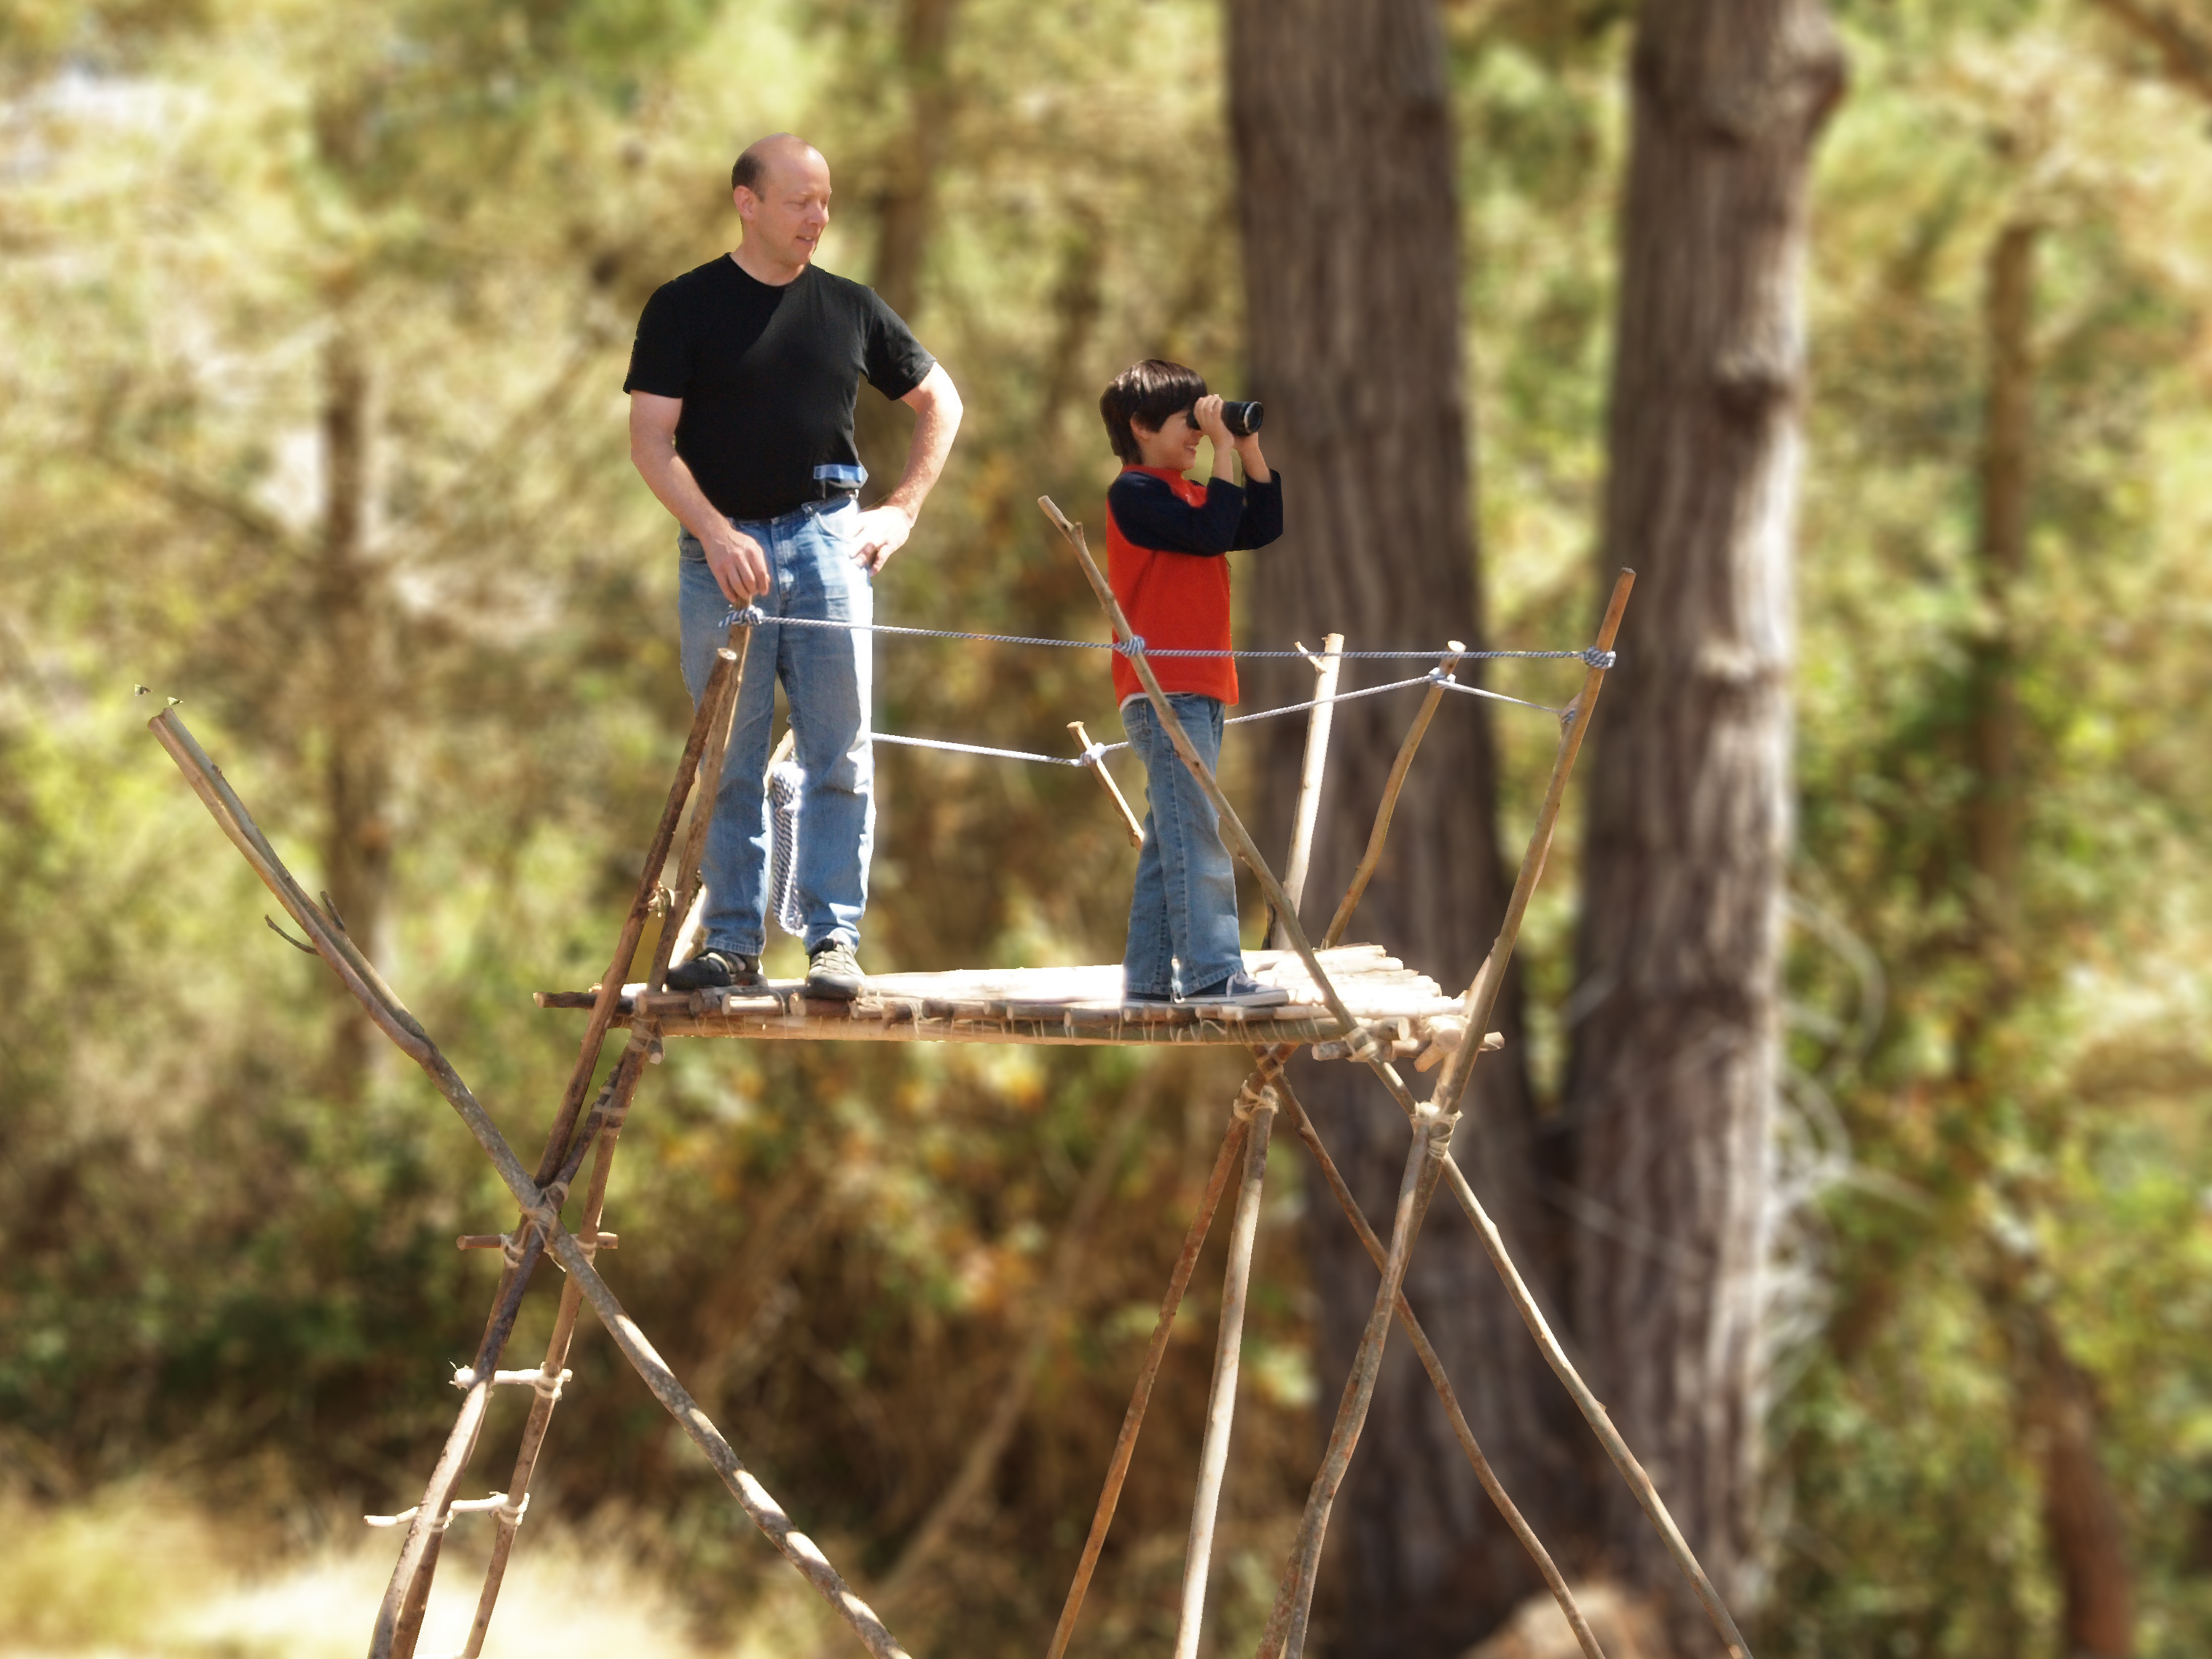
Stable and strong – you can almost make anything with lashing.

Conclusion

For more, visit http://www.tinkeringschool.com/

This project first appeared in MAKE Volume 20, page 68.