

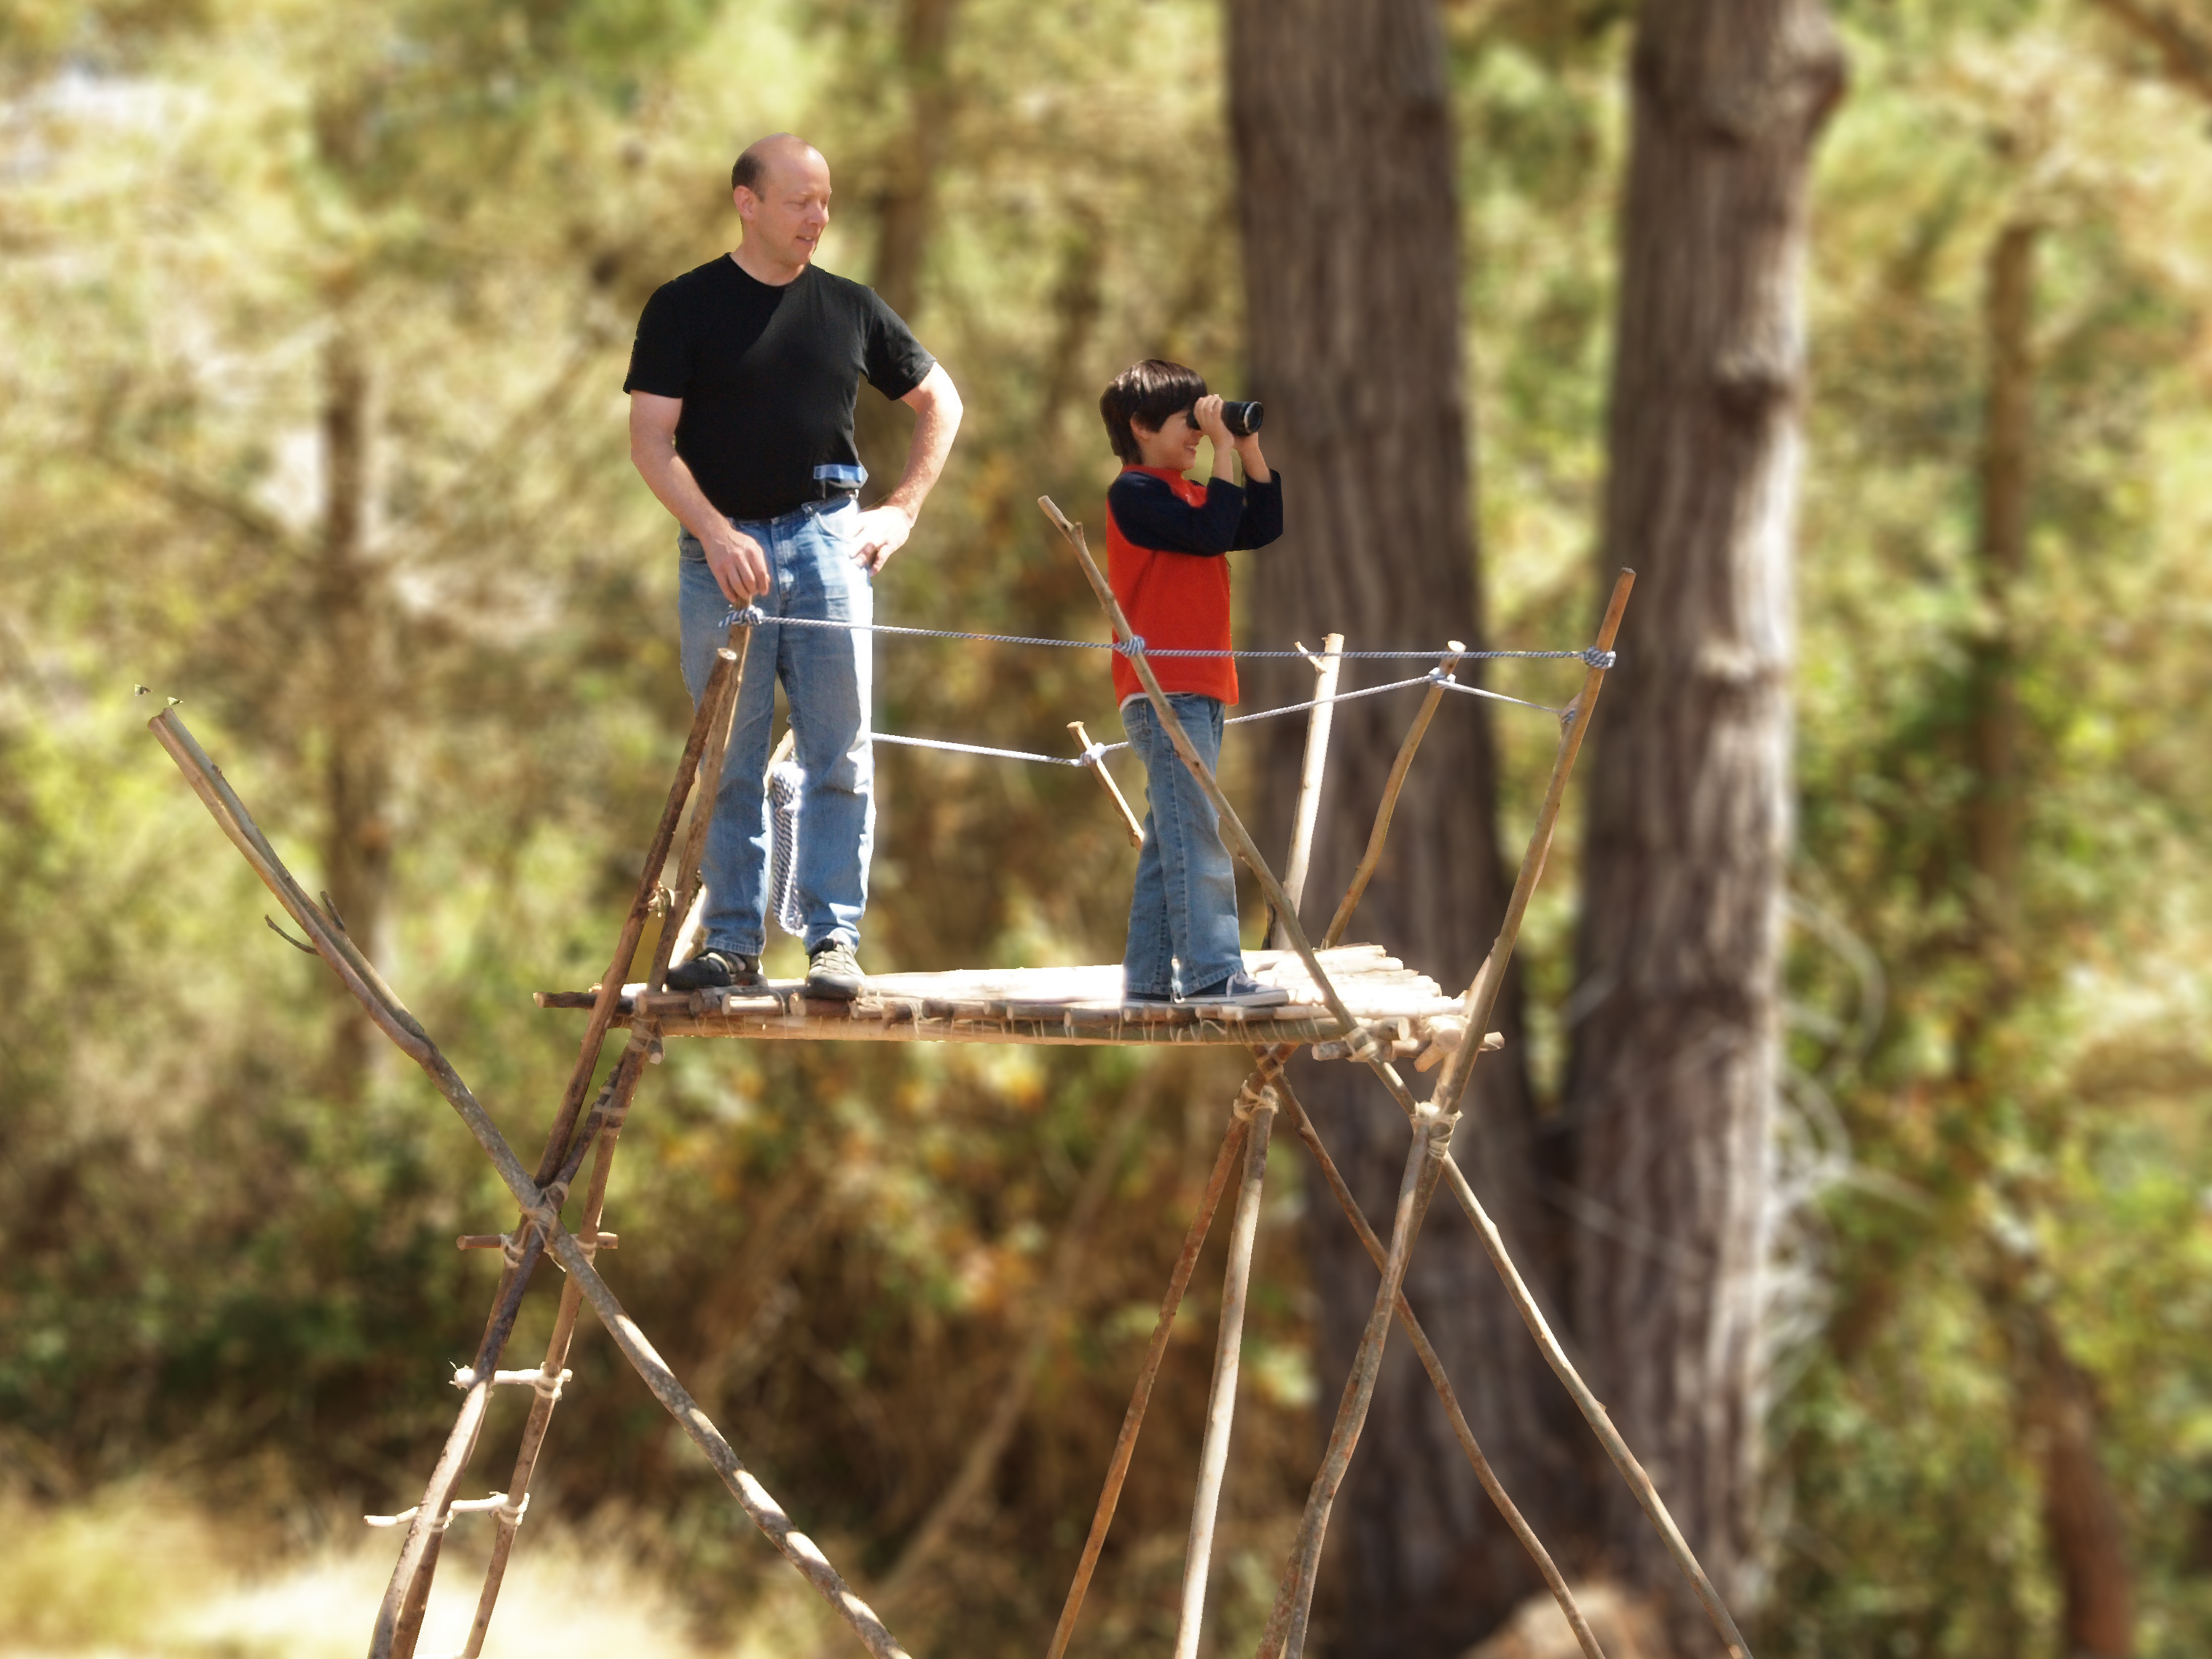
Our civilization was built on a technology so advanced we still don’t know everything it’s good for. But somewhere along the way, most of us seem to have forgotten lashing: how to tie these things together.
Yet, if you can tie things together securely, you can make almost anything from practically nothing.