IMG_20150628_163242093

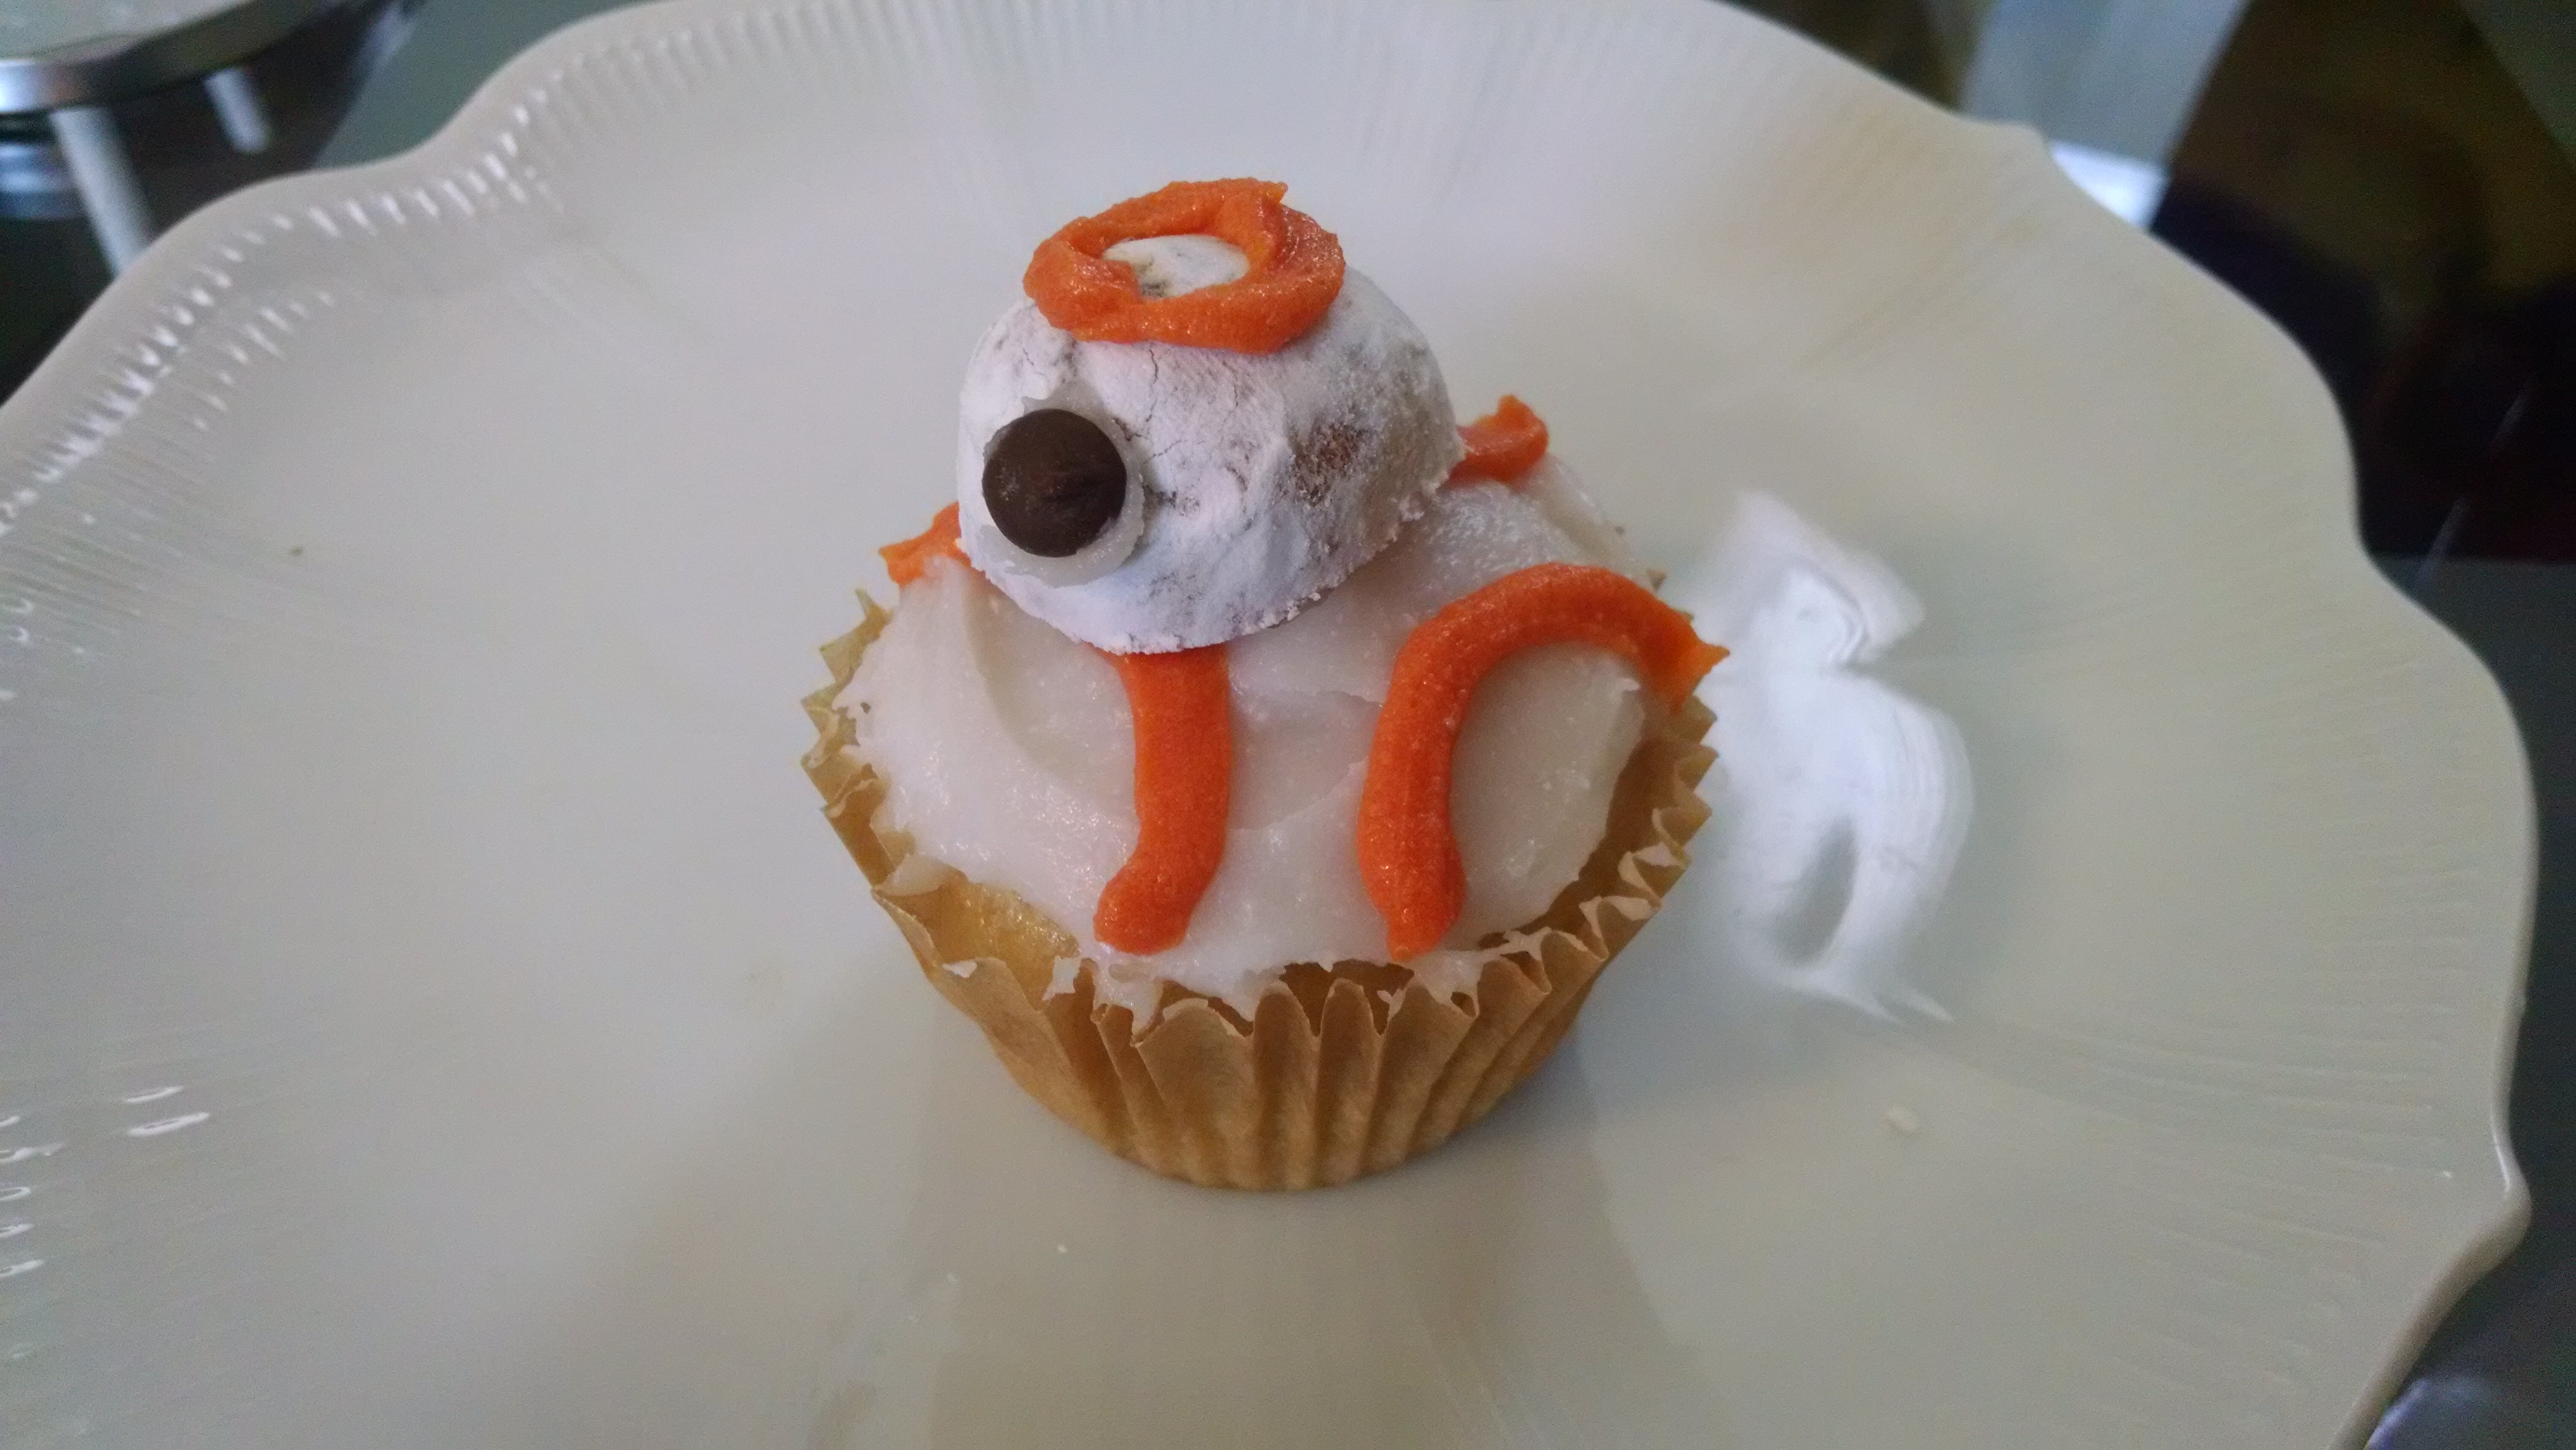
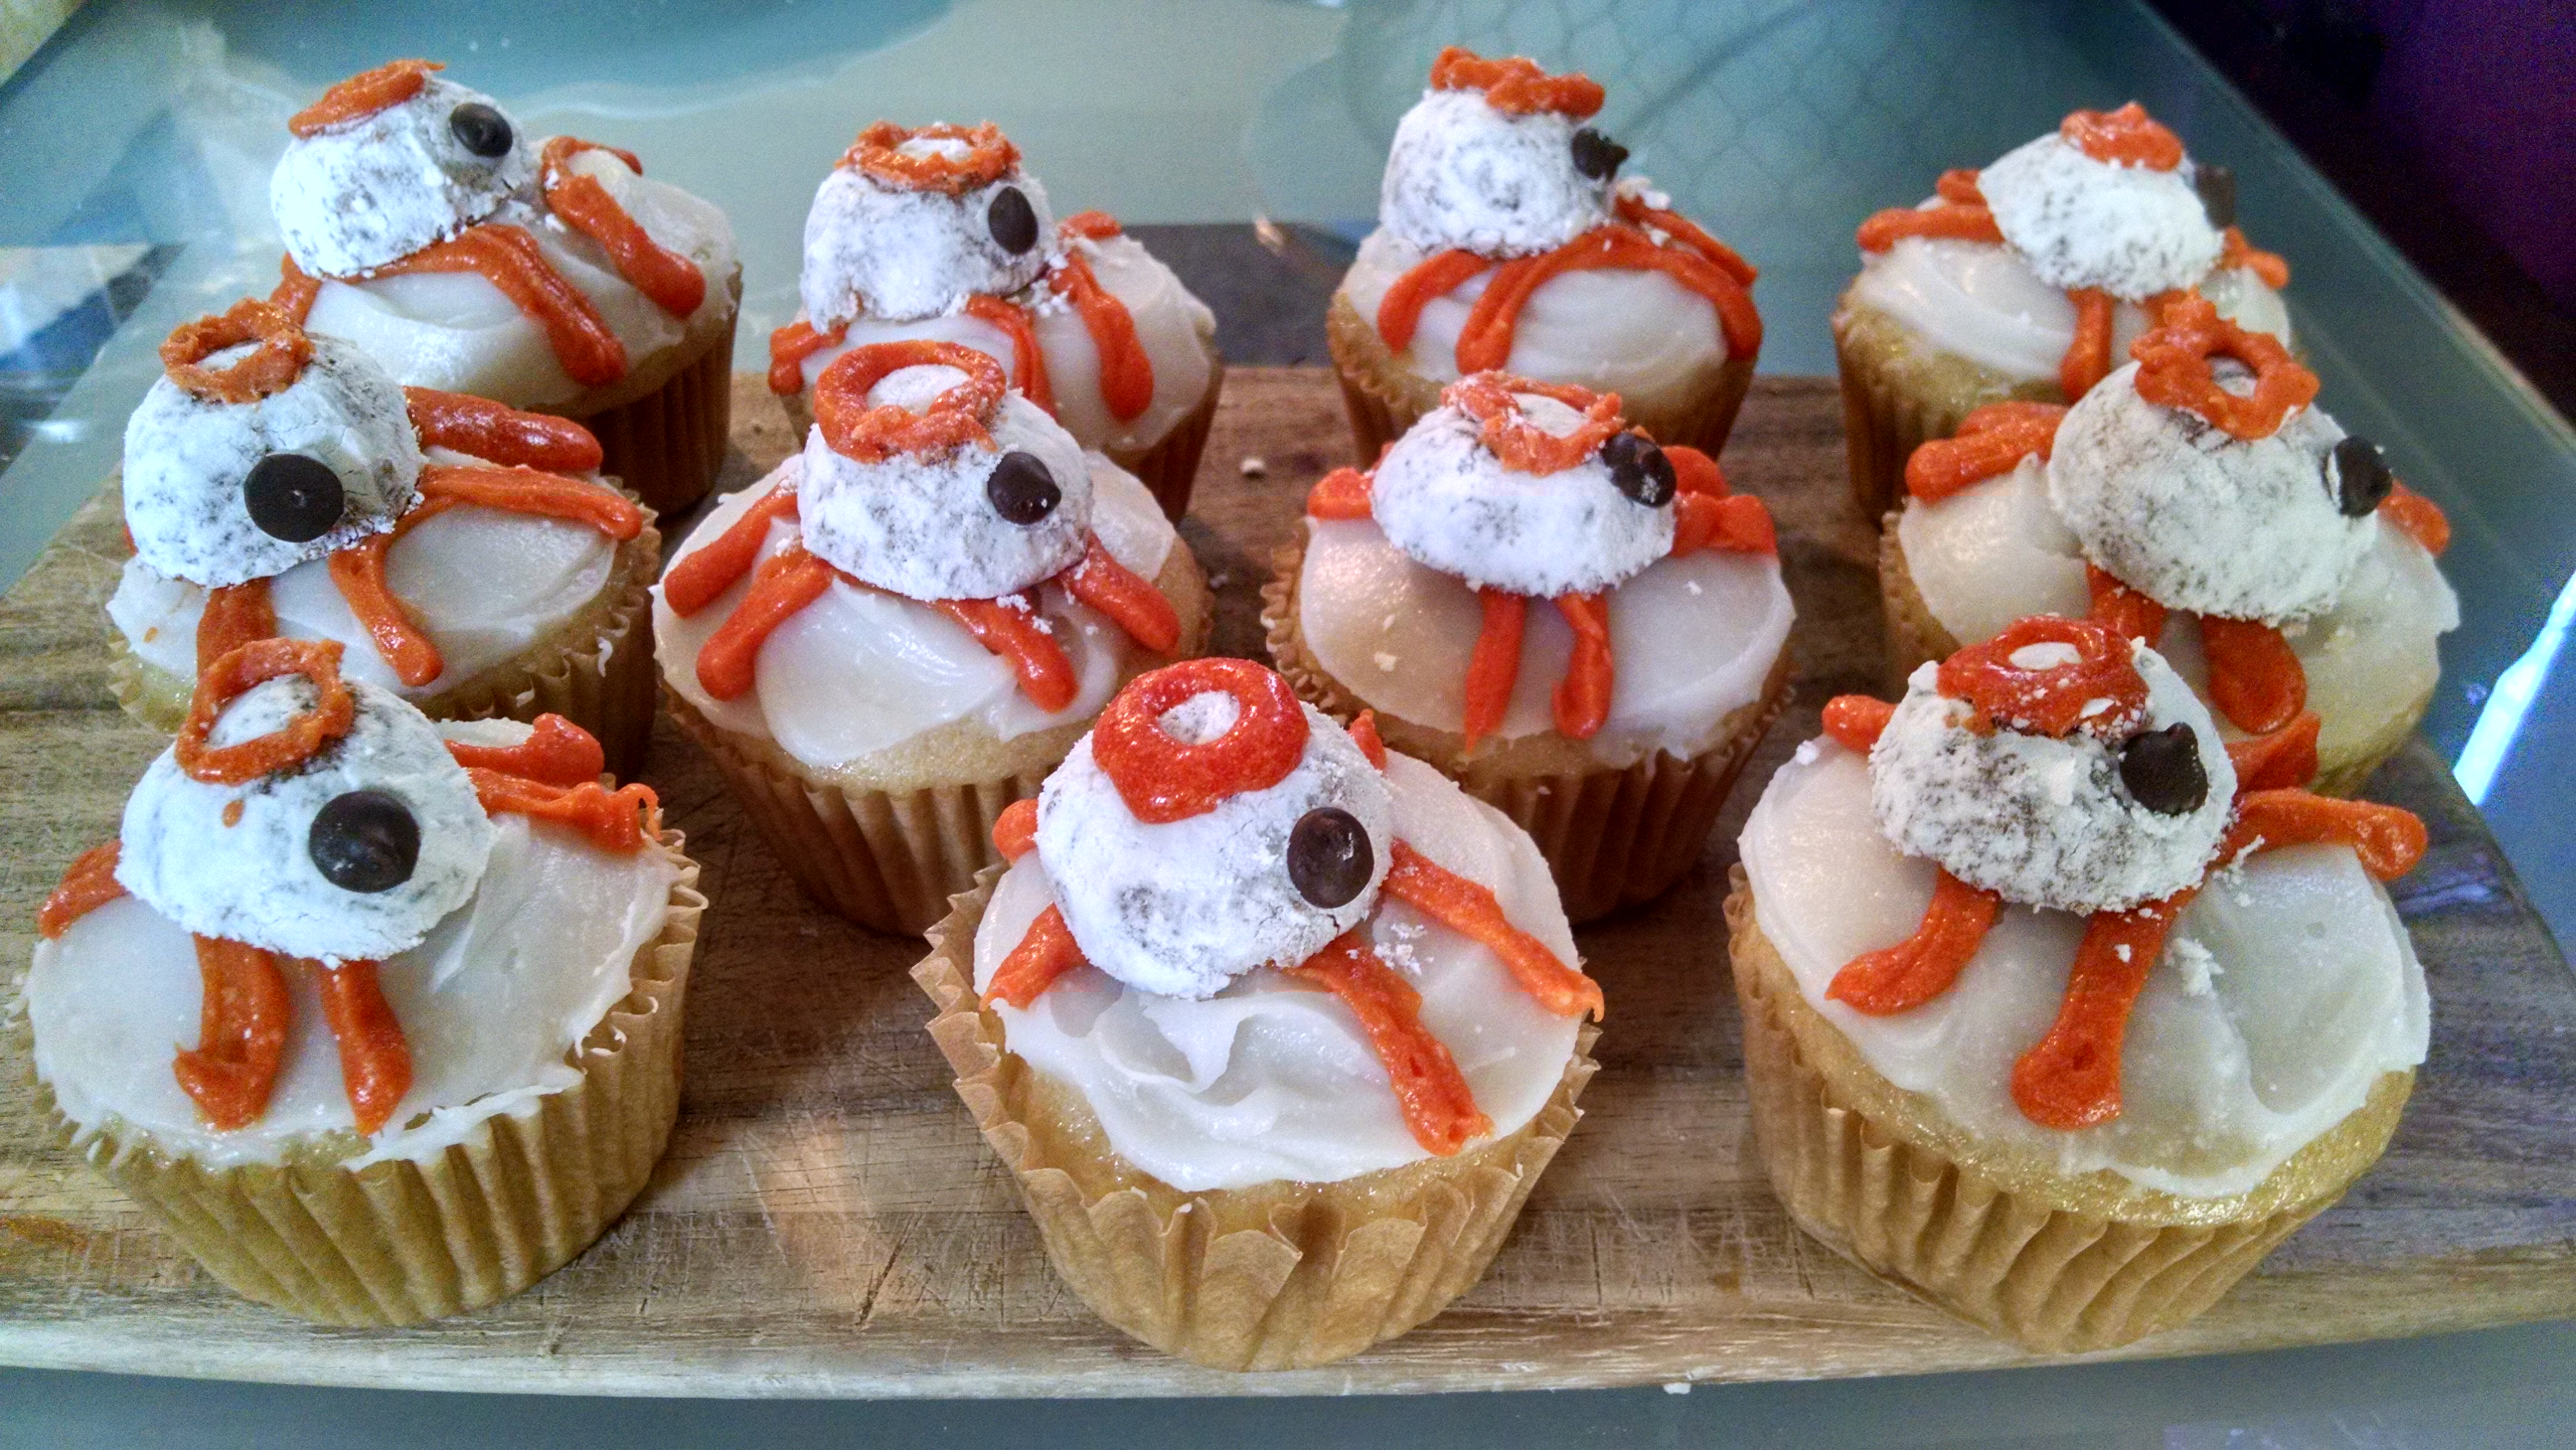
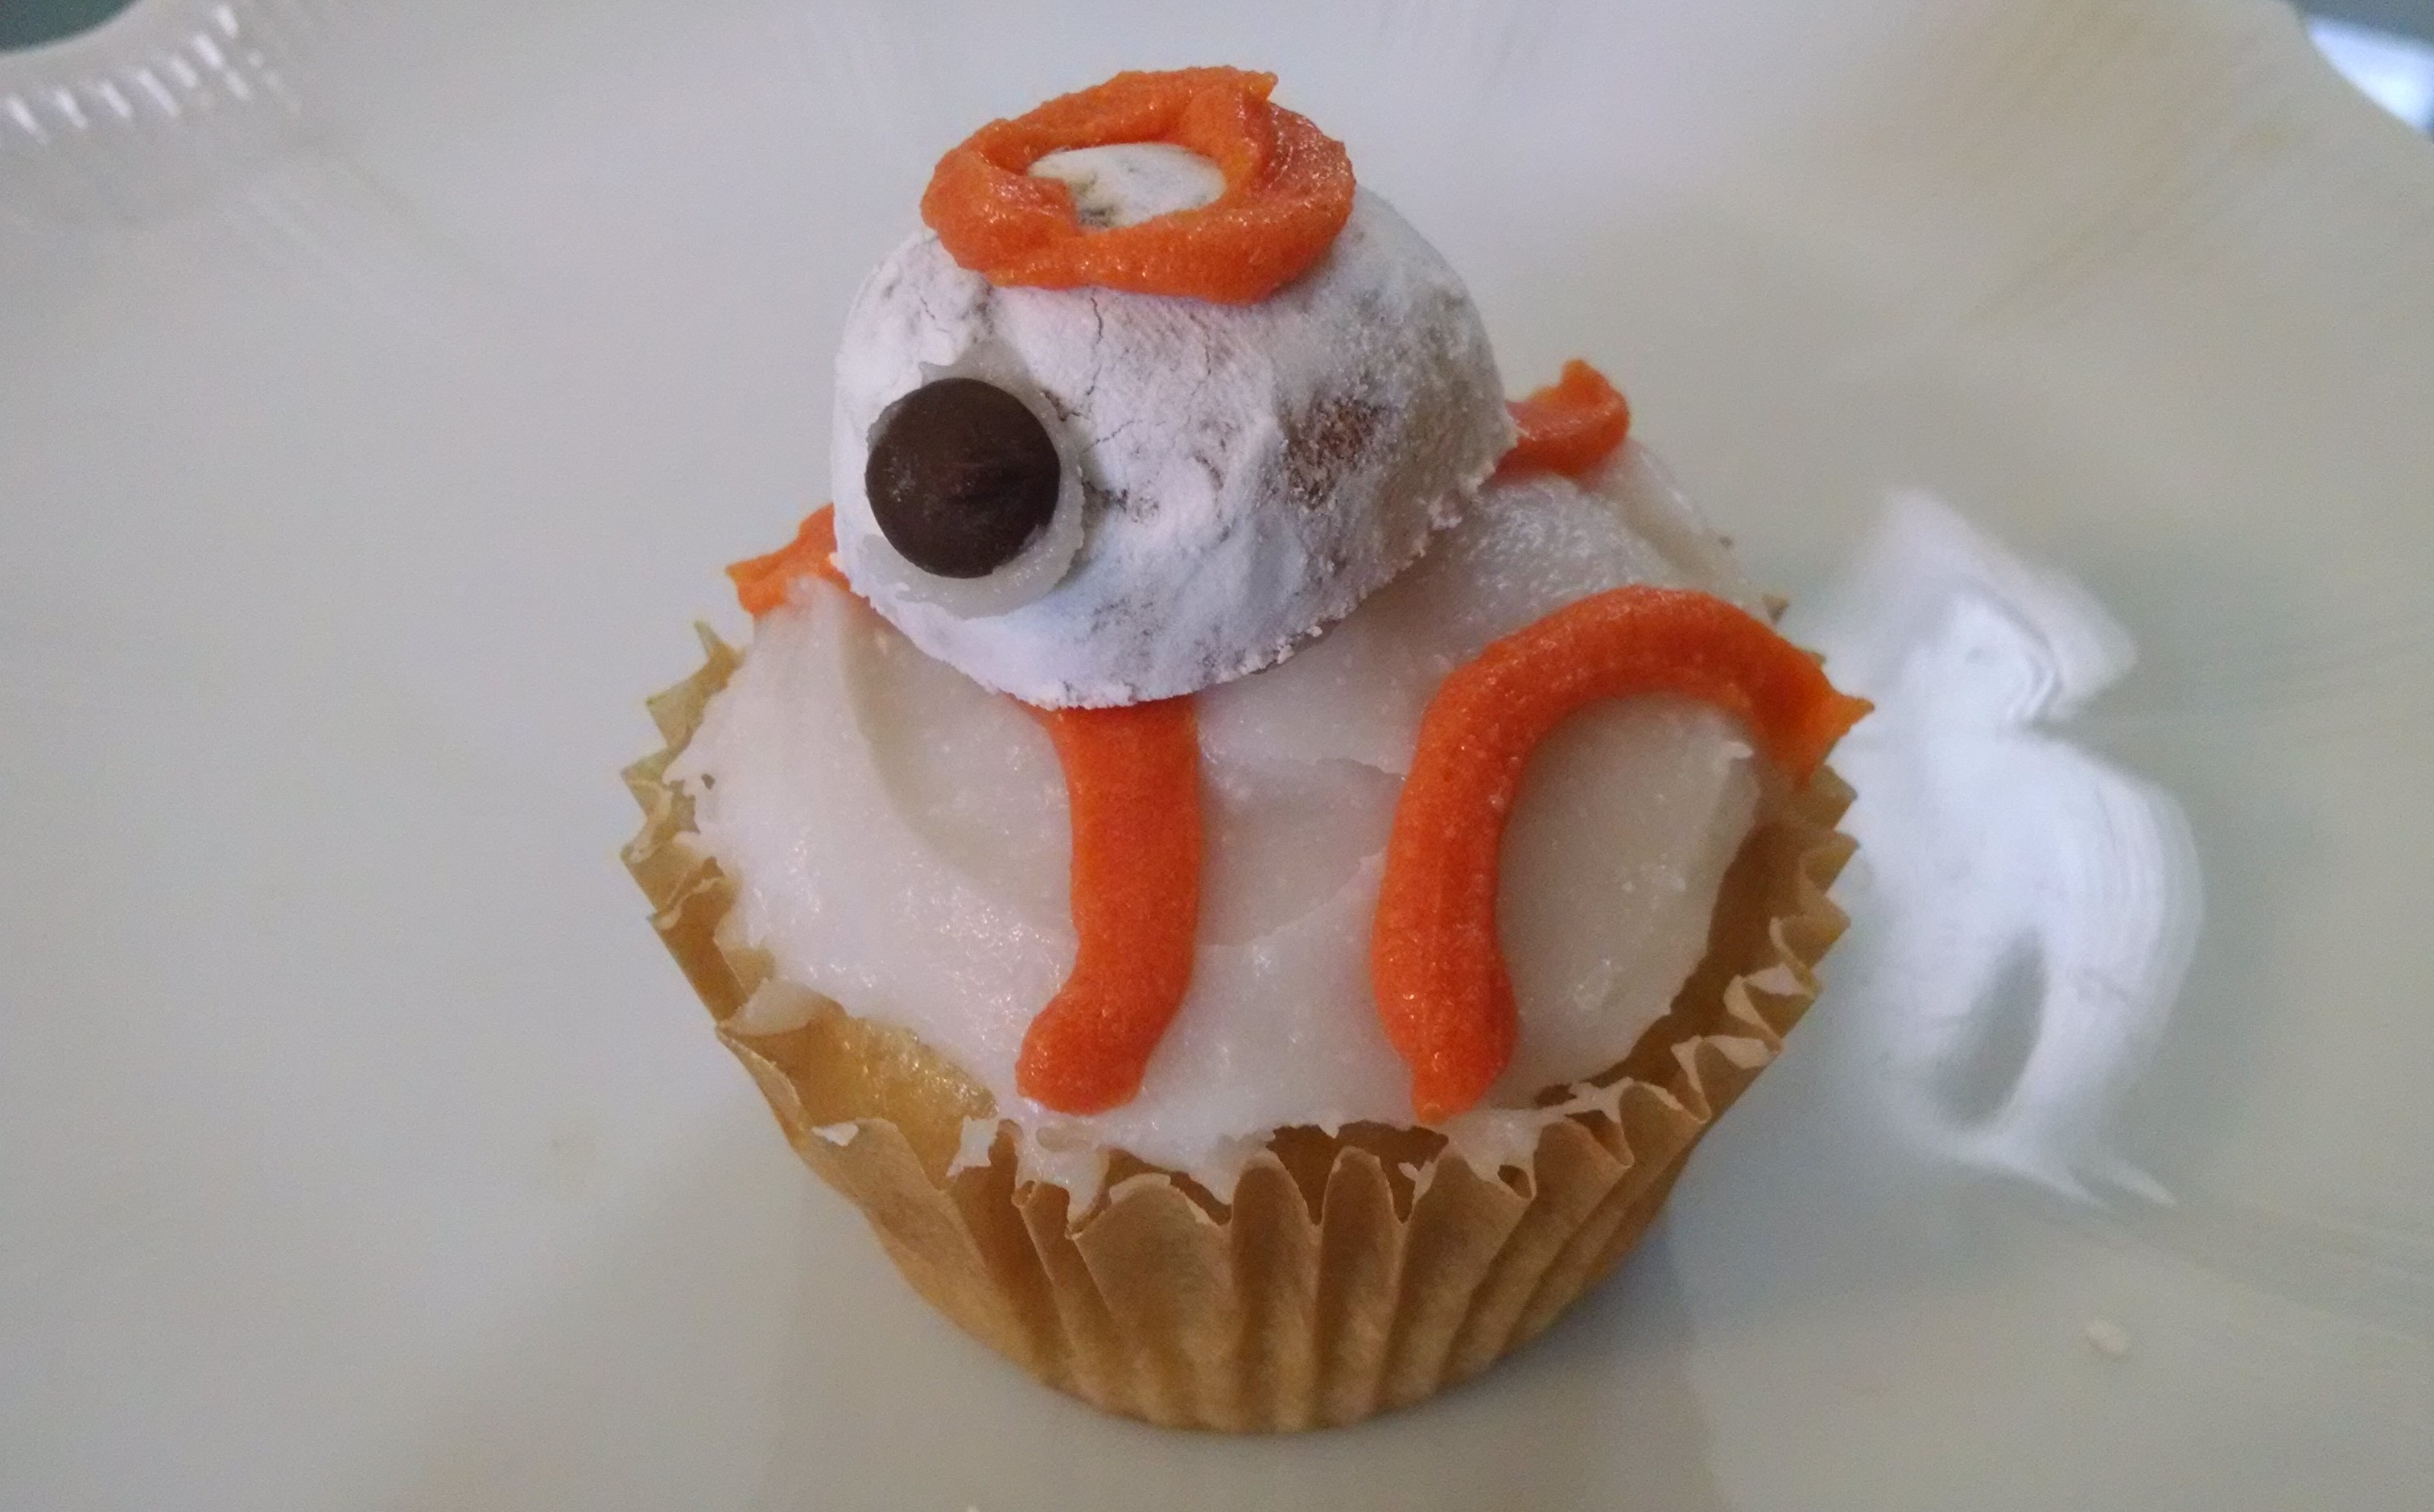
Everyone is clamoring about the newest, cutest Star Wars droid and how to build him. I wanted to build my own BB-8 droid but without robotics or magnets. I also wanted him to be edible. And delicious. (And vegan.)

Thus, I give you the easiest BB-8 build on the internet! This is a fun project to make for your next Star Wars party, or simply because you’re a droid-loving baker who likes to see your favorite characters come to life via tasty mediums.

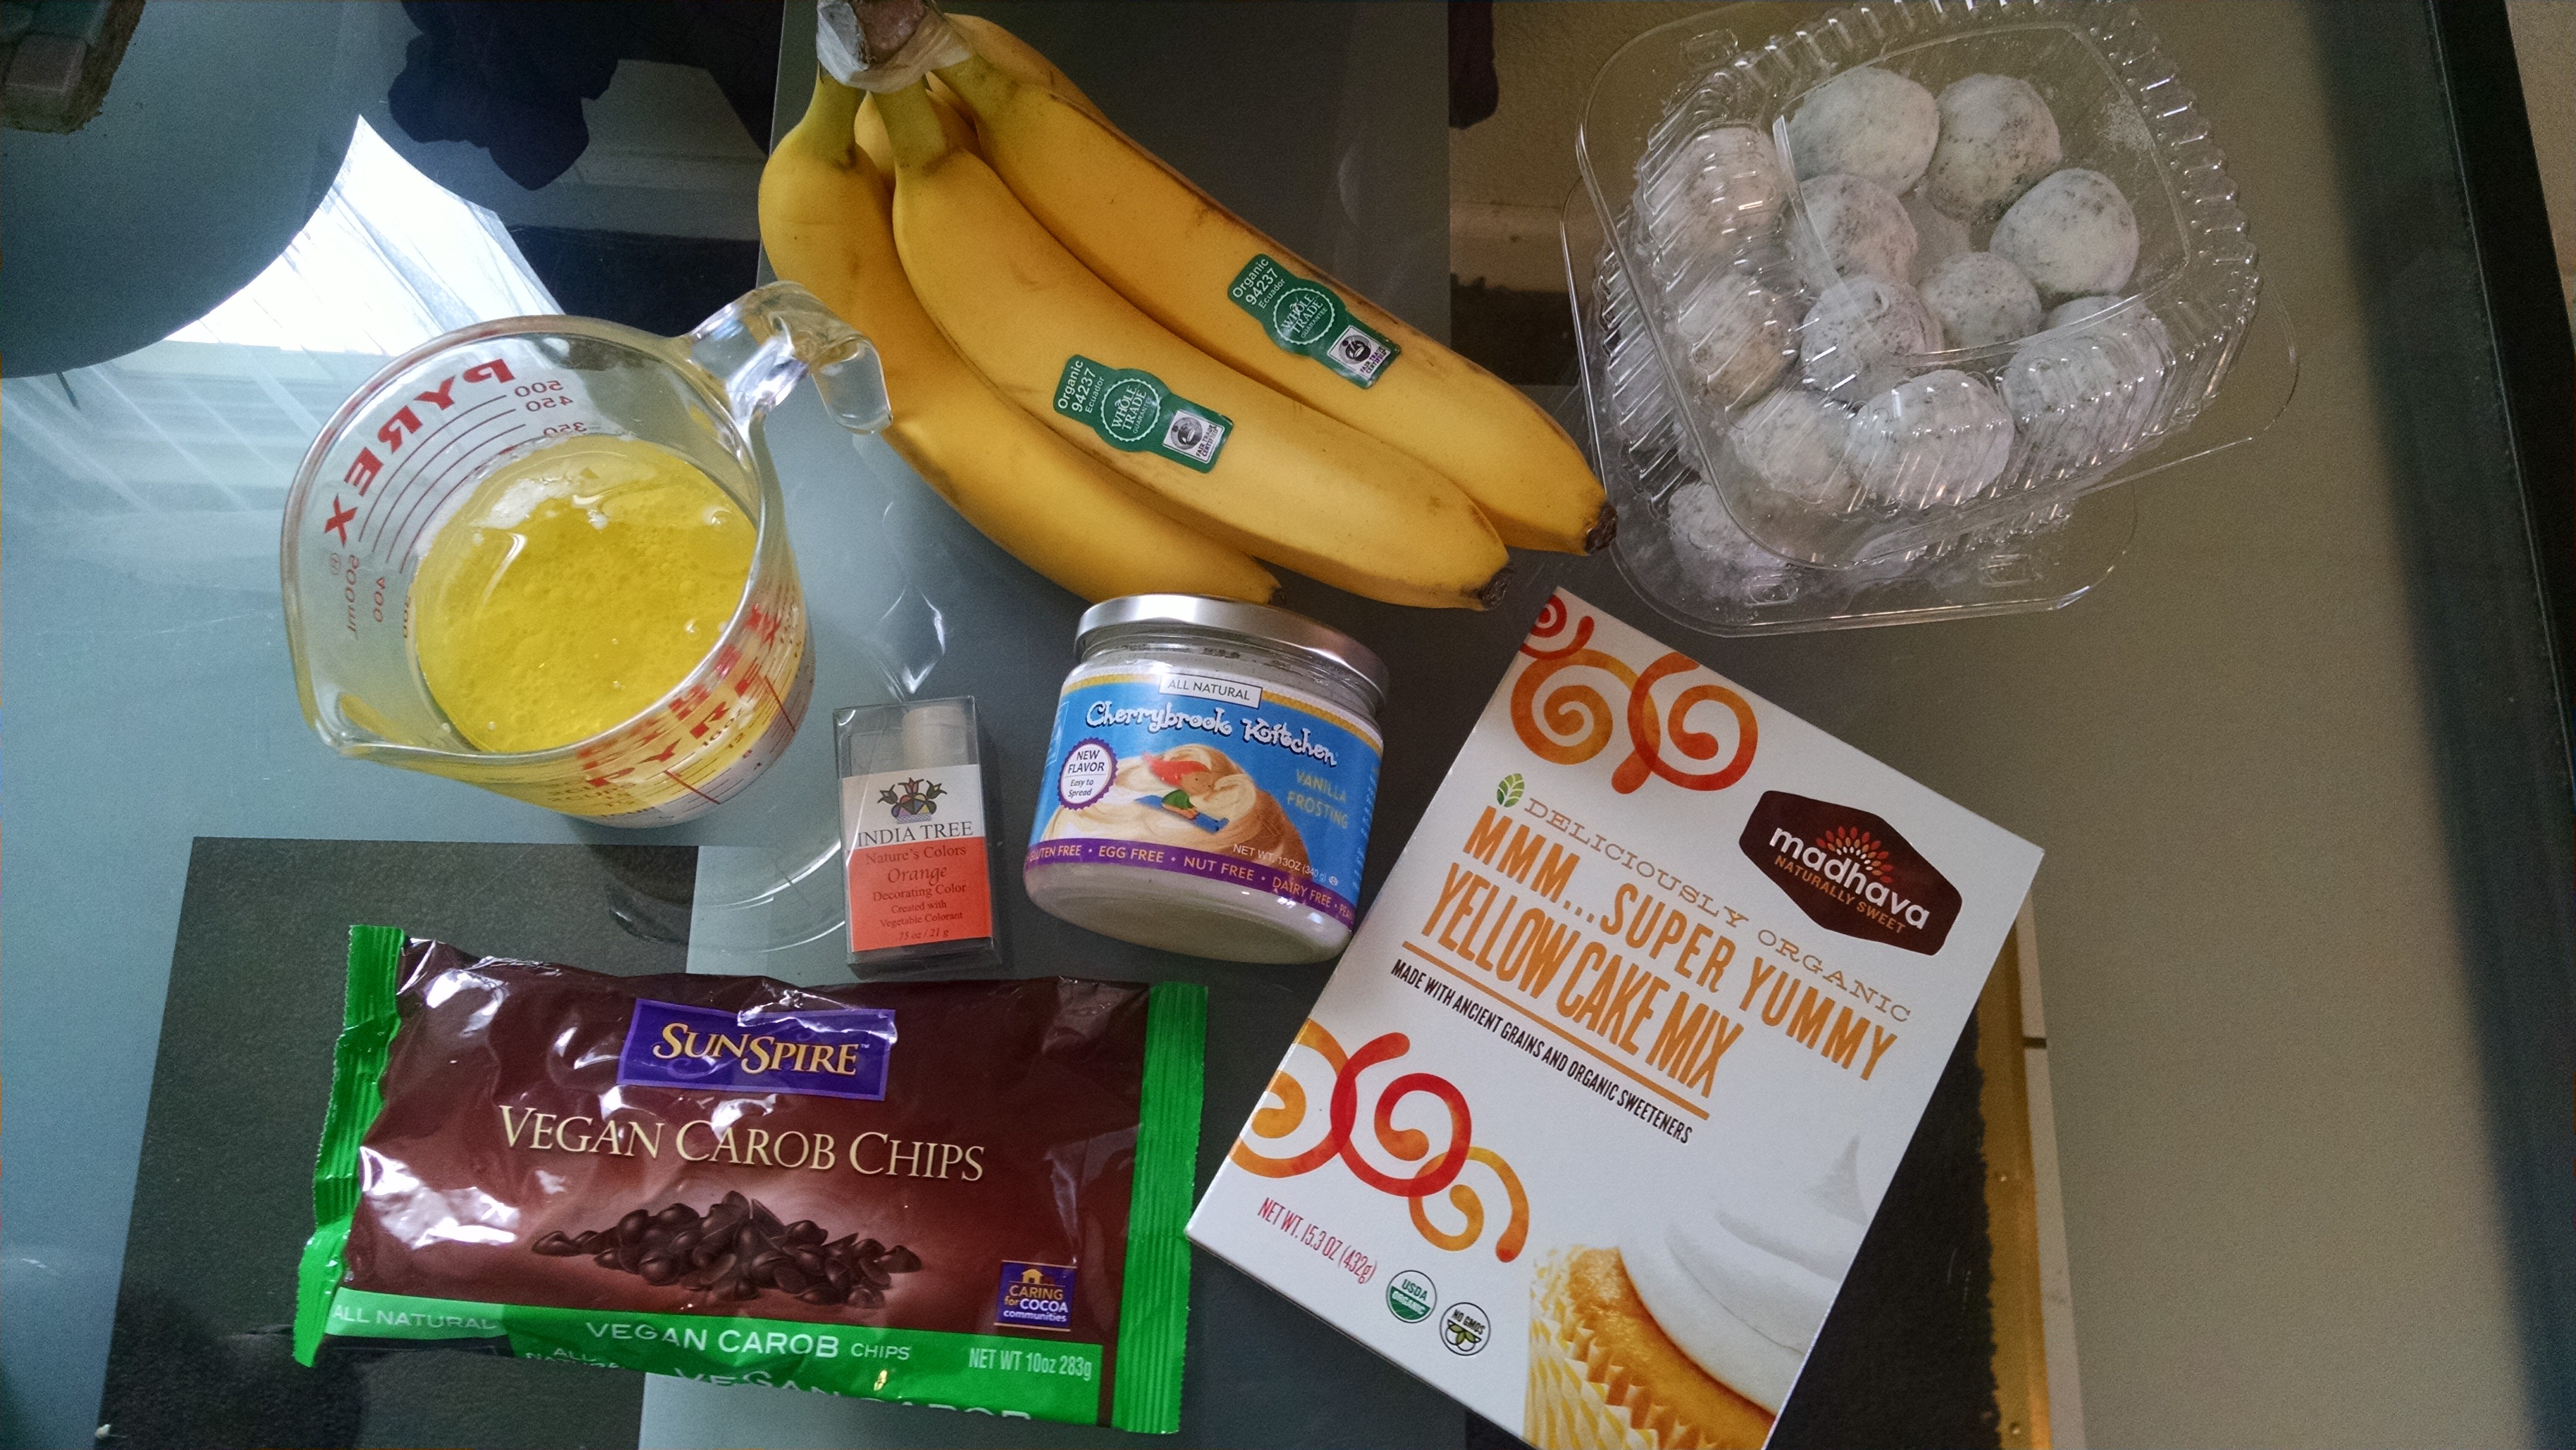
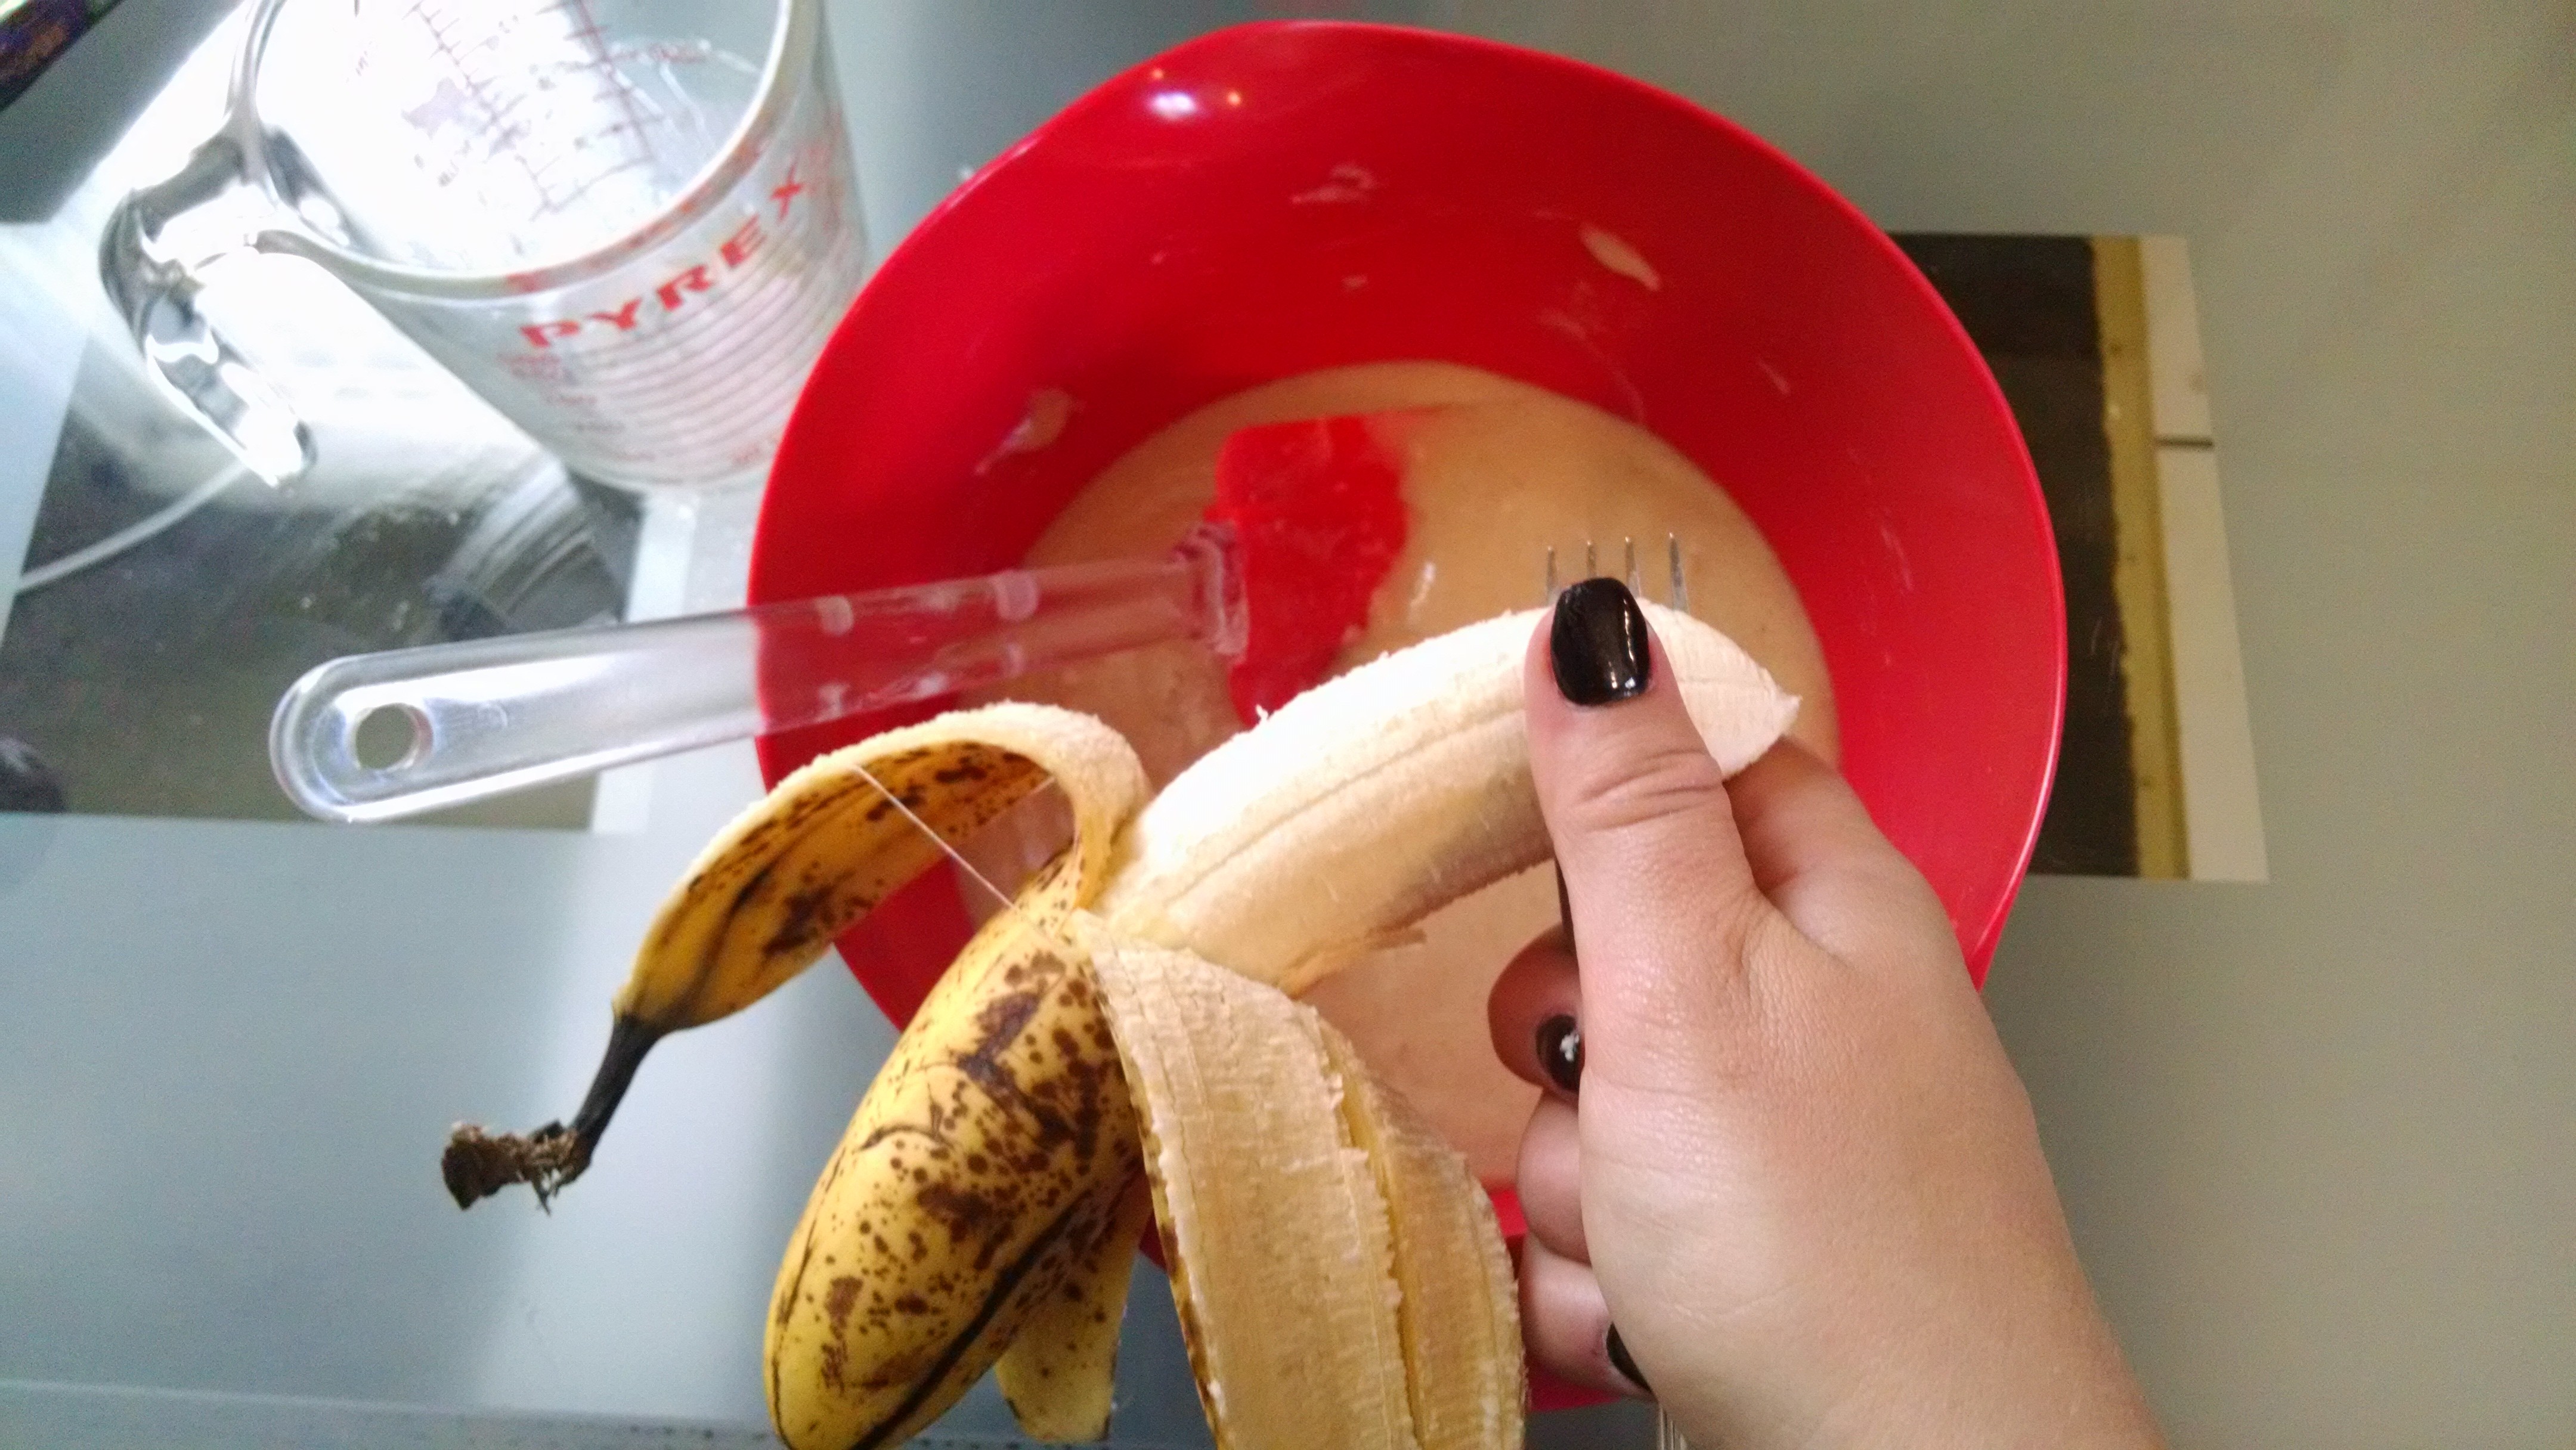
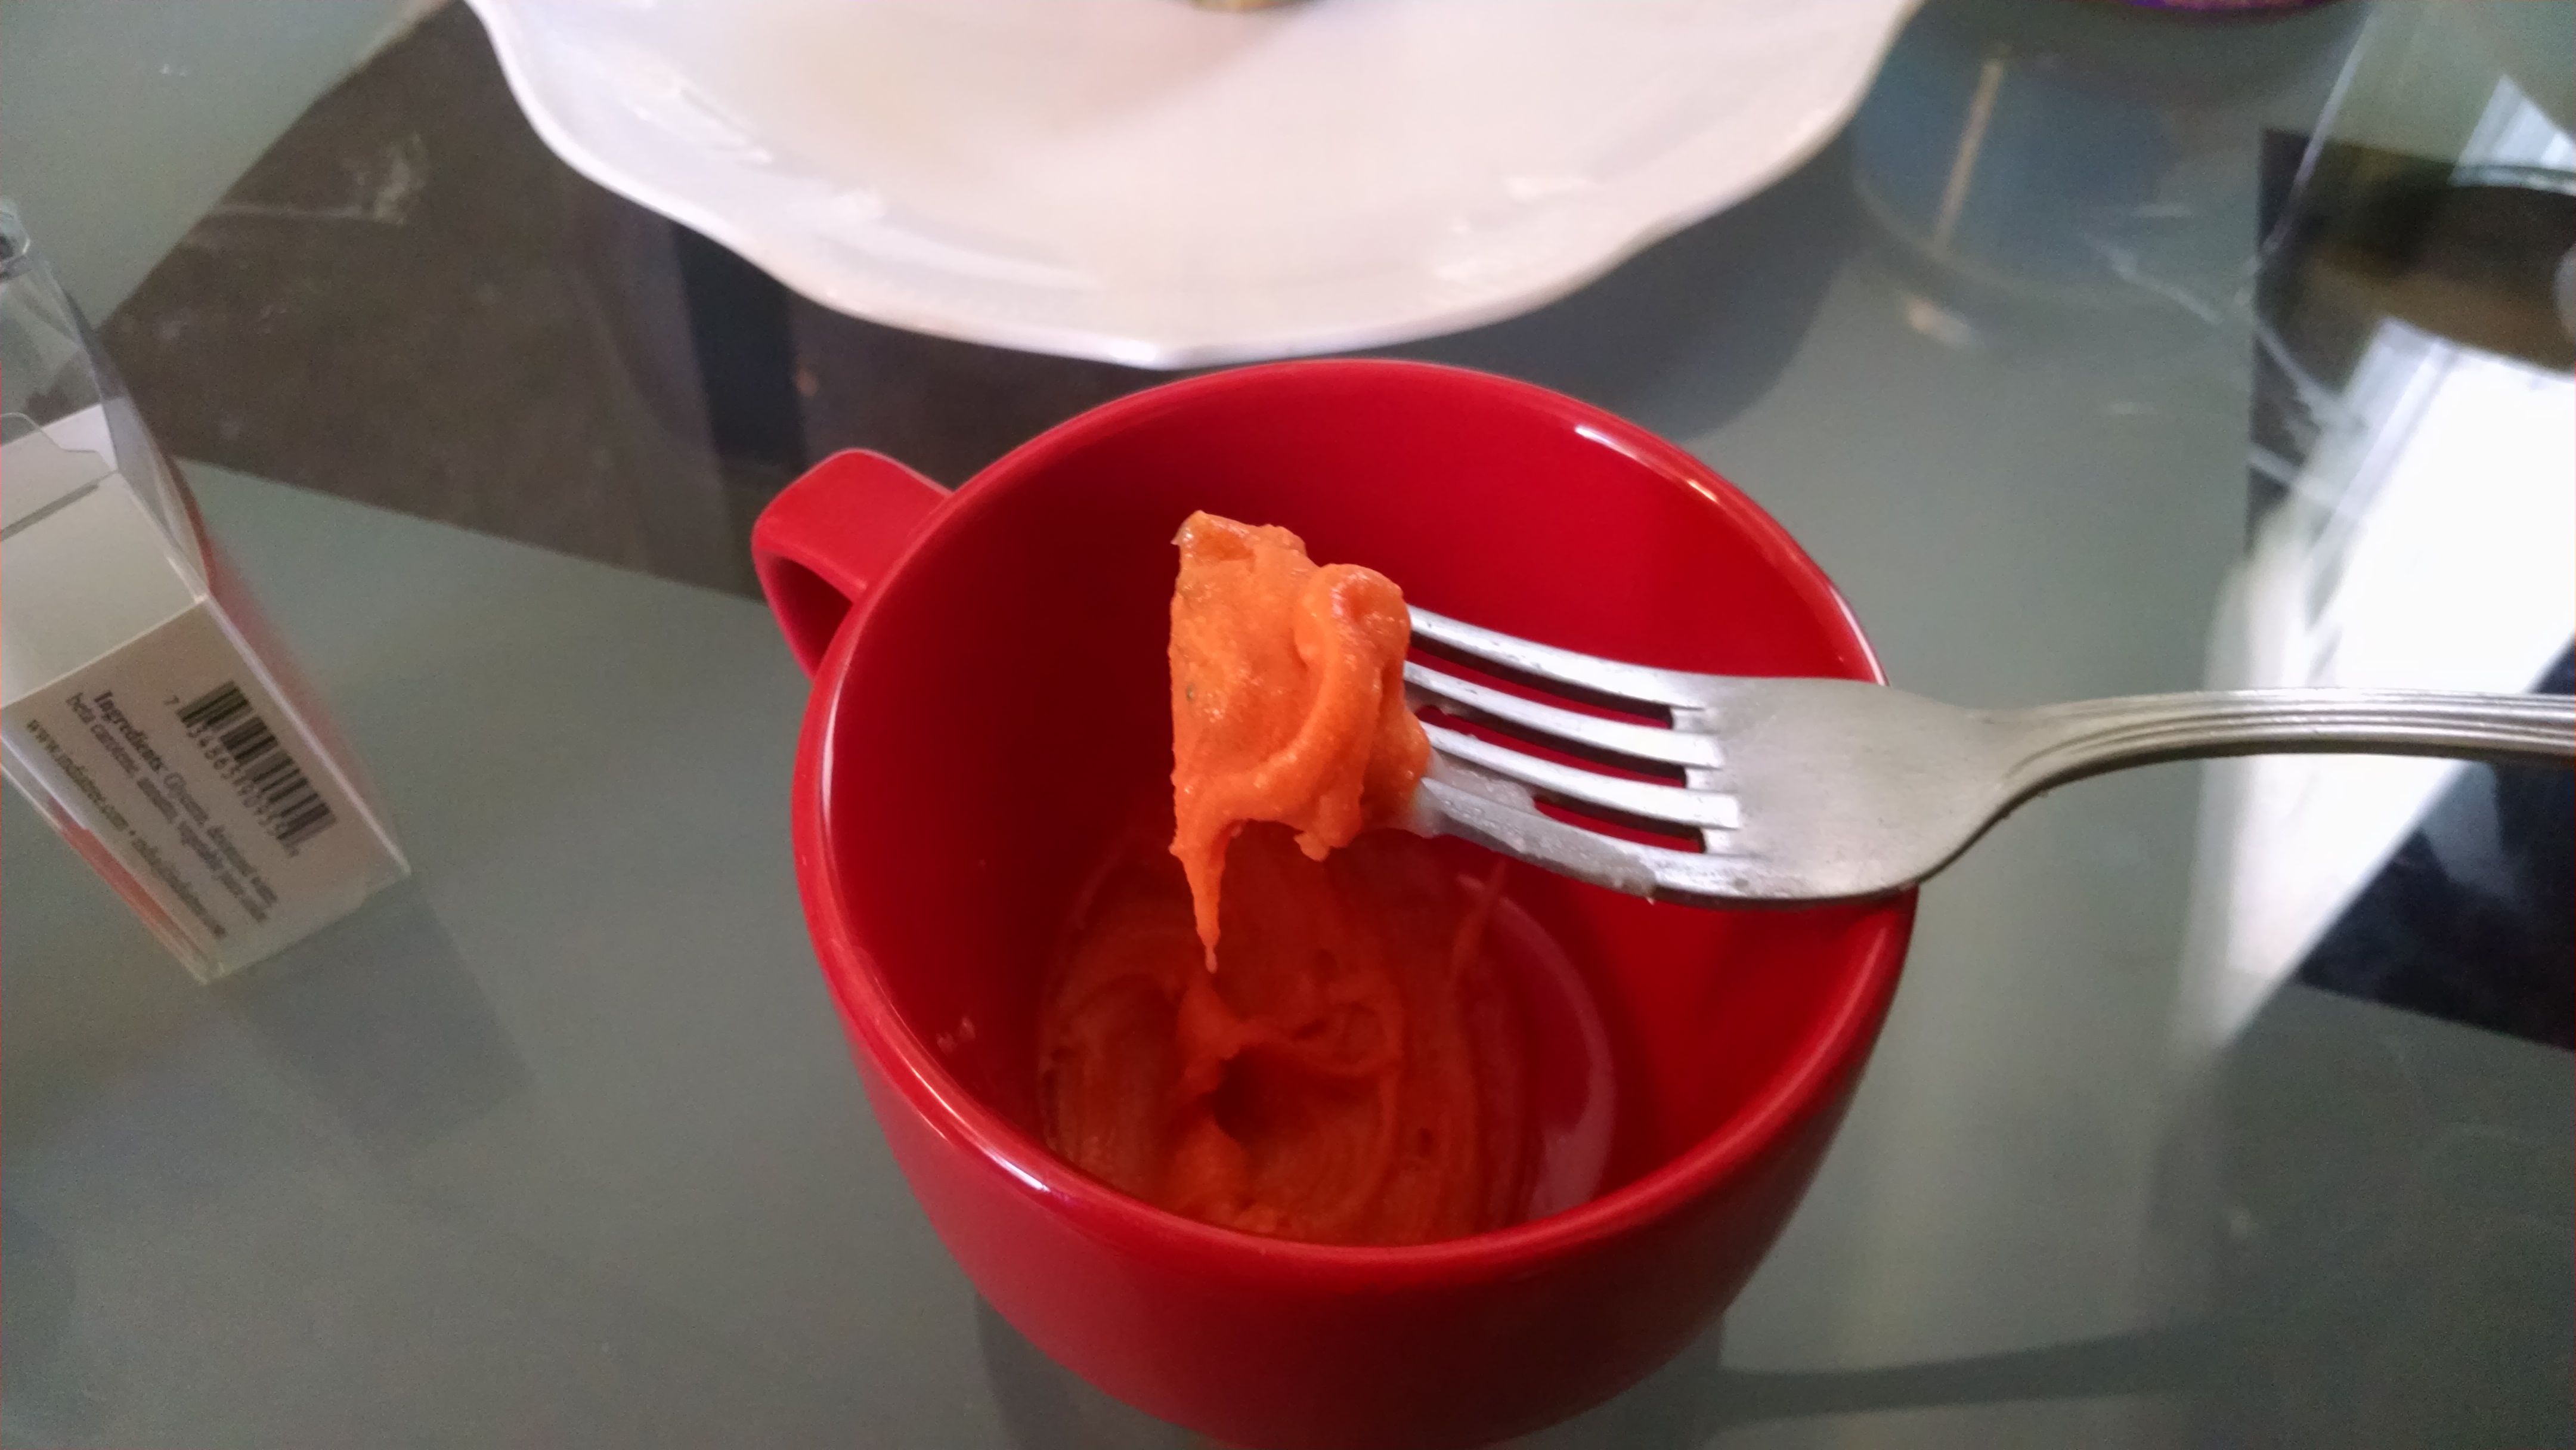
All of the ingredients included in this recipe are vegan. If you don’t eat eggs or dairy, follow along with my modifications. Even if you’re not vegan, it’s fun to experiment with substitutions like bananas instead of eggs; the batch turned out with a sweet-but-not-too-sweet flavor and a moist, fluffy texture as a result of the bananas and coconut milk. Otherwise, feel free to make this any way you want. Toss some eggs in there. I don’t care, I promise.

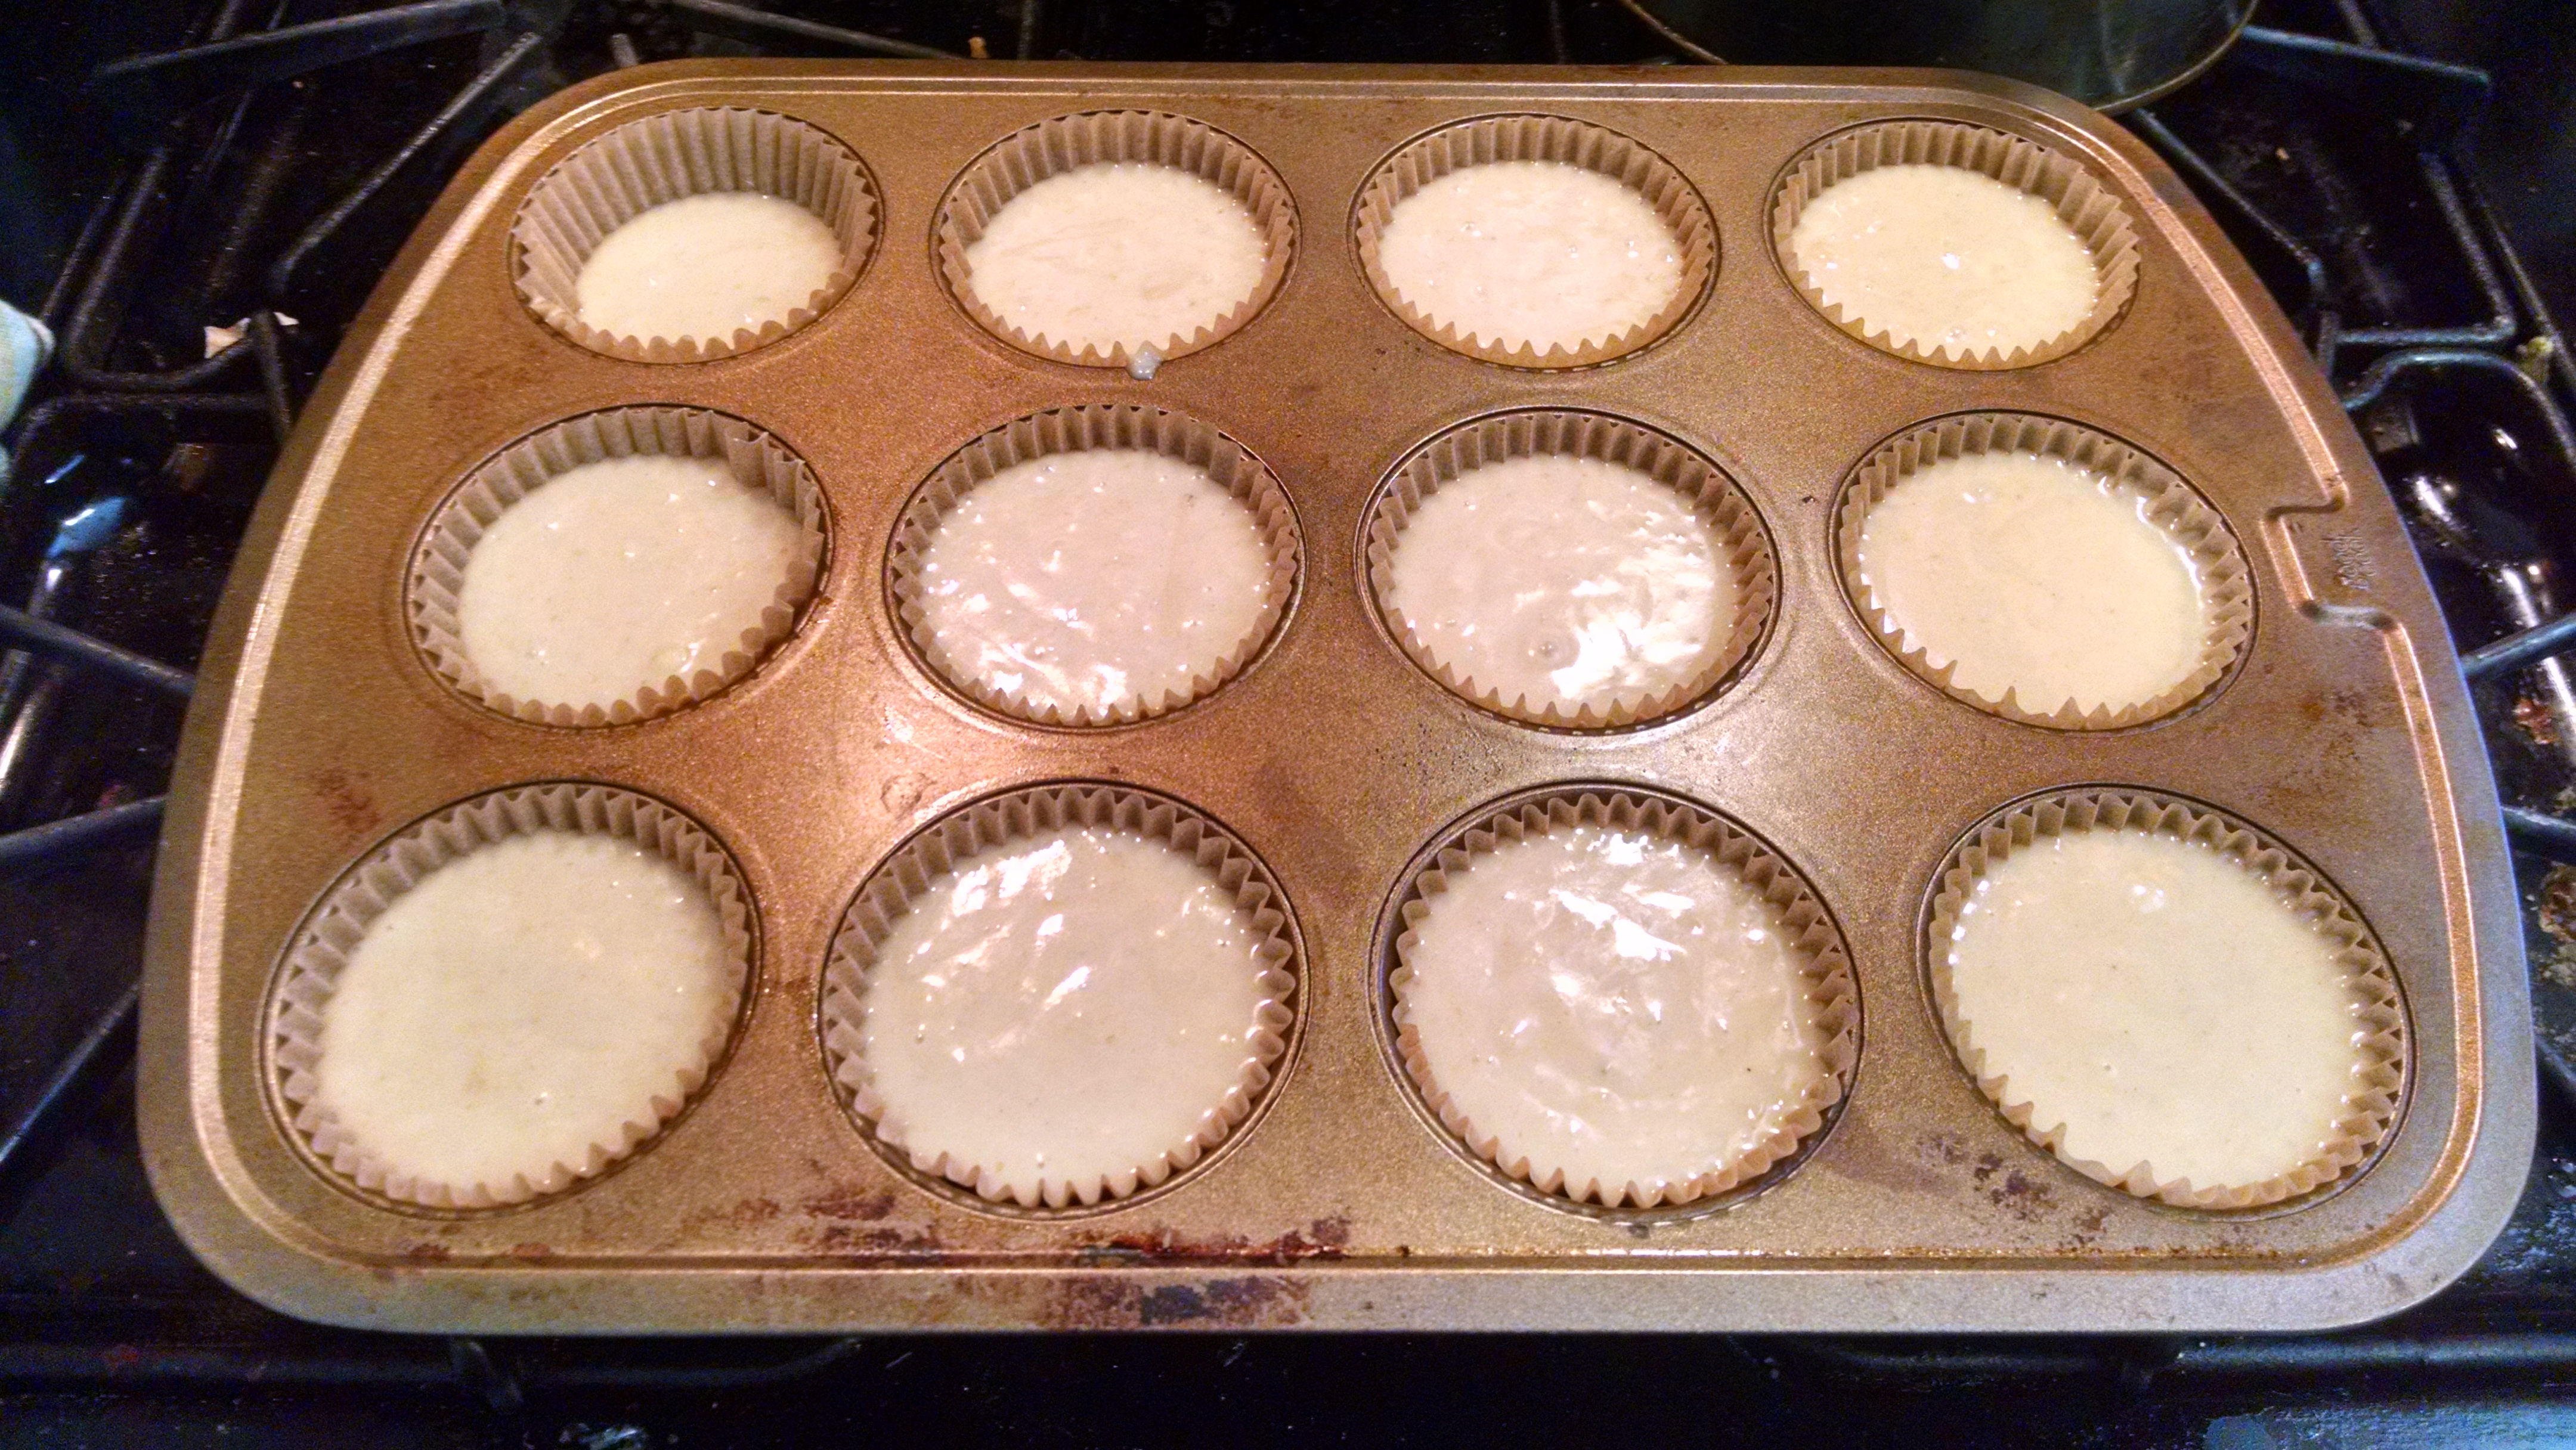
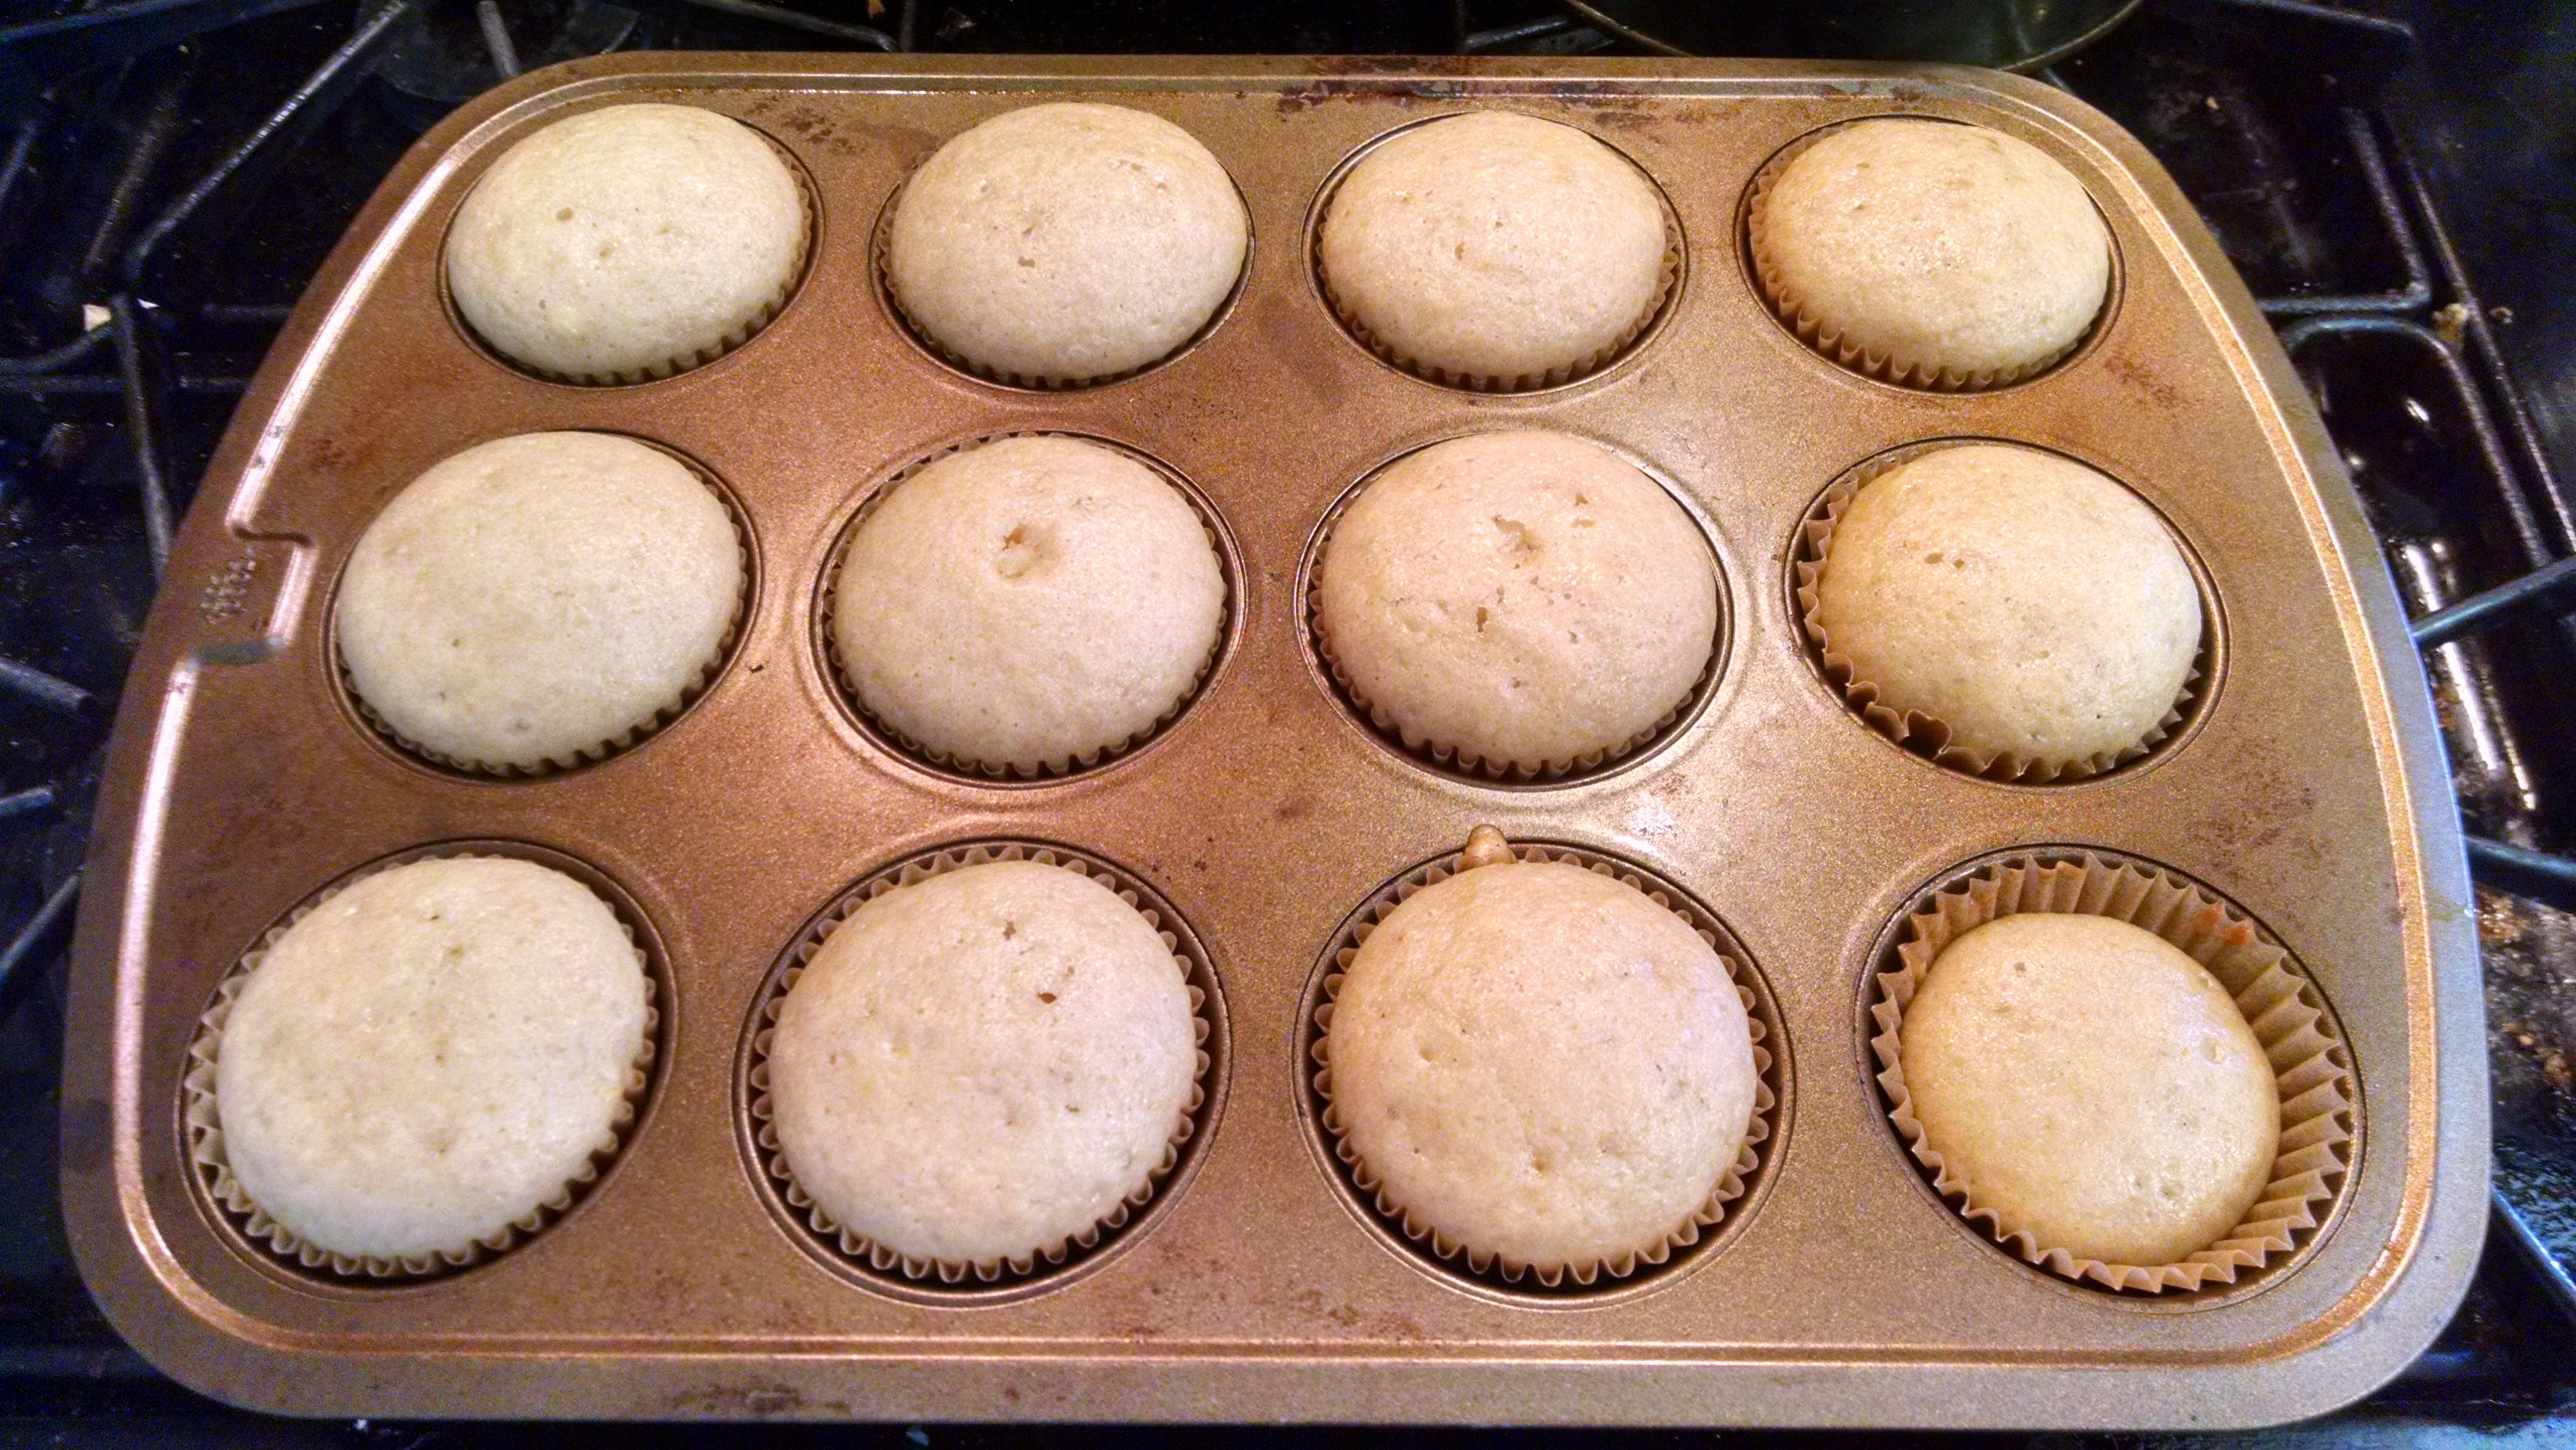
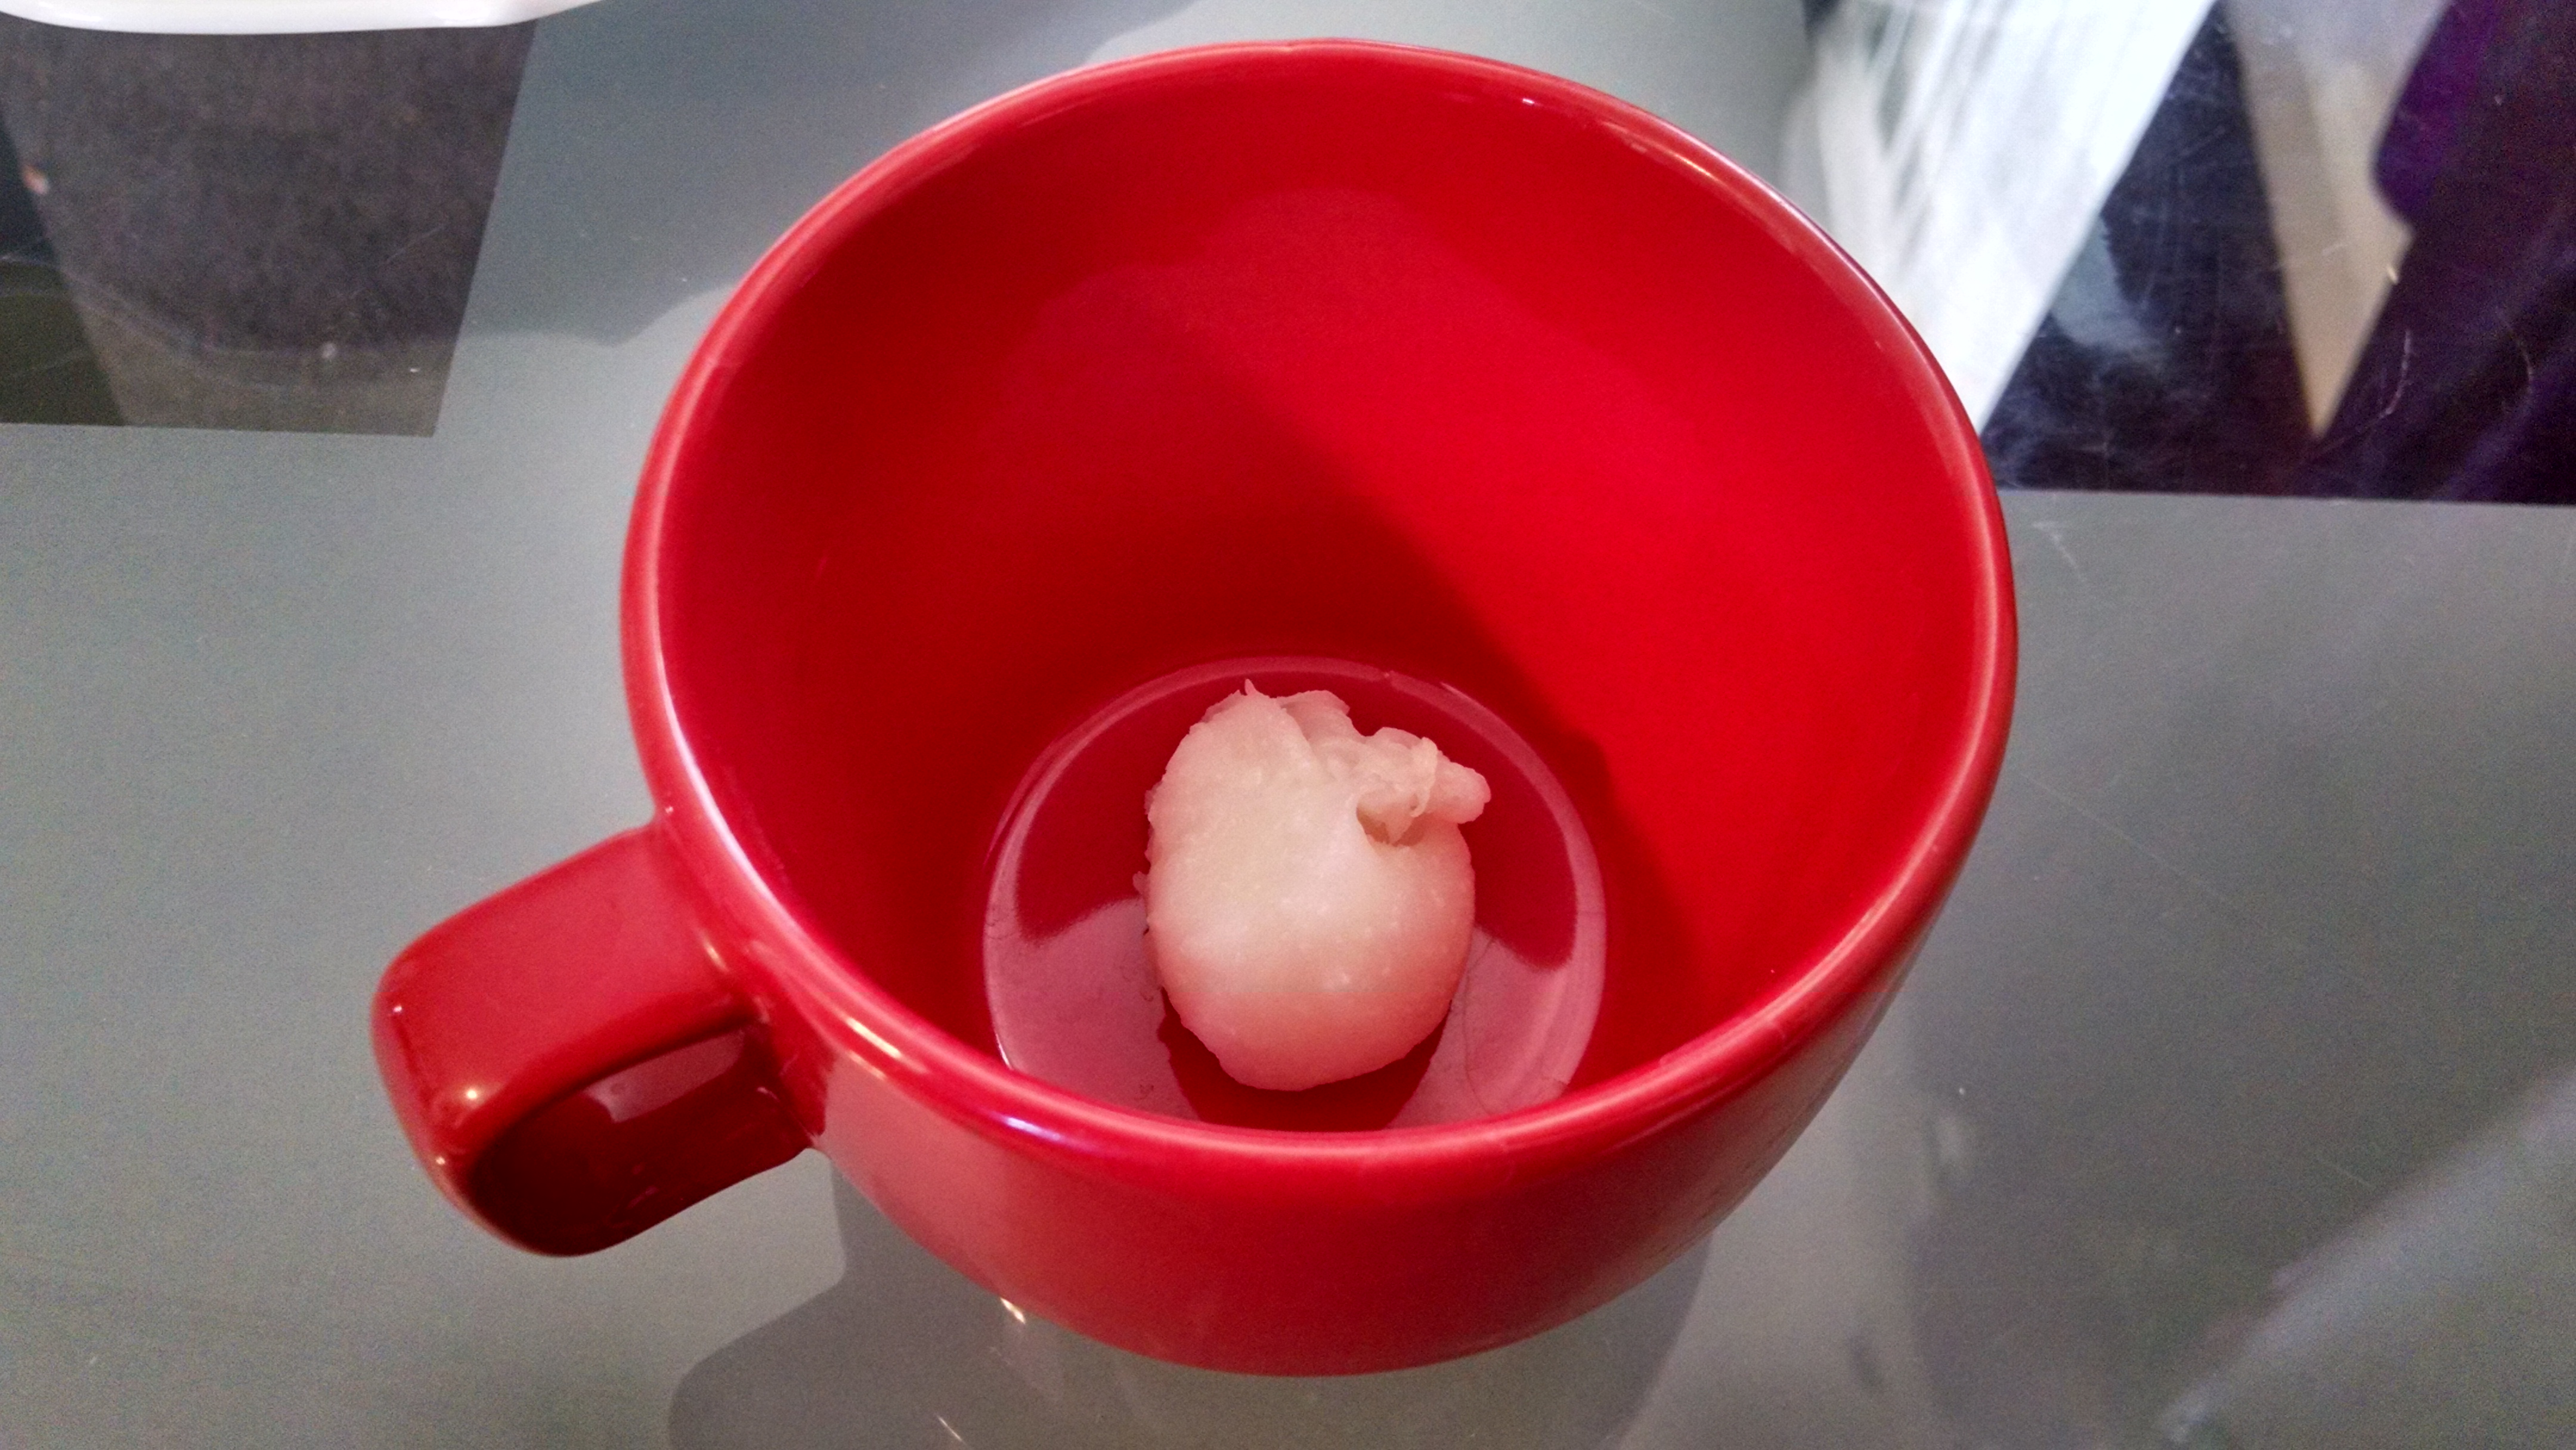
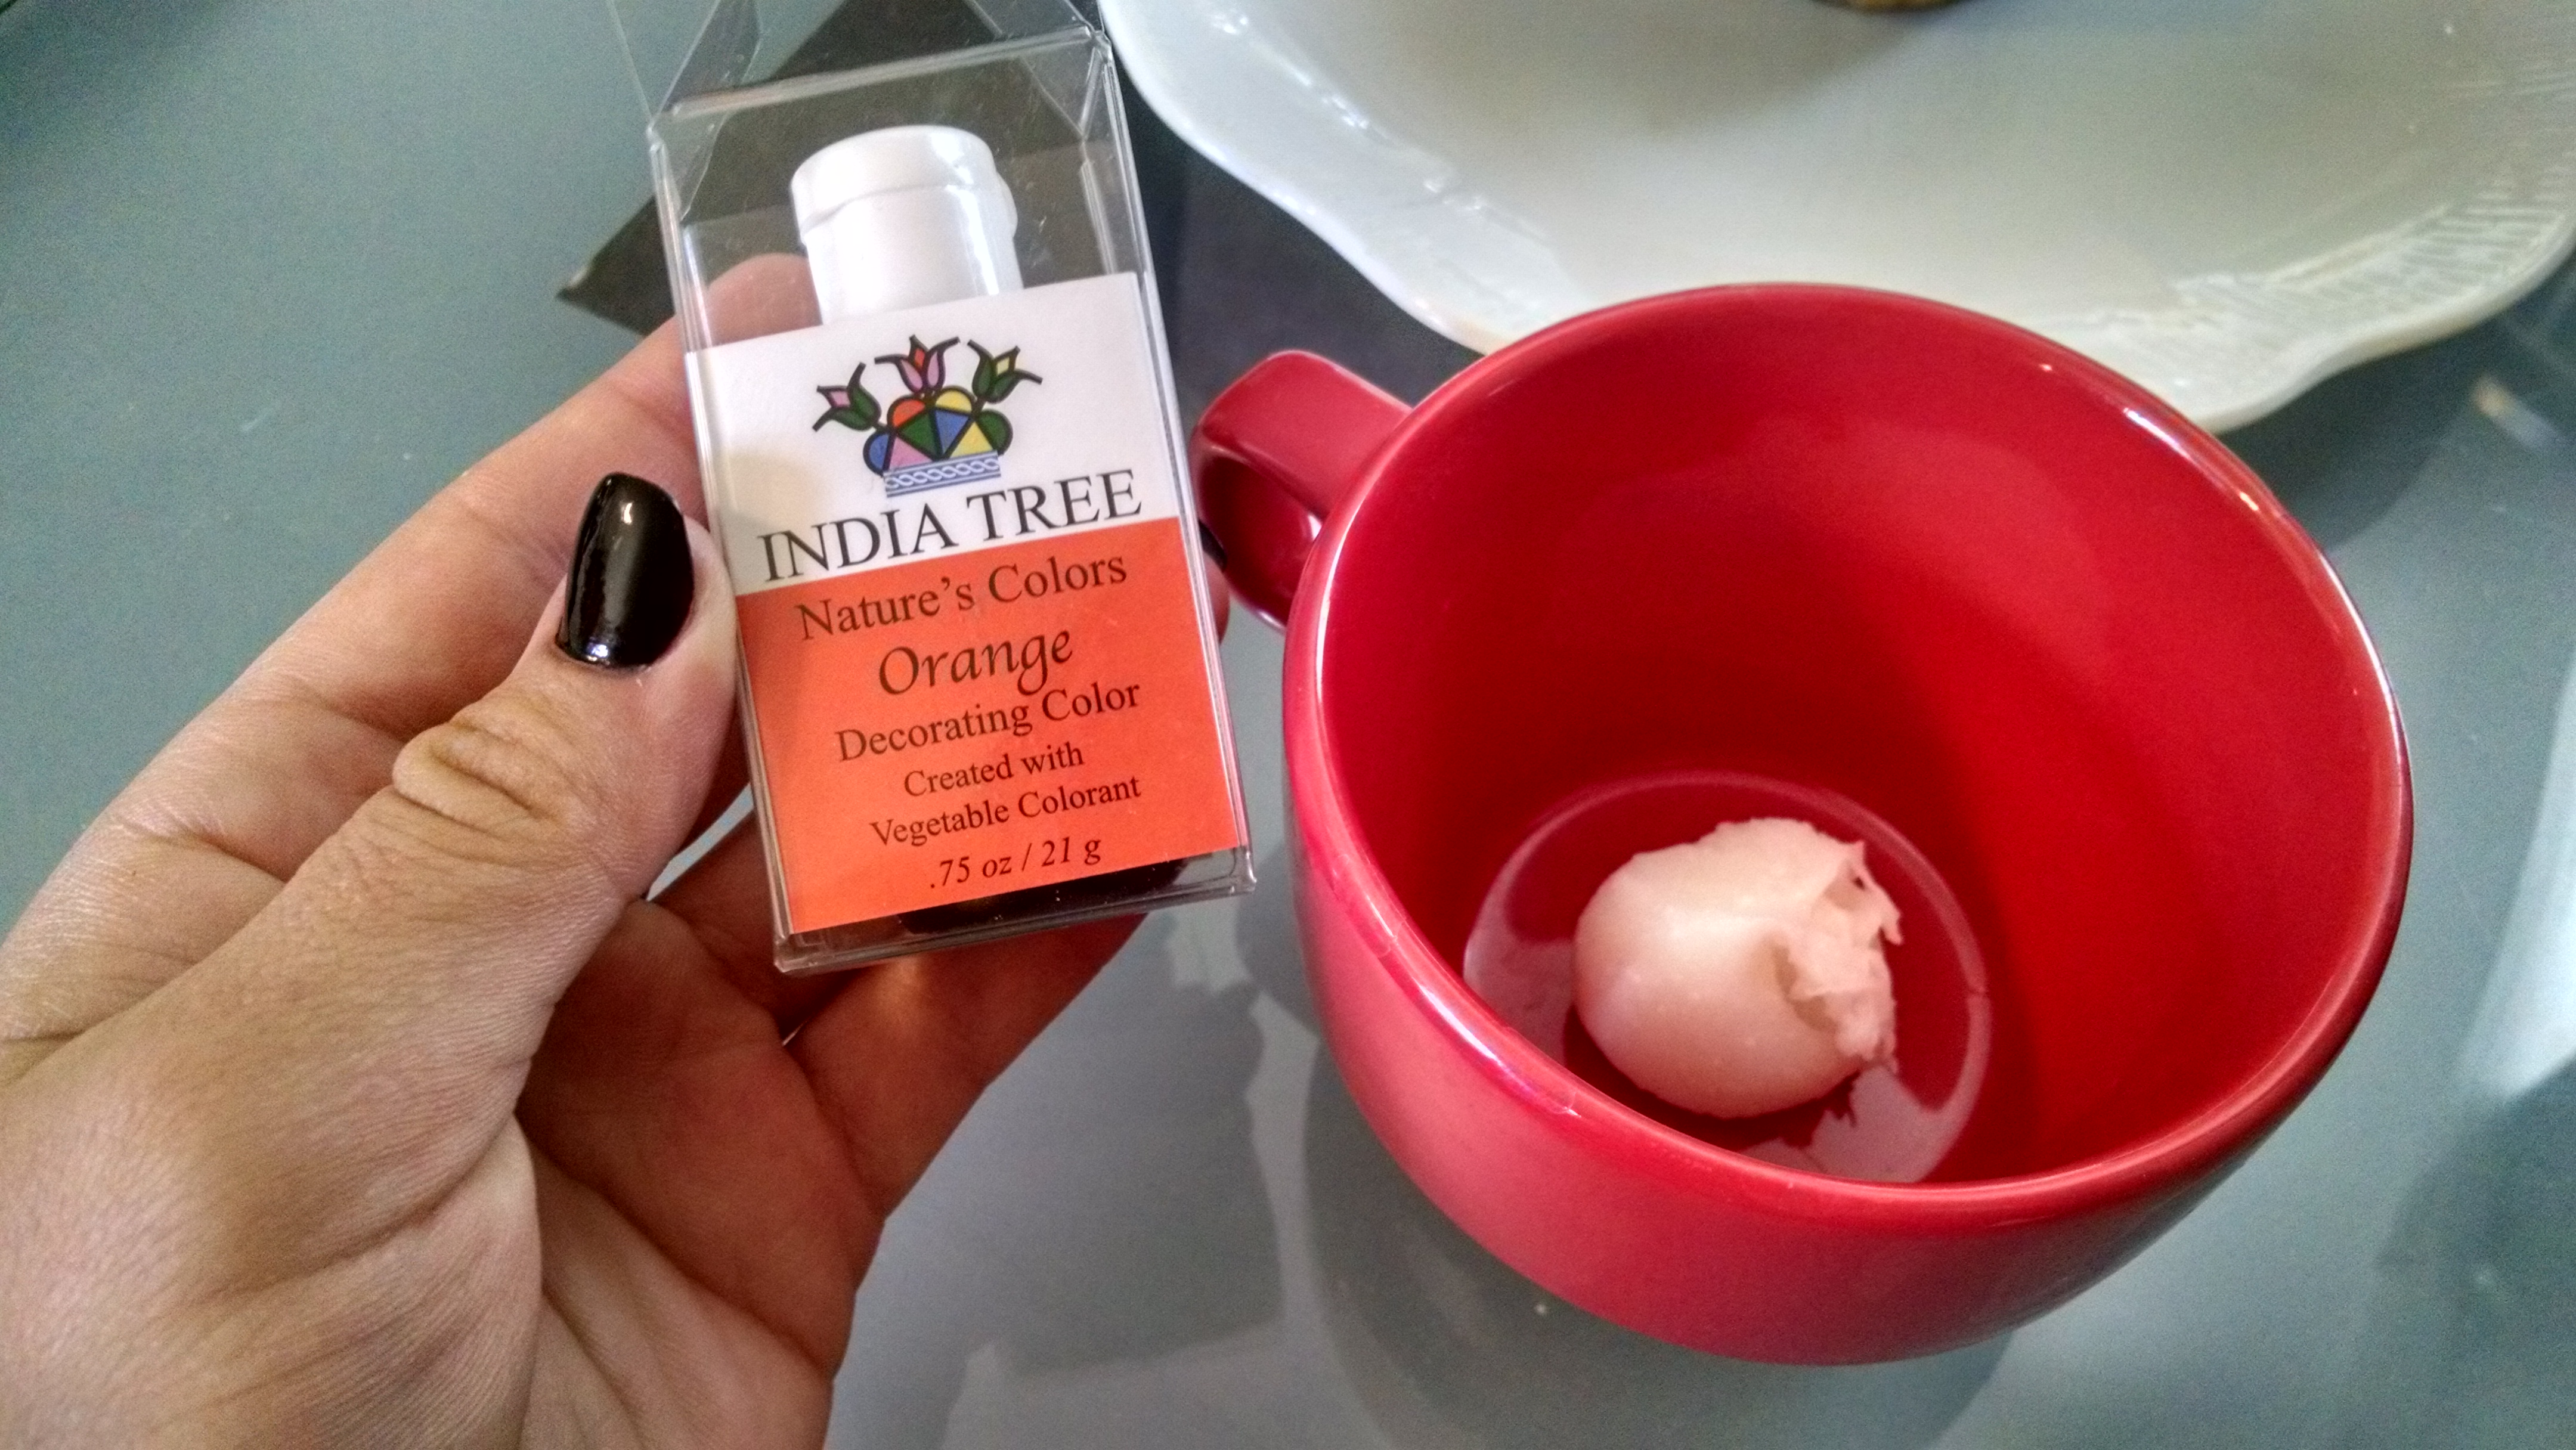
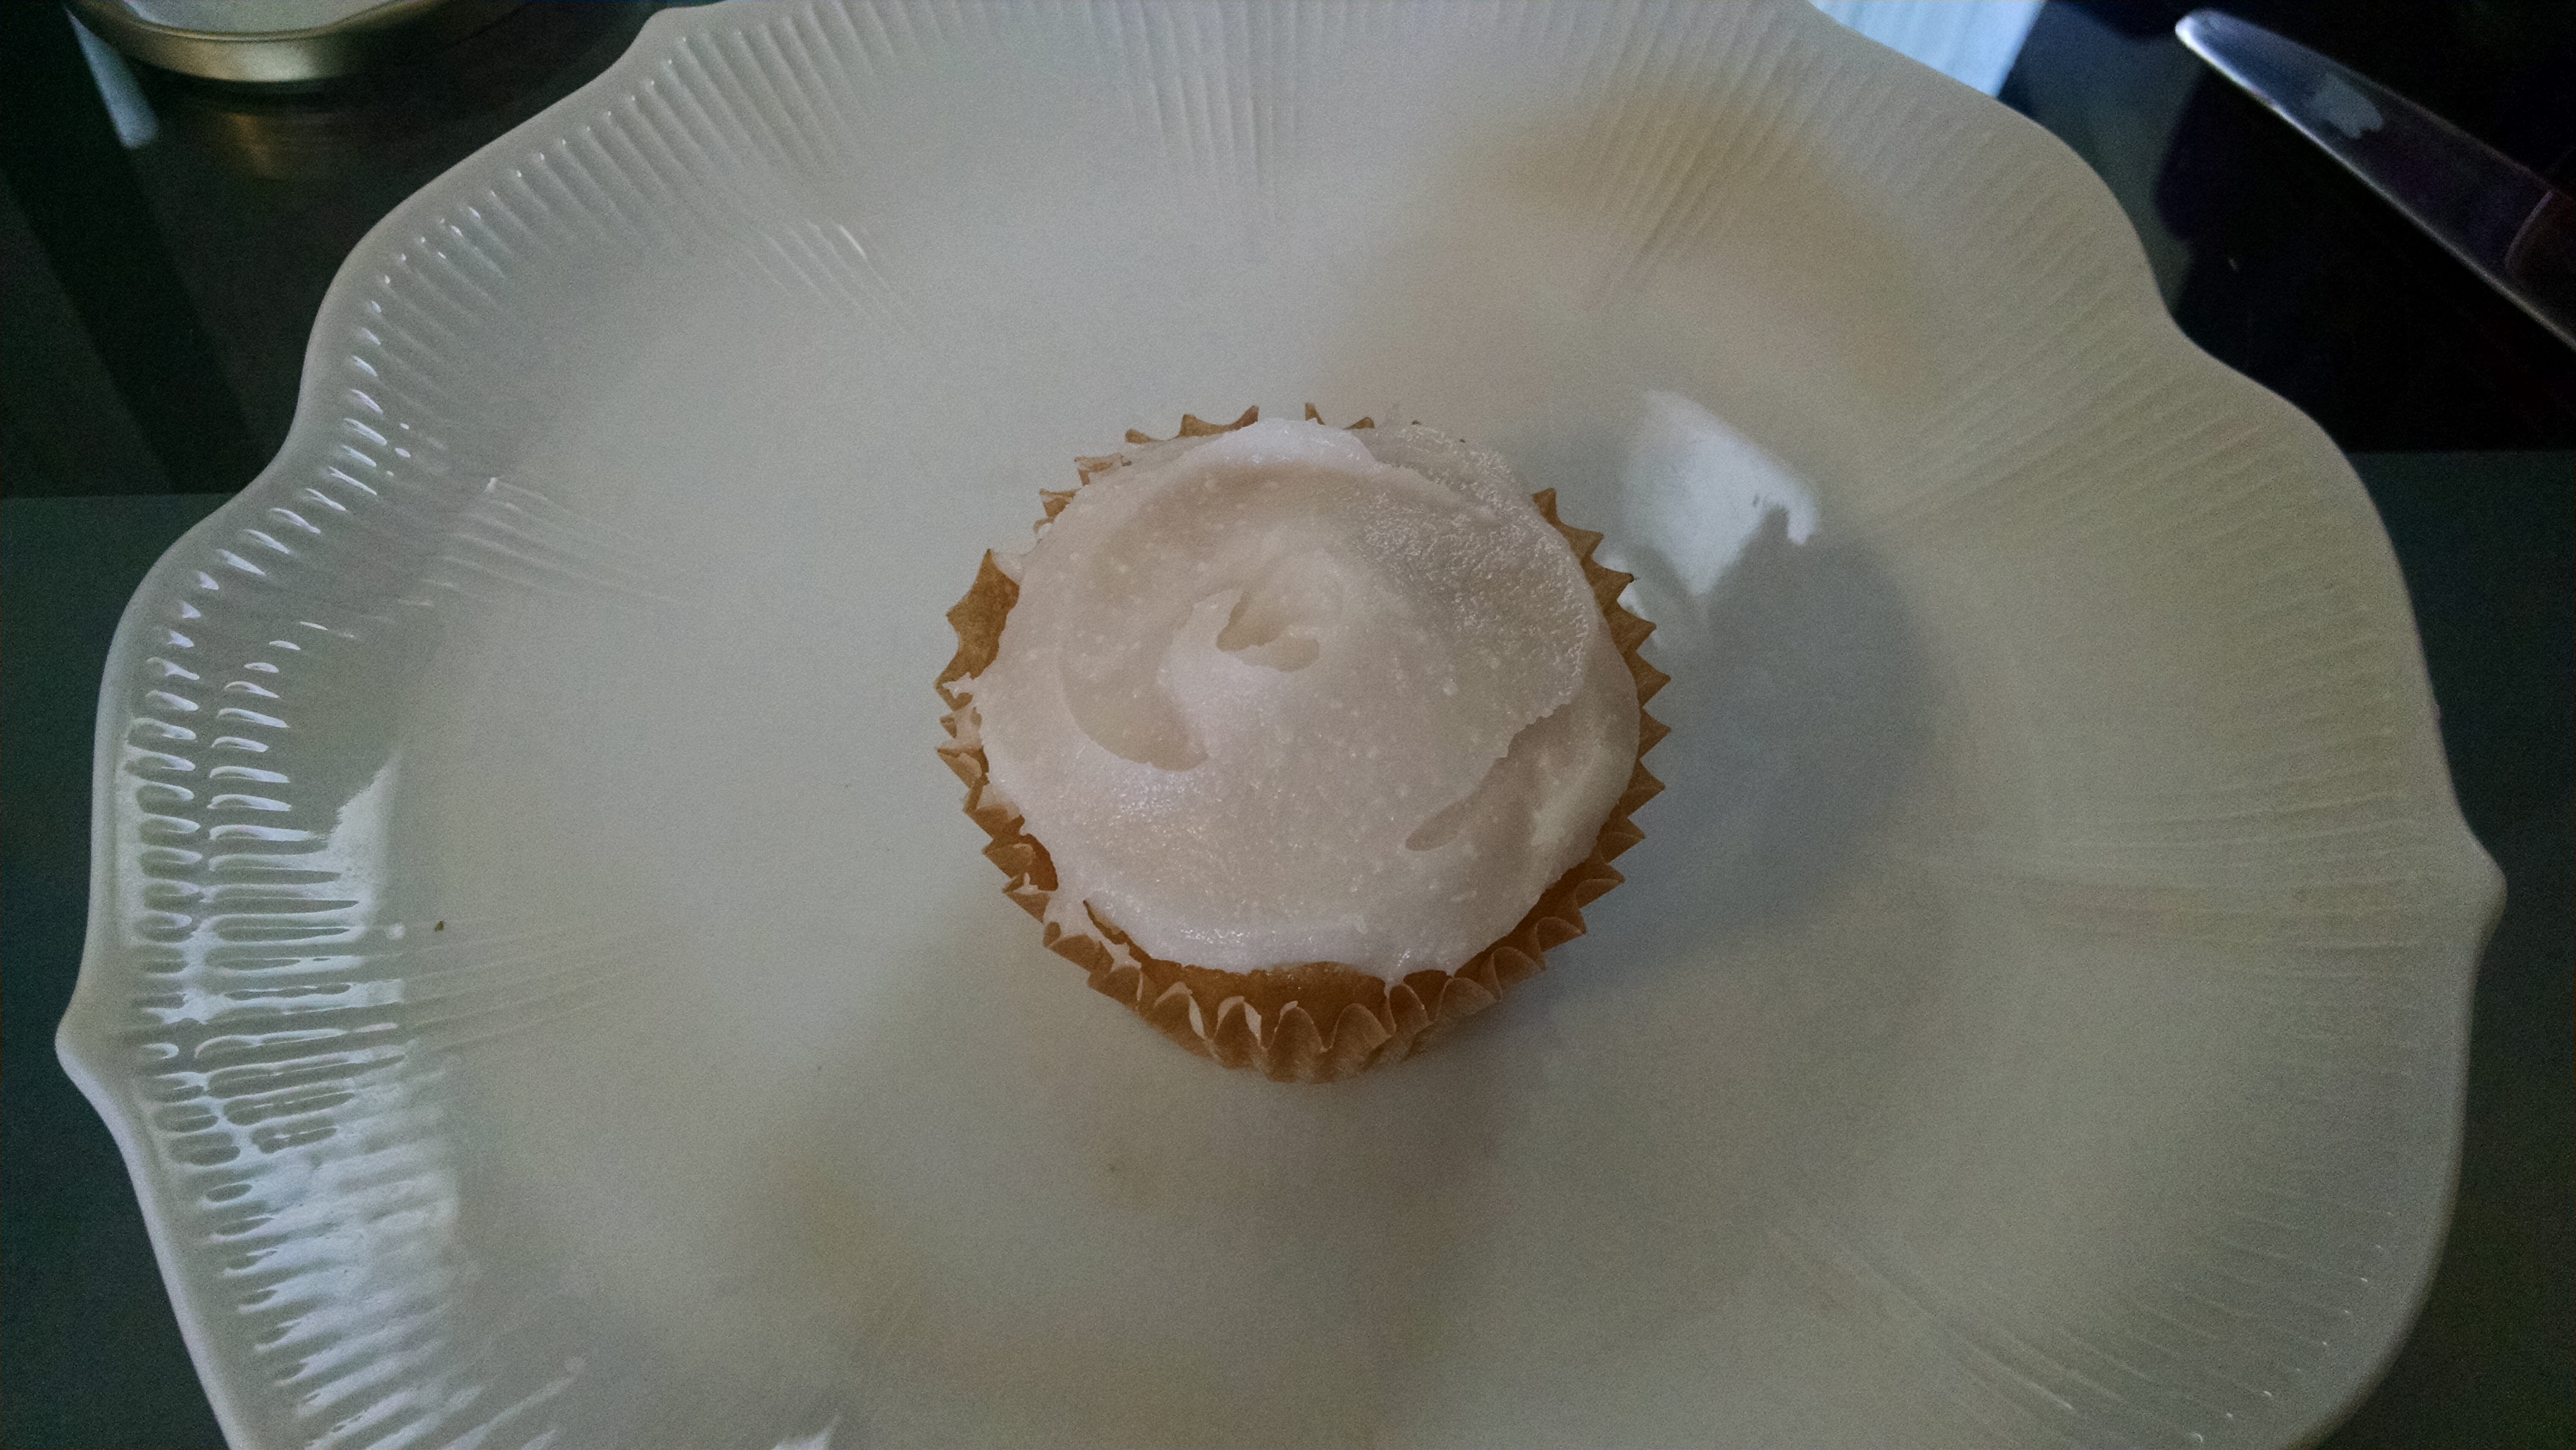
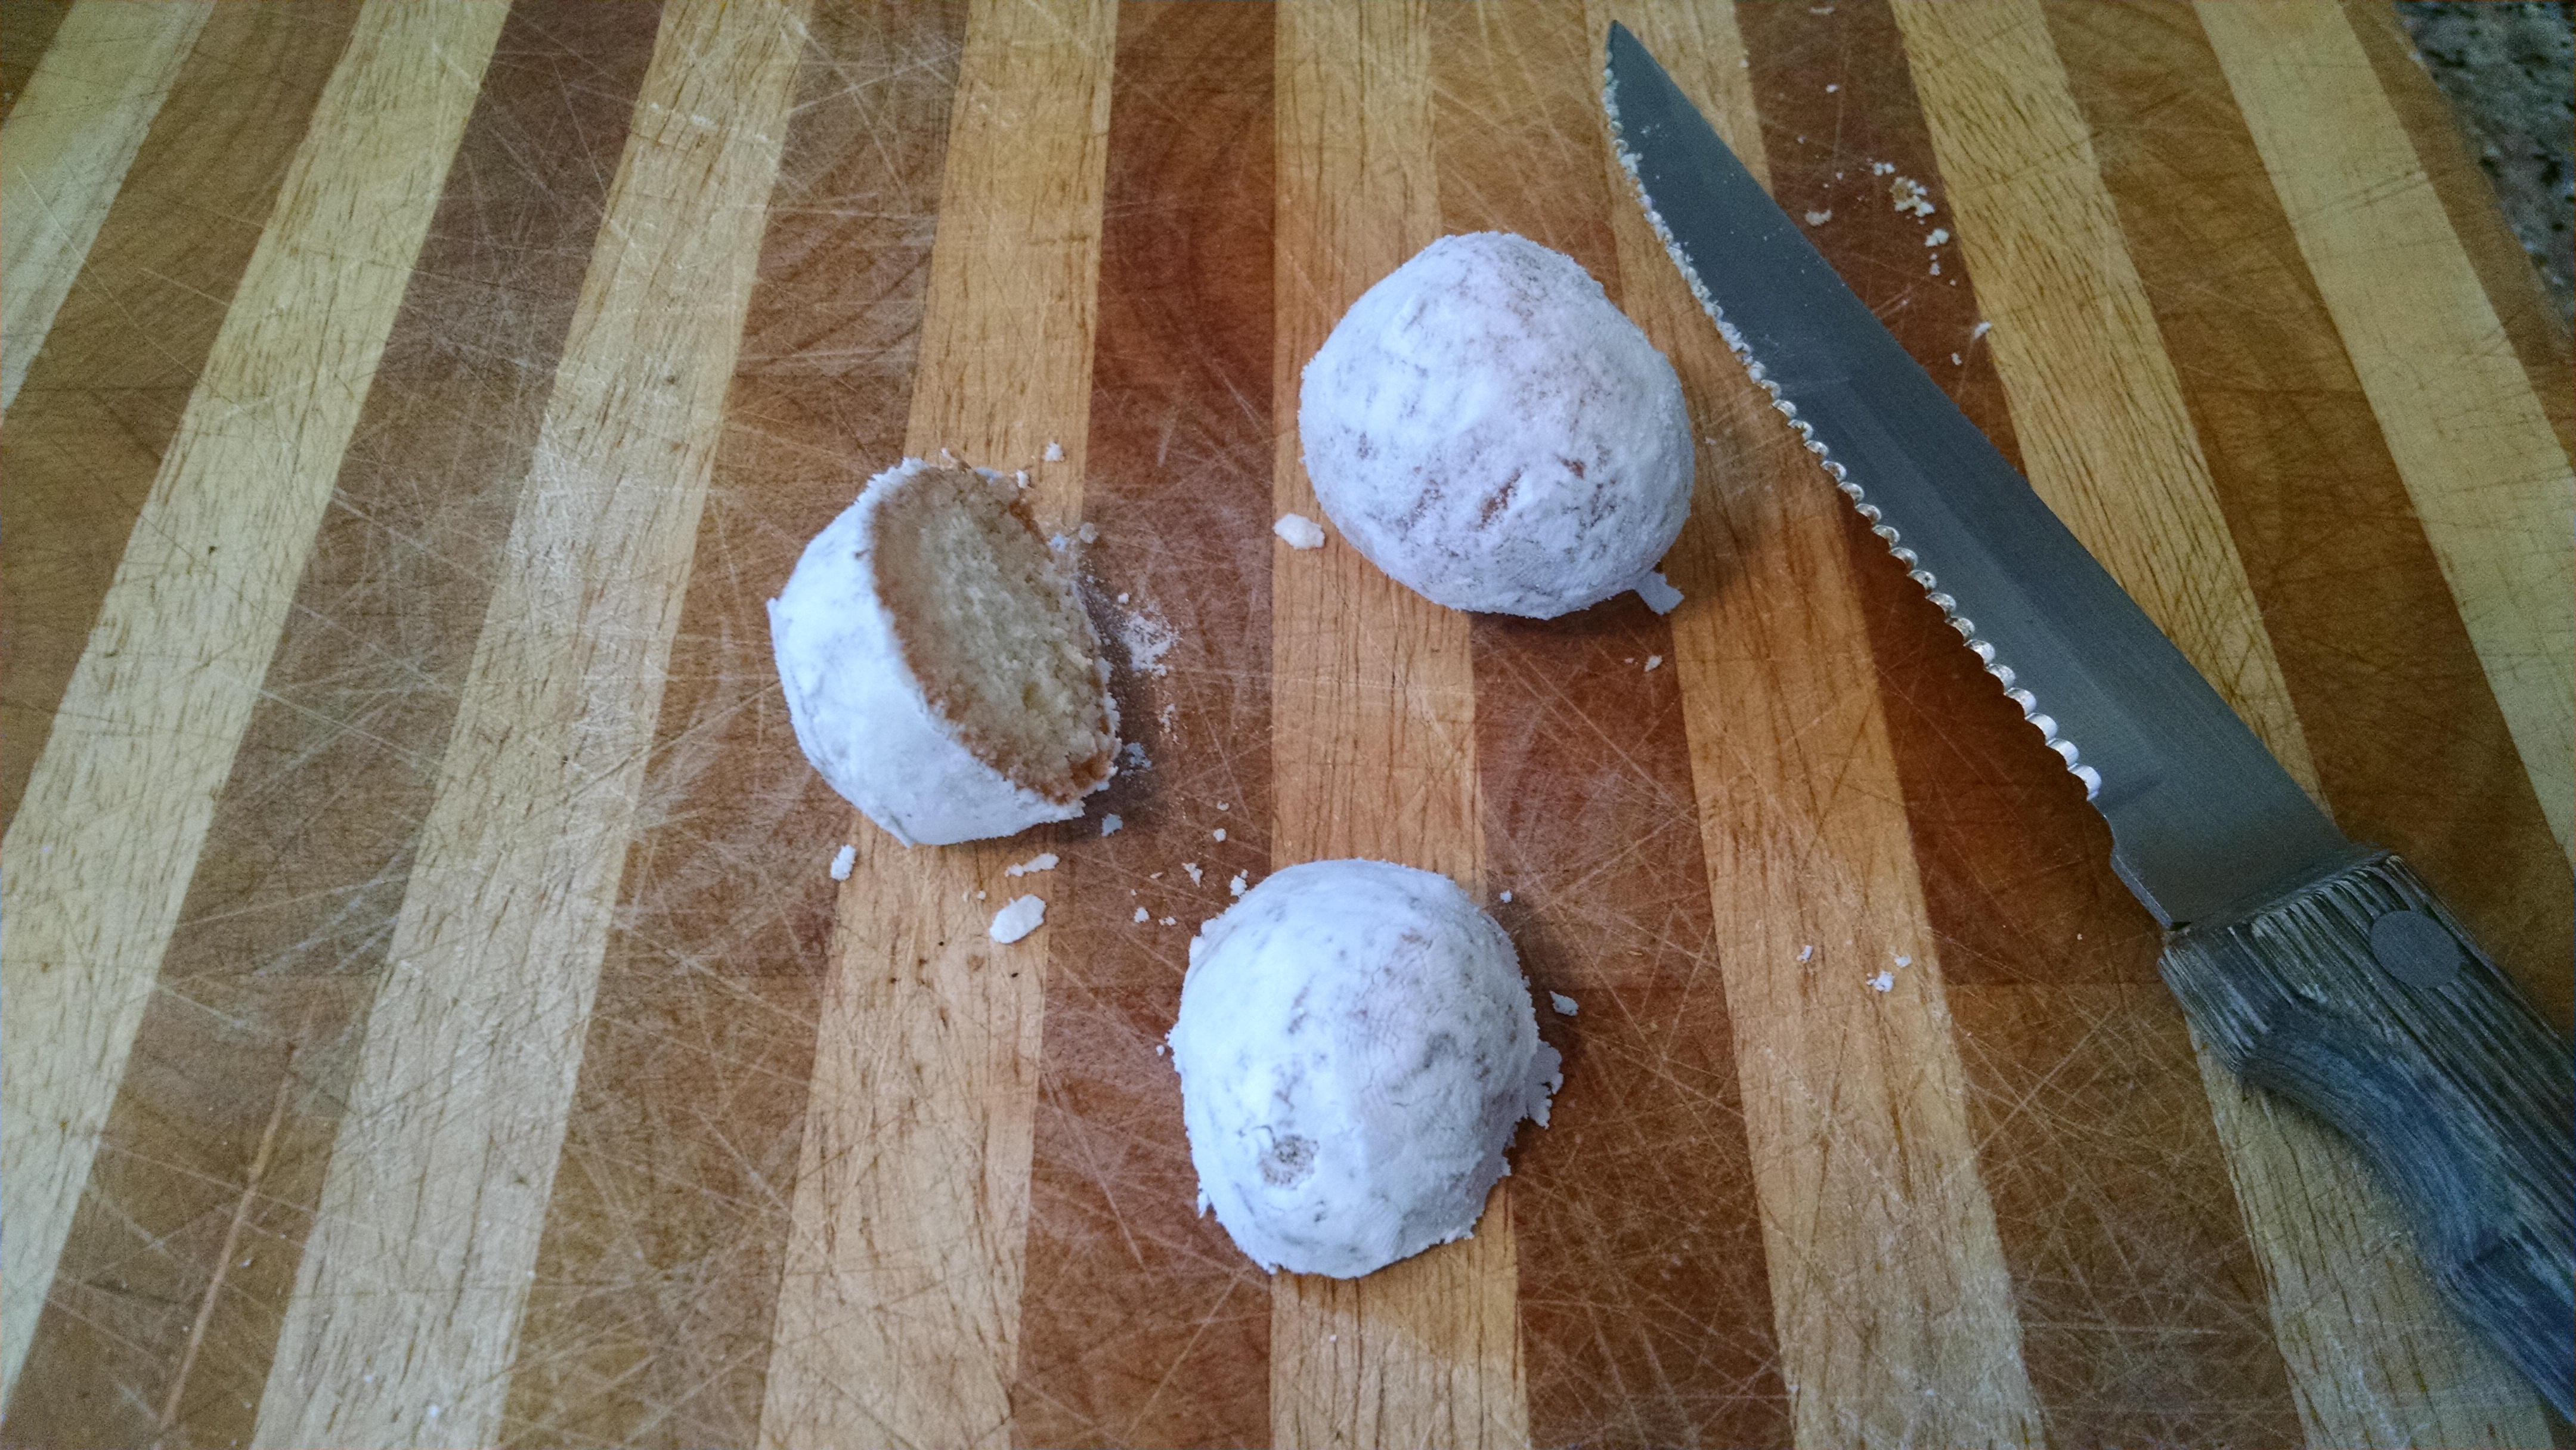
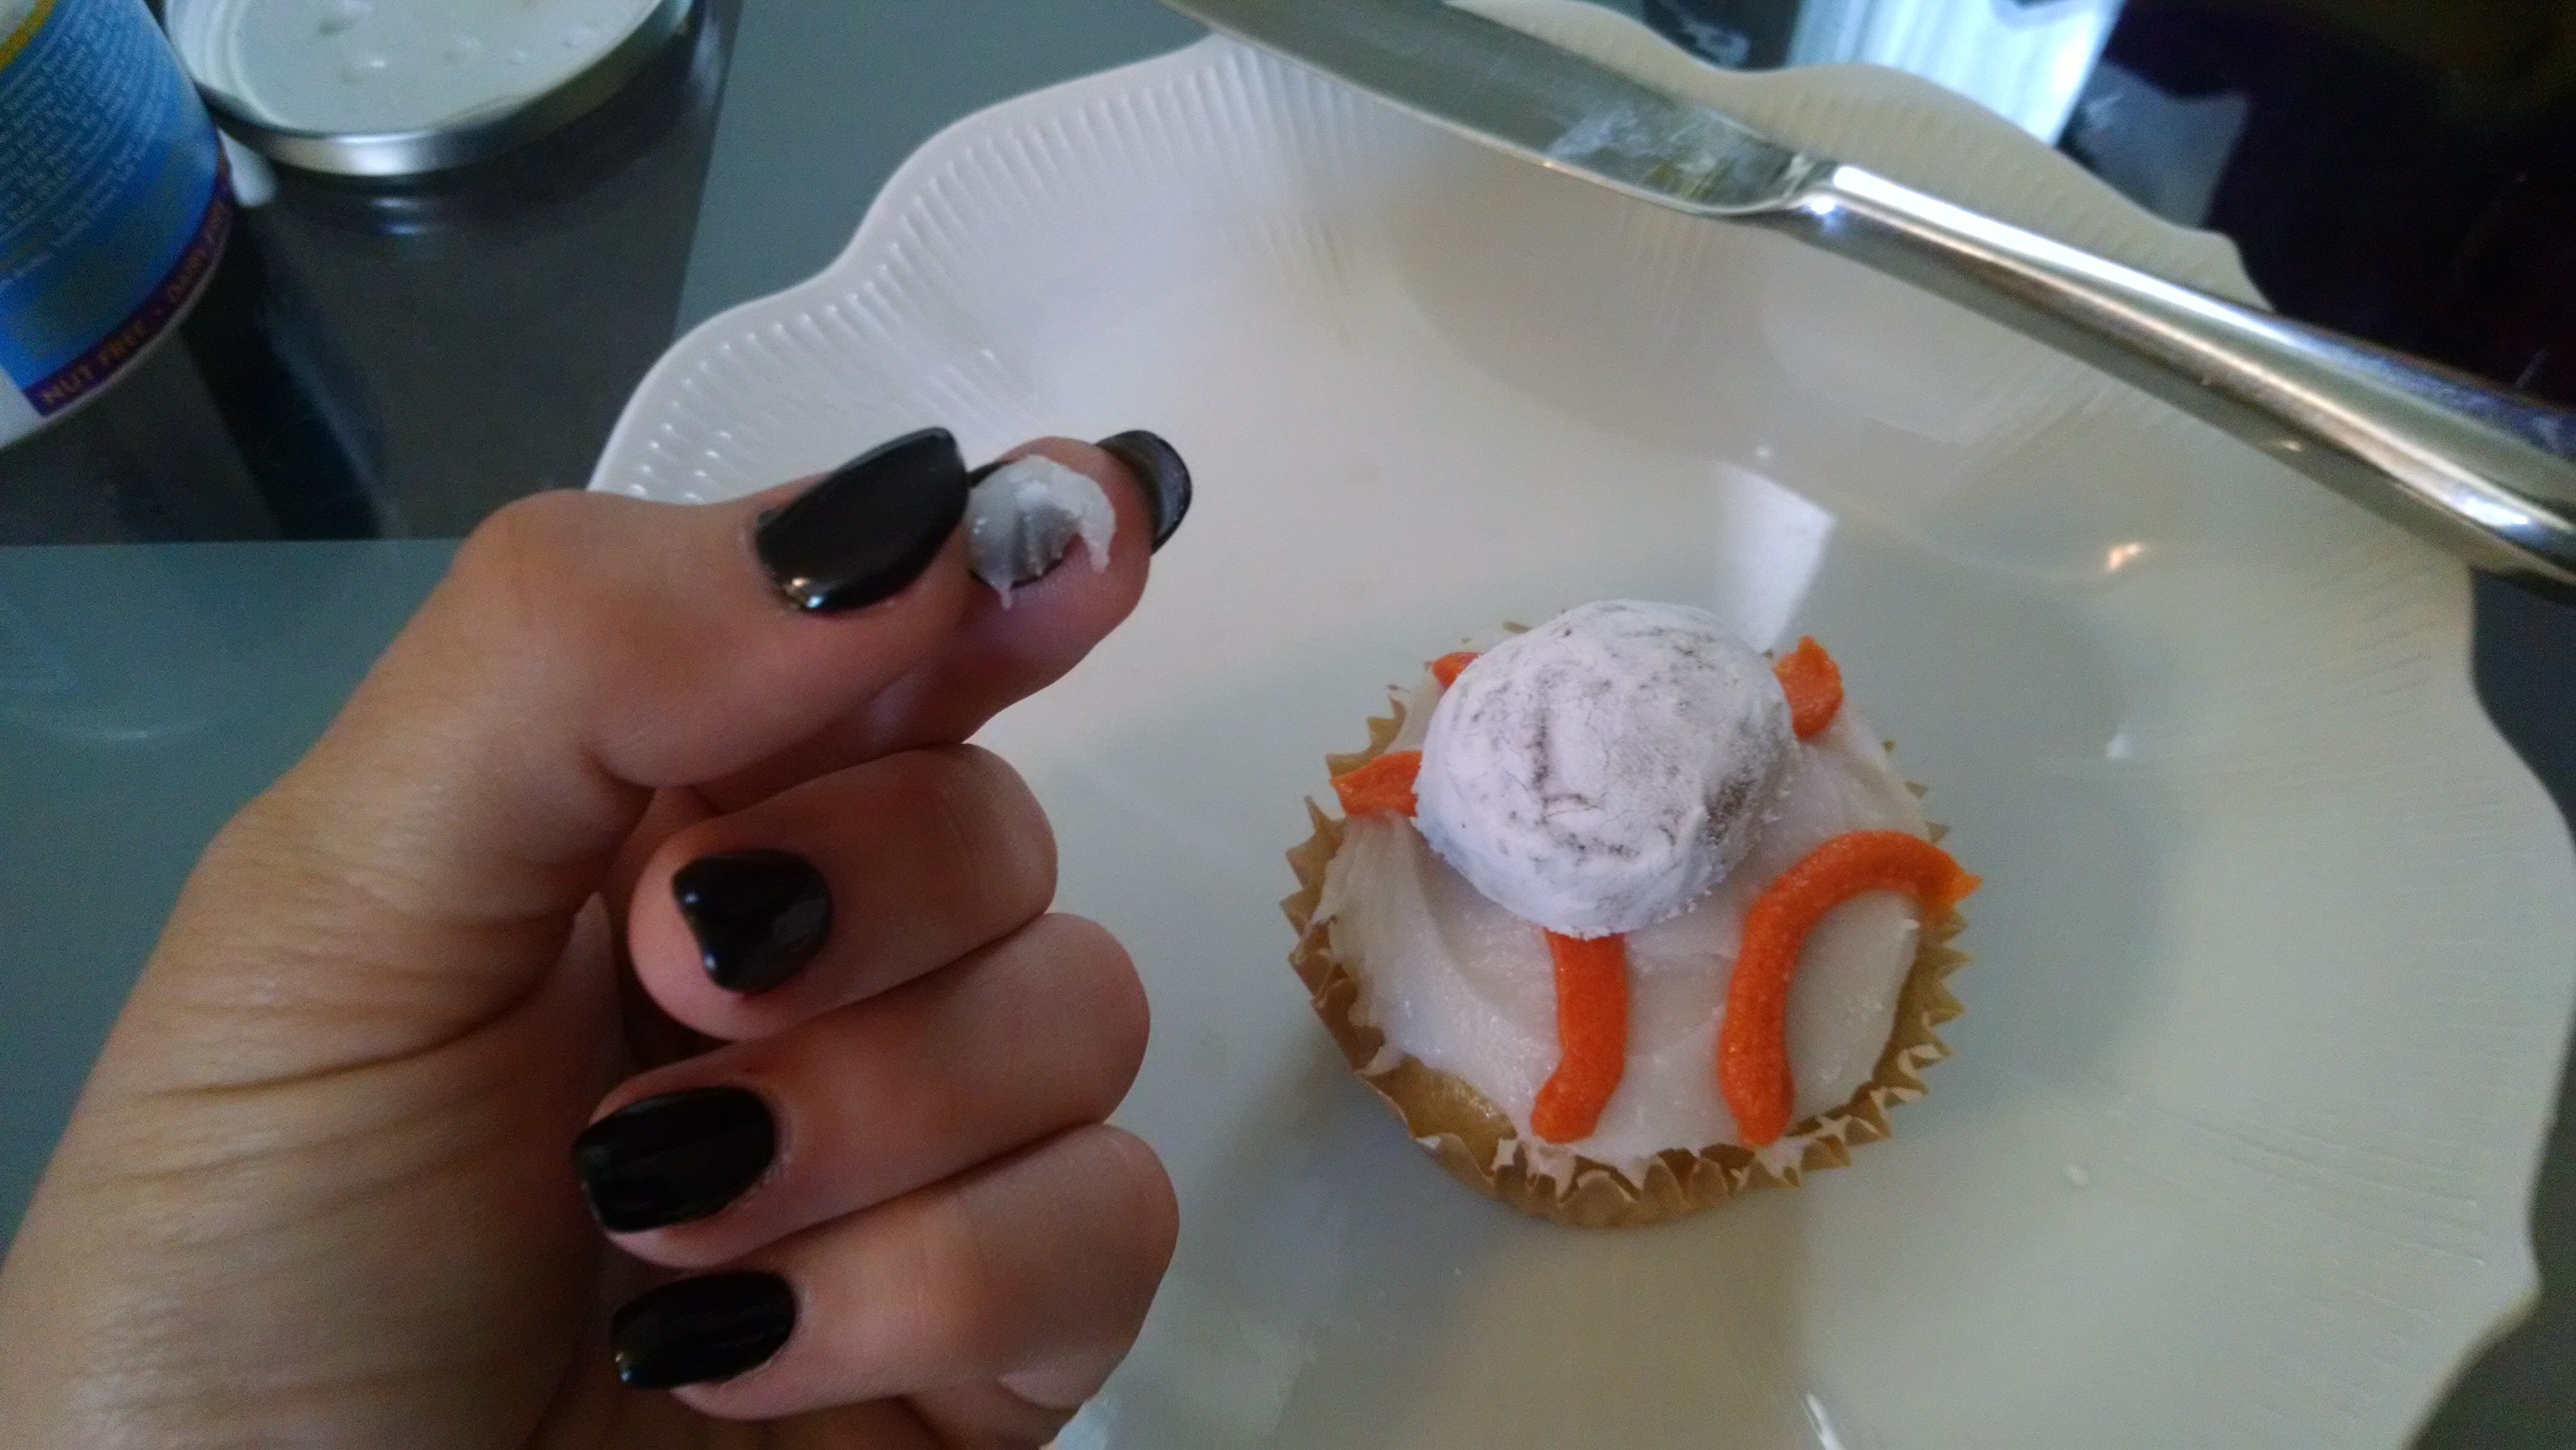
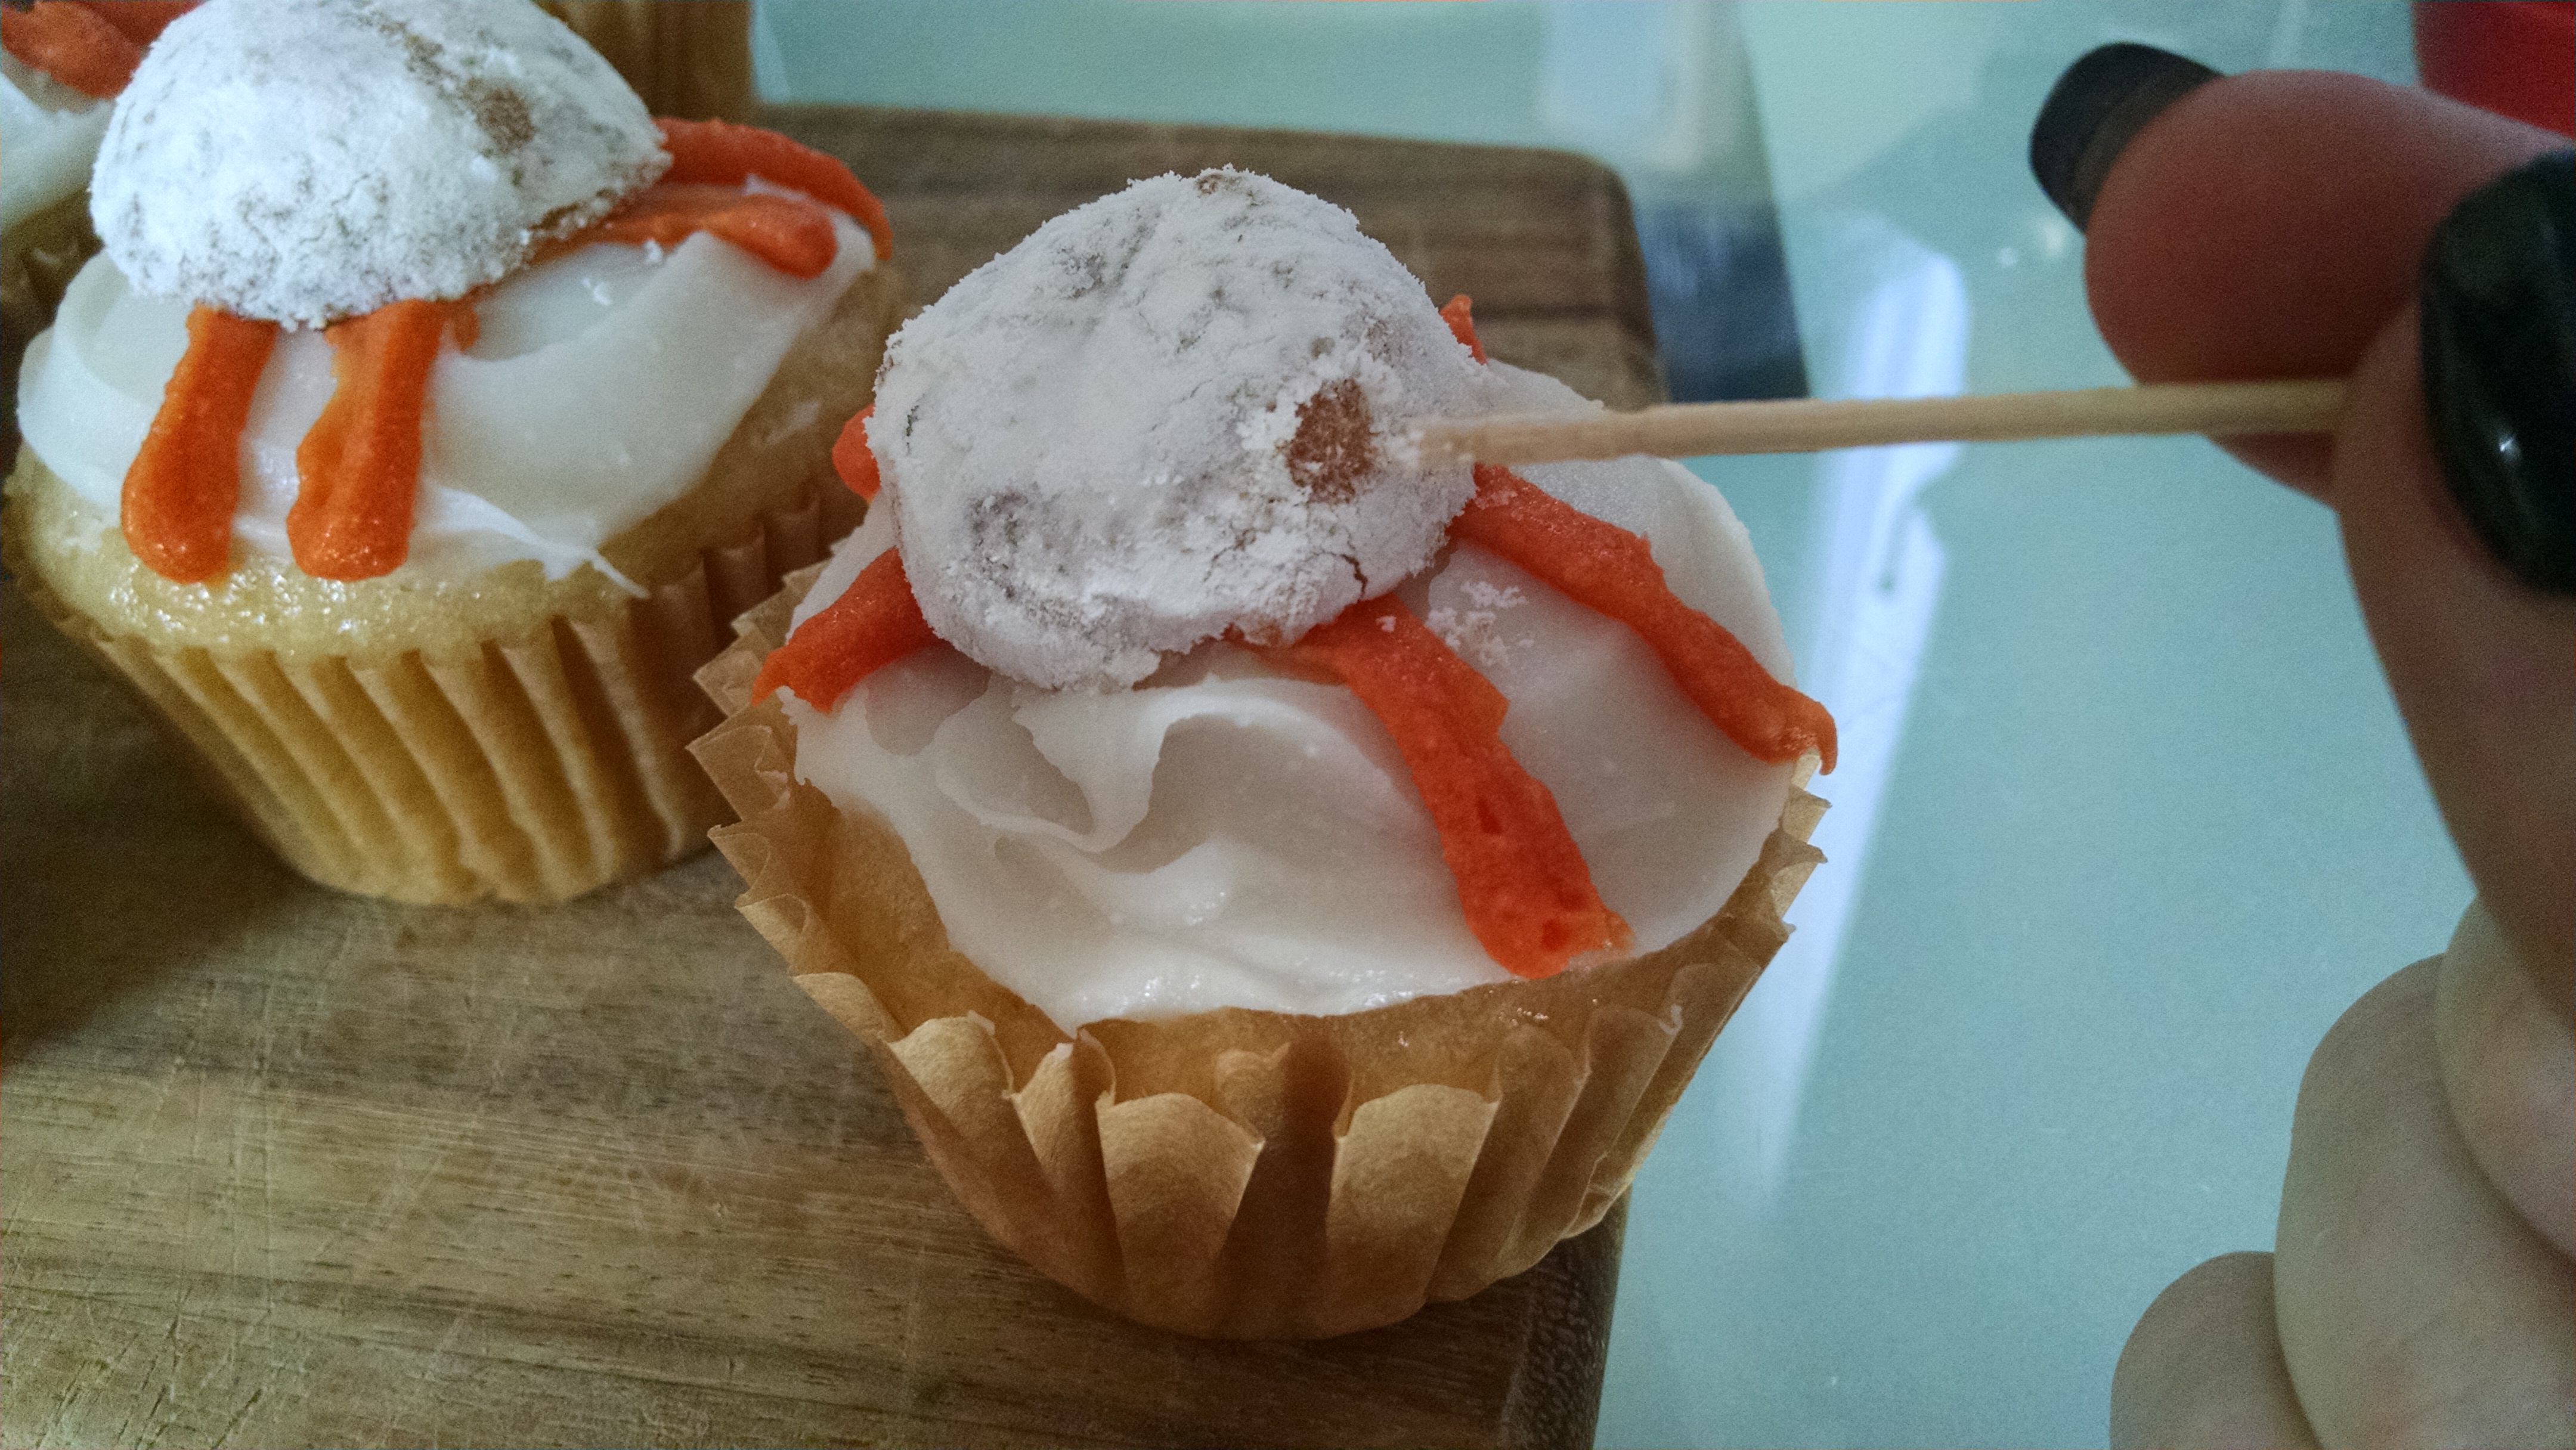
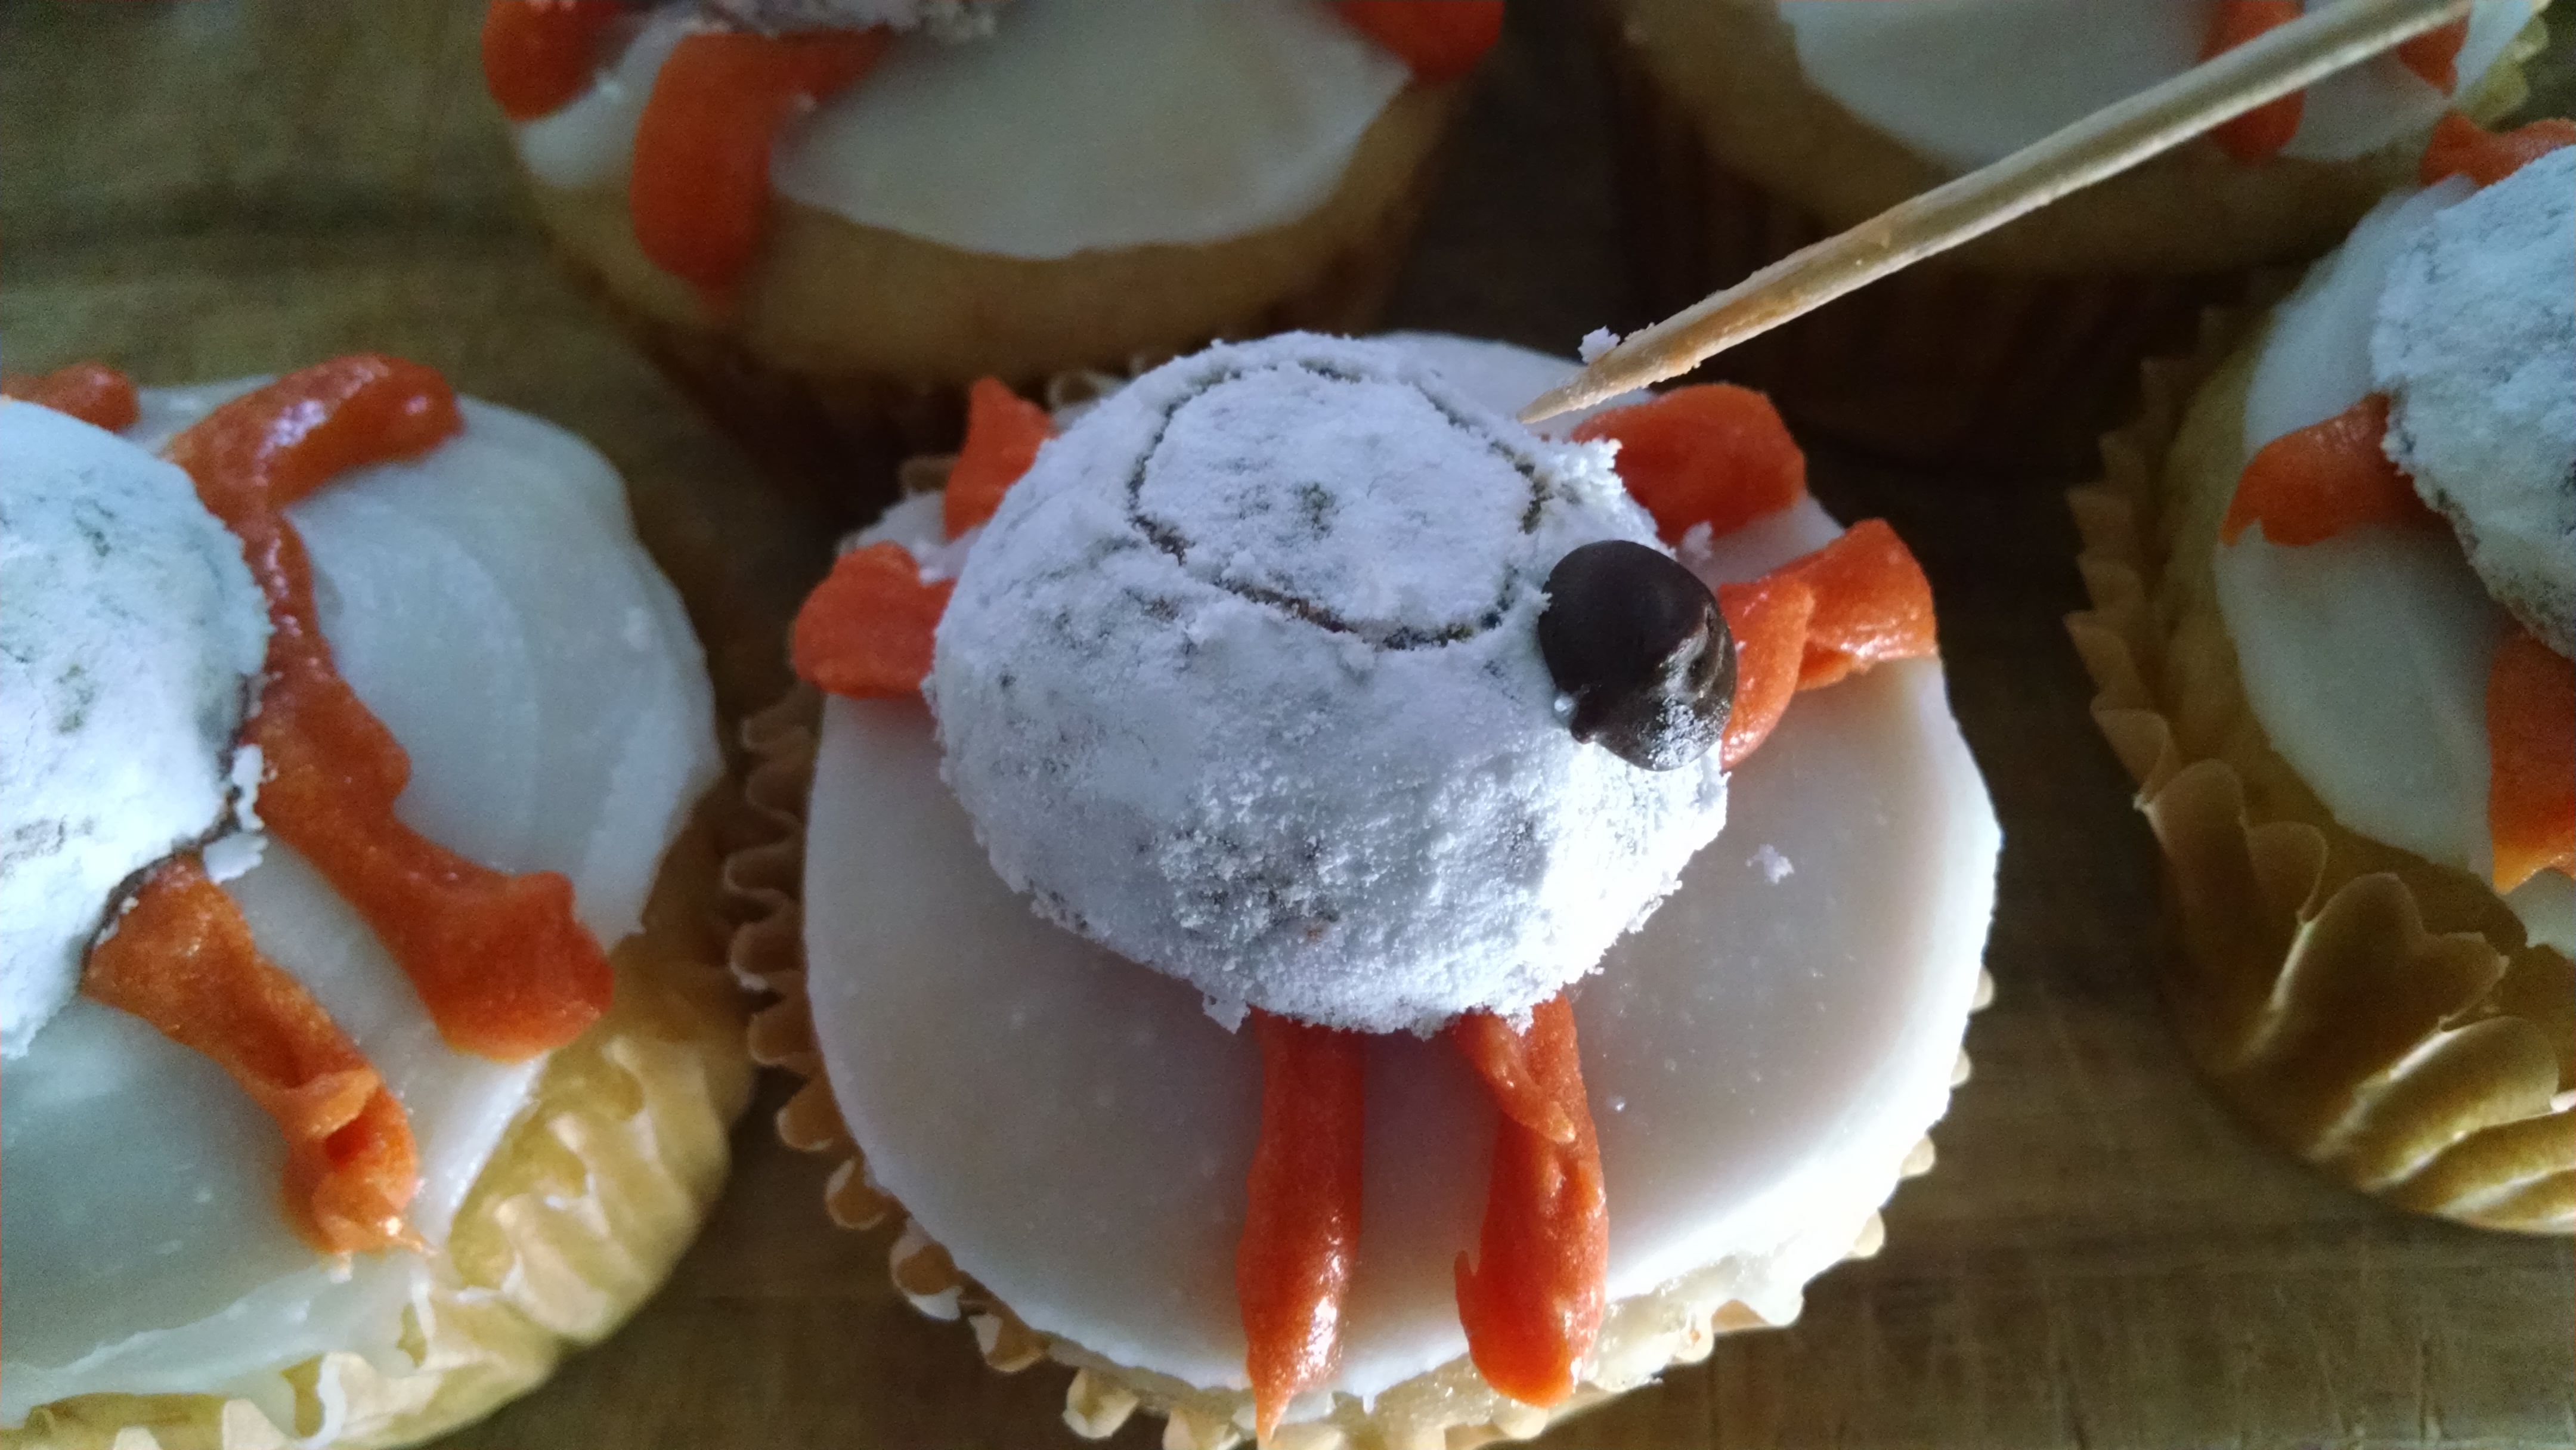
I wanted to make these little guys the quickest and easiest way that I possibly could, so I bought boxed cake mix and pre-made frosting (if you’re trying to do this the vegan way, make sure you check ingredients on any pre-made supplies you buy!). Obviously, you can make your edible BB-8 army totally from scratch if you so desire. If you’d like to see a more in-depth tutorial on how to make cupcake batter or frosting or anything else from scratch, let me know in the comments.

These being BB-8 cupcakes v.1, I did troubleshooting as I went to the best of my ability. As discussed in the steps below, I would probably modify certain things for the next batch. If you find an easier way, or if your batch turns out prettier than mine did (which wouldn’t be too difficult), I’d love to see it.

Happy baking!


Project Steps

Gather materials

I like to set up a clean workstation and lay out all of my tools and ingredients before starting to bake.

Preheat your oven to 325°F or whatever is specified on your cake mix box.

Line your cupcake tin with paper liners. It is very likely that your liners are nonstick, but it’s best to check before adding the batter.

Mix batter

Empty the contents of the yellow cake mix into a large mixing bowl.

Add water (or milk), oil, and bananas (or eggs). If you choose to use bananas, mash them with a fork as you incorporate them. If you have an immersion blender or handheld mixer, give your batter a quick buzz to get out the big banana lumps. Mix until smooth.

If you’re feeling inspired to add chocolate chips to the batter, now is the time to do so.

Bake

In order to evaluate the rise and cook time, I made a tester cupcake first (this is optional). You want them to have a nice domed top as your decorating canvas. My tester cupcake didn’t rise as much as I expected, so I filled up the cupcake tins until they were almost full (excluding the runt in the corner). If you use eggs instead of bananas, your cupcakes may rise more than mine did, so fill the tins accordingly (about ⅔ full).

After 20 minutes, I stuck a toothpick in my tester. If it comes out clean, the cupcake is ready. If the toothpick has batter or gooey crumbs on it, the cupcake needs to bake for a few more minutes.

NOTE: If you make a tester, one cupcake cooks a little bit faster than 12 huddled together. My tester cupcake took 20 minutes. The next dozen took closer to 24 minutes. Set a timer on the quick side, monitoring them and using the toothpick method to discern when they’re ready. Test one of the cupcakes in the middle, as they will cook slower than the ones on the perimeter.

Make orange frosting (potentially optional)

If you bought pre-made orange frosting, you won’t need to do this step. If you bought white frosting and food dye, prepare to mix that stuff up!

Take a dollop of white frosting into a small mixing bowl, squeeze 1 or 2 drops of food dye on it, and mix until fully incorporated.

Prepare the piping bag

Transfer your orange frosting into the corner of a ziploc bag.

Snip off the corner of the ziploc bag to make a makeshift piping bag. You only need to snip off the tiniest amount of plastic to make this work. Too much and your orange decorative lines will be too wide.

It’s easier to do this with a helper; one person holds the plastic taut and another person cuts a clean line through it.

Decorate the base

Wait for the cupcakes to fully cool before decorating them or they will crumble and melt your frosting. They will cool faster if you remove them from the tin. Once they are no longer warm to the touch, you can begin adding the frosting.

Cover the entire top of the cupcake with white frosting.

Use your piping bag to draw on BB-8’s orange circles.

For v.2, I would draw these lines a bit smaller and more spaced out in order to allow more room for BB-8’s head without cutting off the orange lines on his body.

Make the head

Use a serrated knife to cut some donut holes in half. Place half of a donut hole on each cupcake to form the head.

“Glue” the chocolate chips to the donut hole with a little dollop of frosting. Toothpicks work well as applicators for this.

Finish off with another orange ring on BB-8’s head.

Toothpick techniques

In retrospect, powdered sugar was not the best choice of surfaces upon which to apply frosting, since it’s like flour in that it is completely nonstick.

For v.2, I would either coat the donut hole in white frosting or use something else entirely.

The quickest solution to this issue was to simply “prime” the donut by scratching off the powdered sugar with a toothpick. It would be better to do this before placing the donut holes on top of the cupcakes, but alas, I did not think that far ahead.

Your decorations will stick to the actual donut much easier than to a powdered surface.