

Projects from Make: Magazine
Blinky TIE Fighter
Build a quick TIE fighter out of cardboard and LEDs.
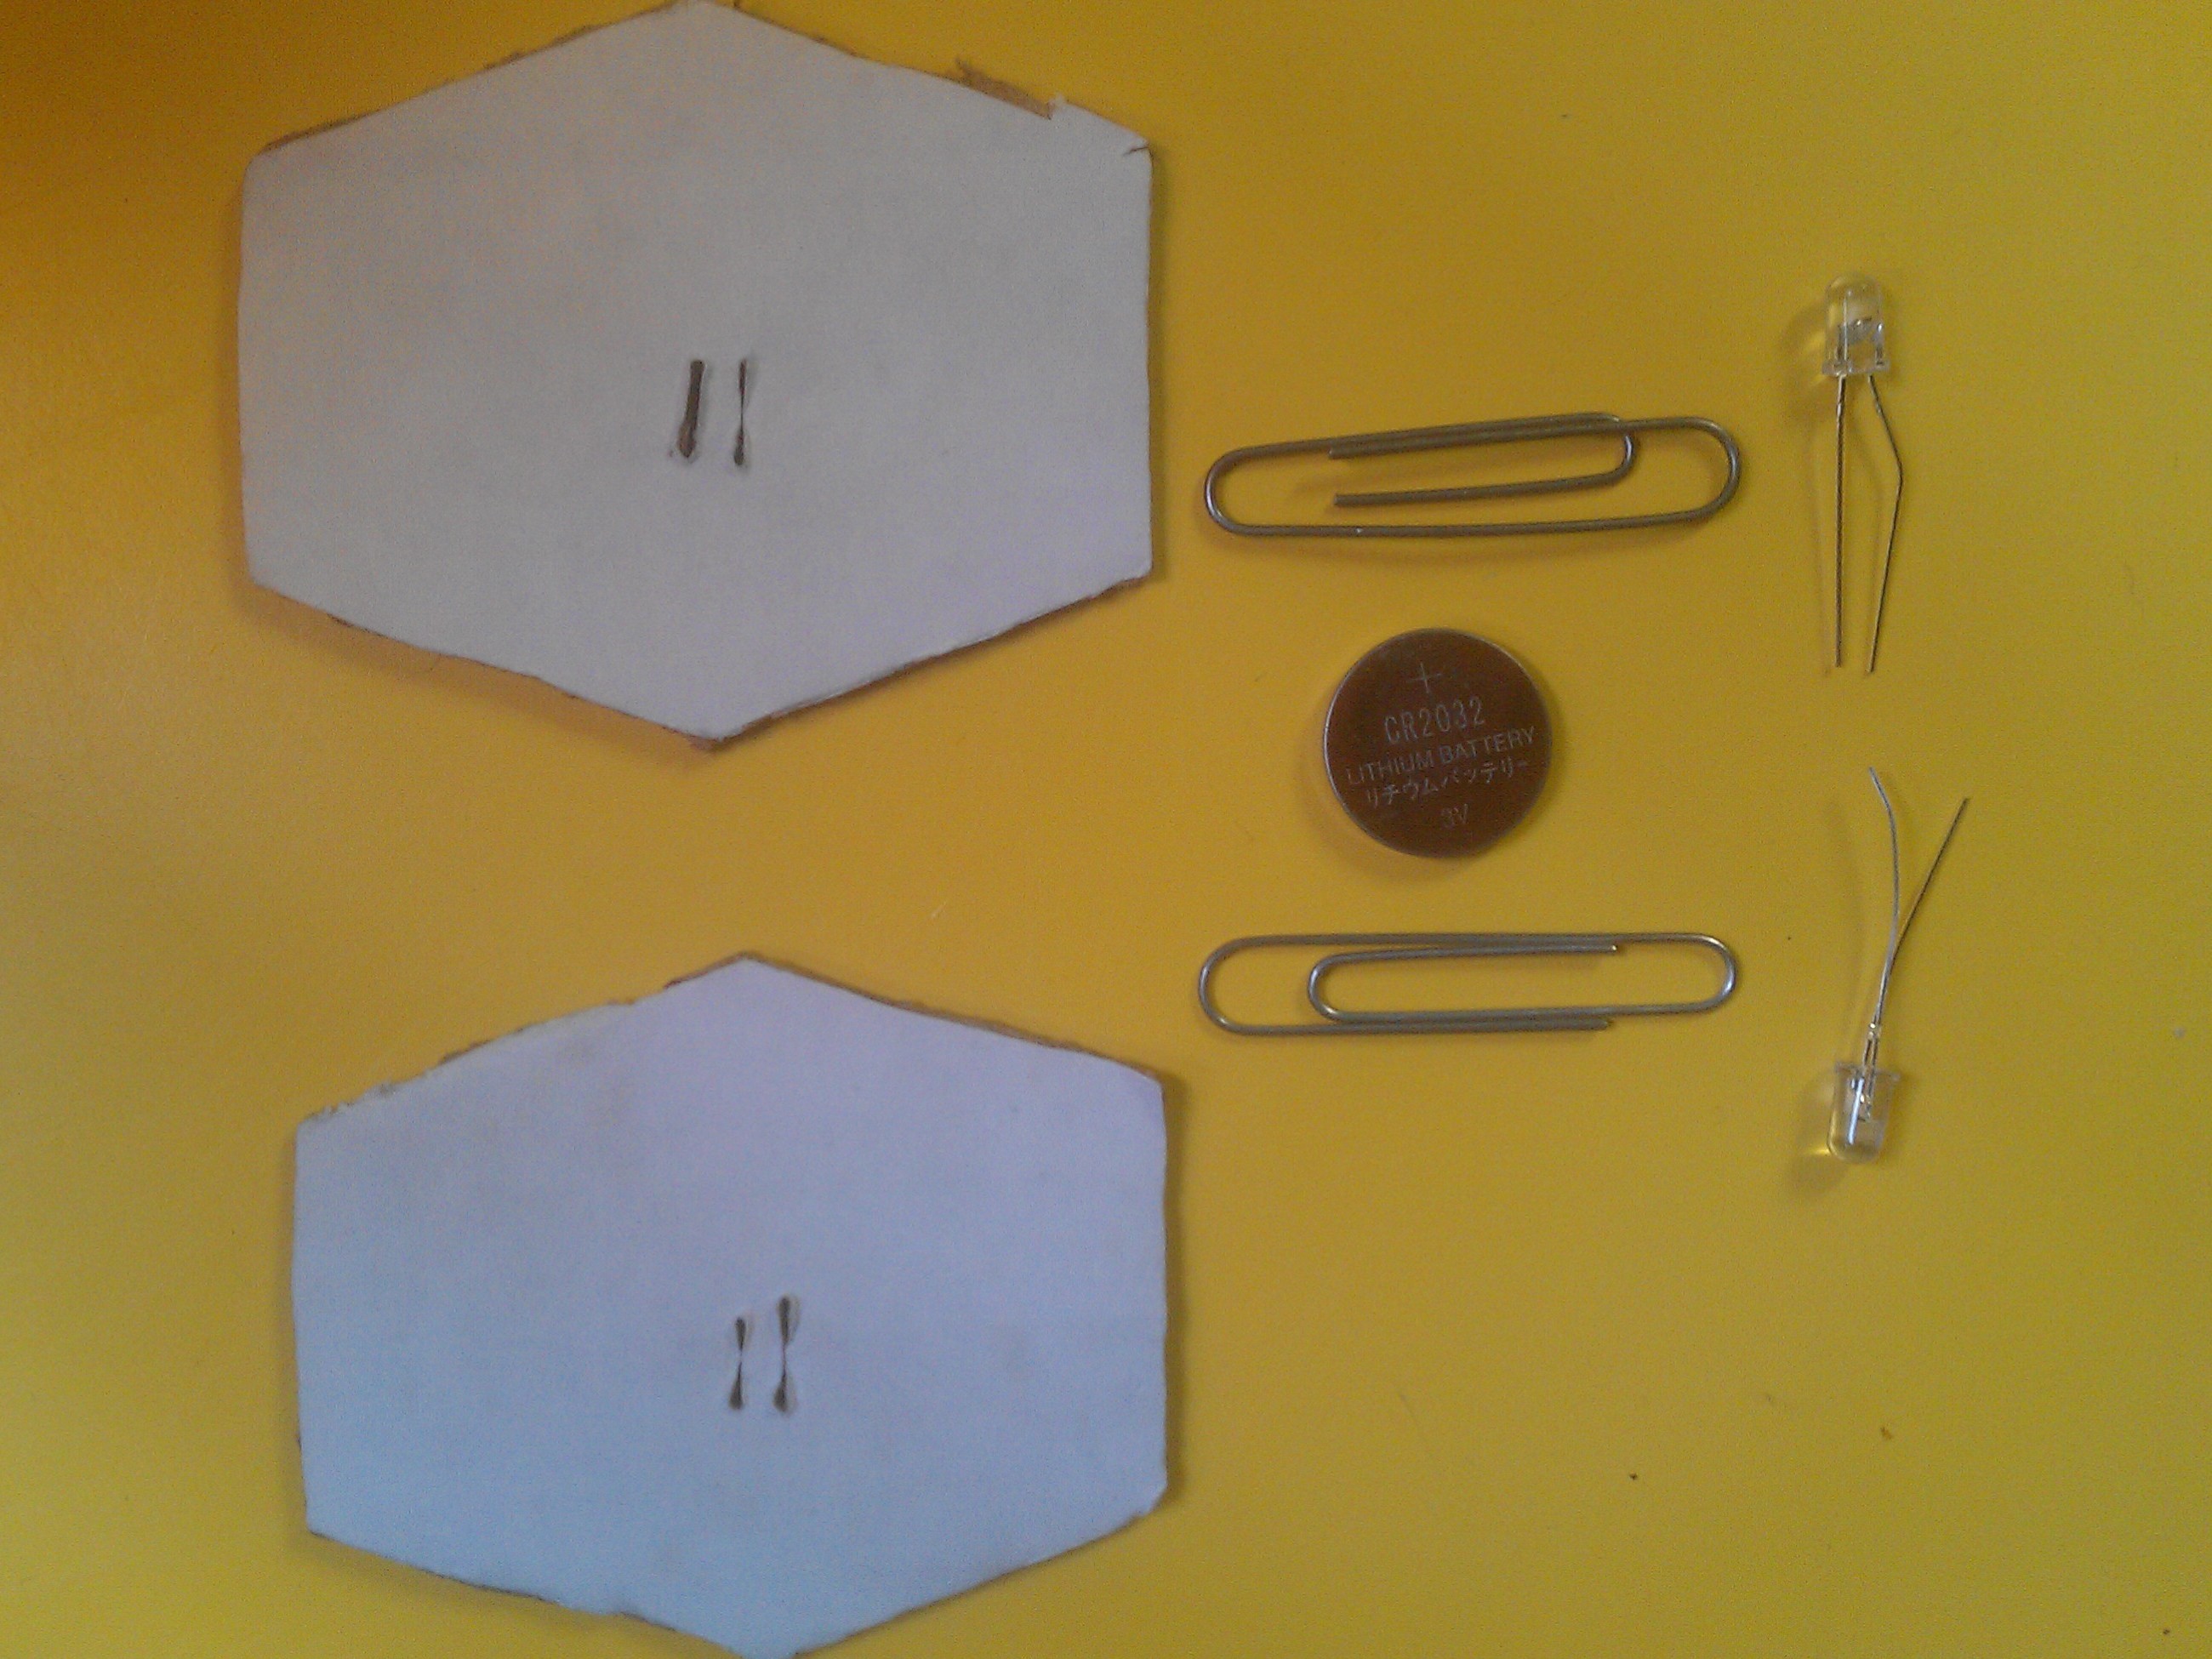
This is a simple project designed for my boys (age 7). Parts list:
Cardboard cut into wings (hexagons, slightly taller than they are wide)
Two standard paper clips, approximately 1 3/4″ long
Two red blinking LEDs
One round 3V battery (e.g. CR2016)
Cut out wings.
Put one paper clip on the top of the battery and one across the bottom.
Use the paper clips as a guide to cut or poke holes into the wings to hold the paper clips and battery in place. You can tape the battery in place if you want.
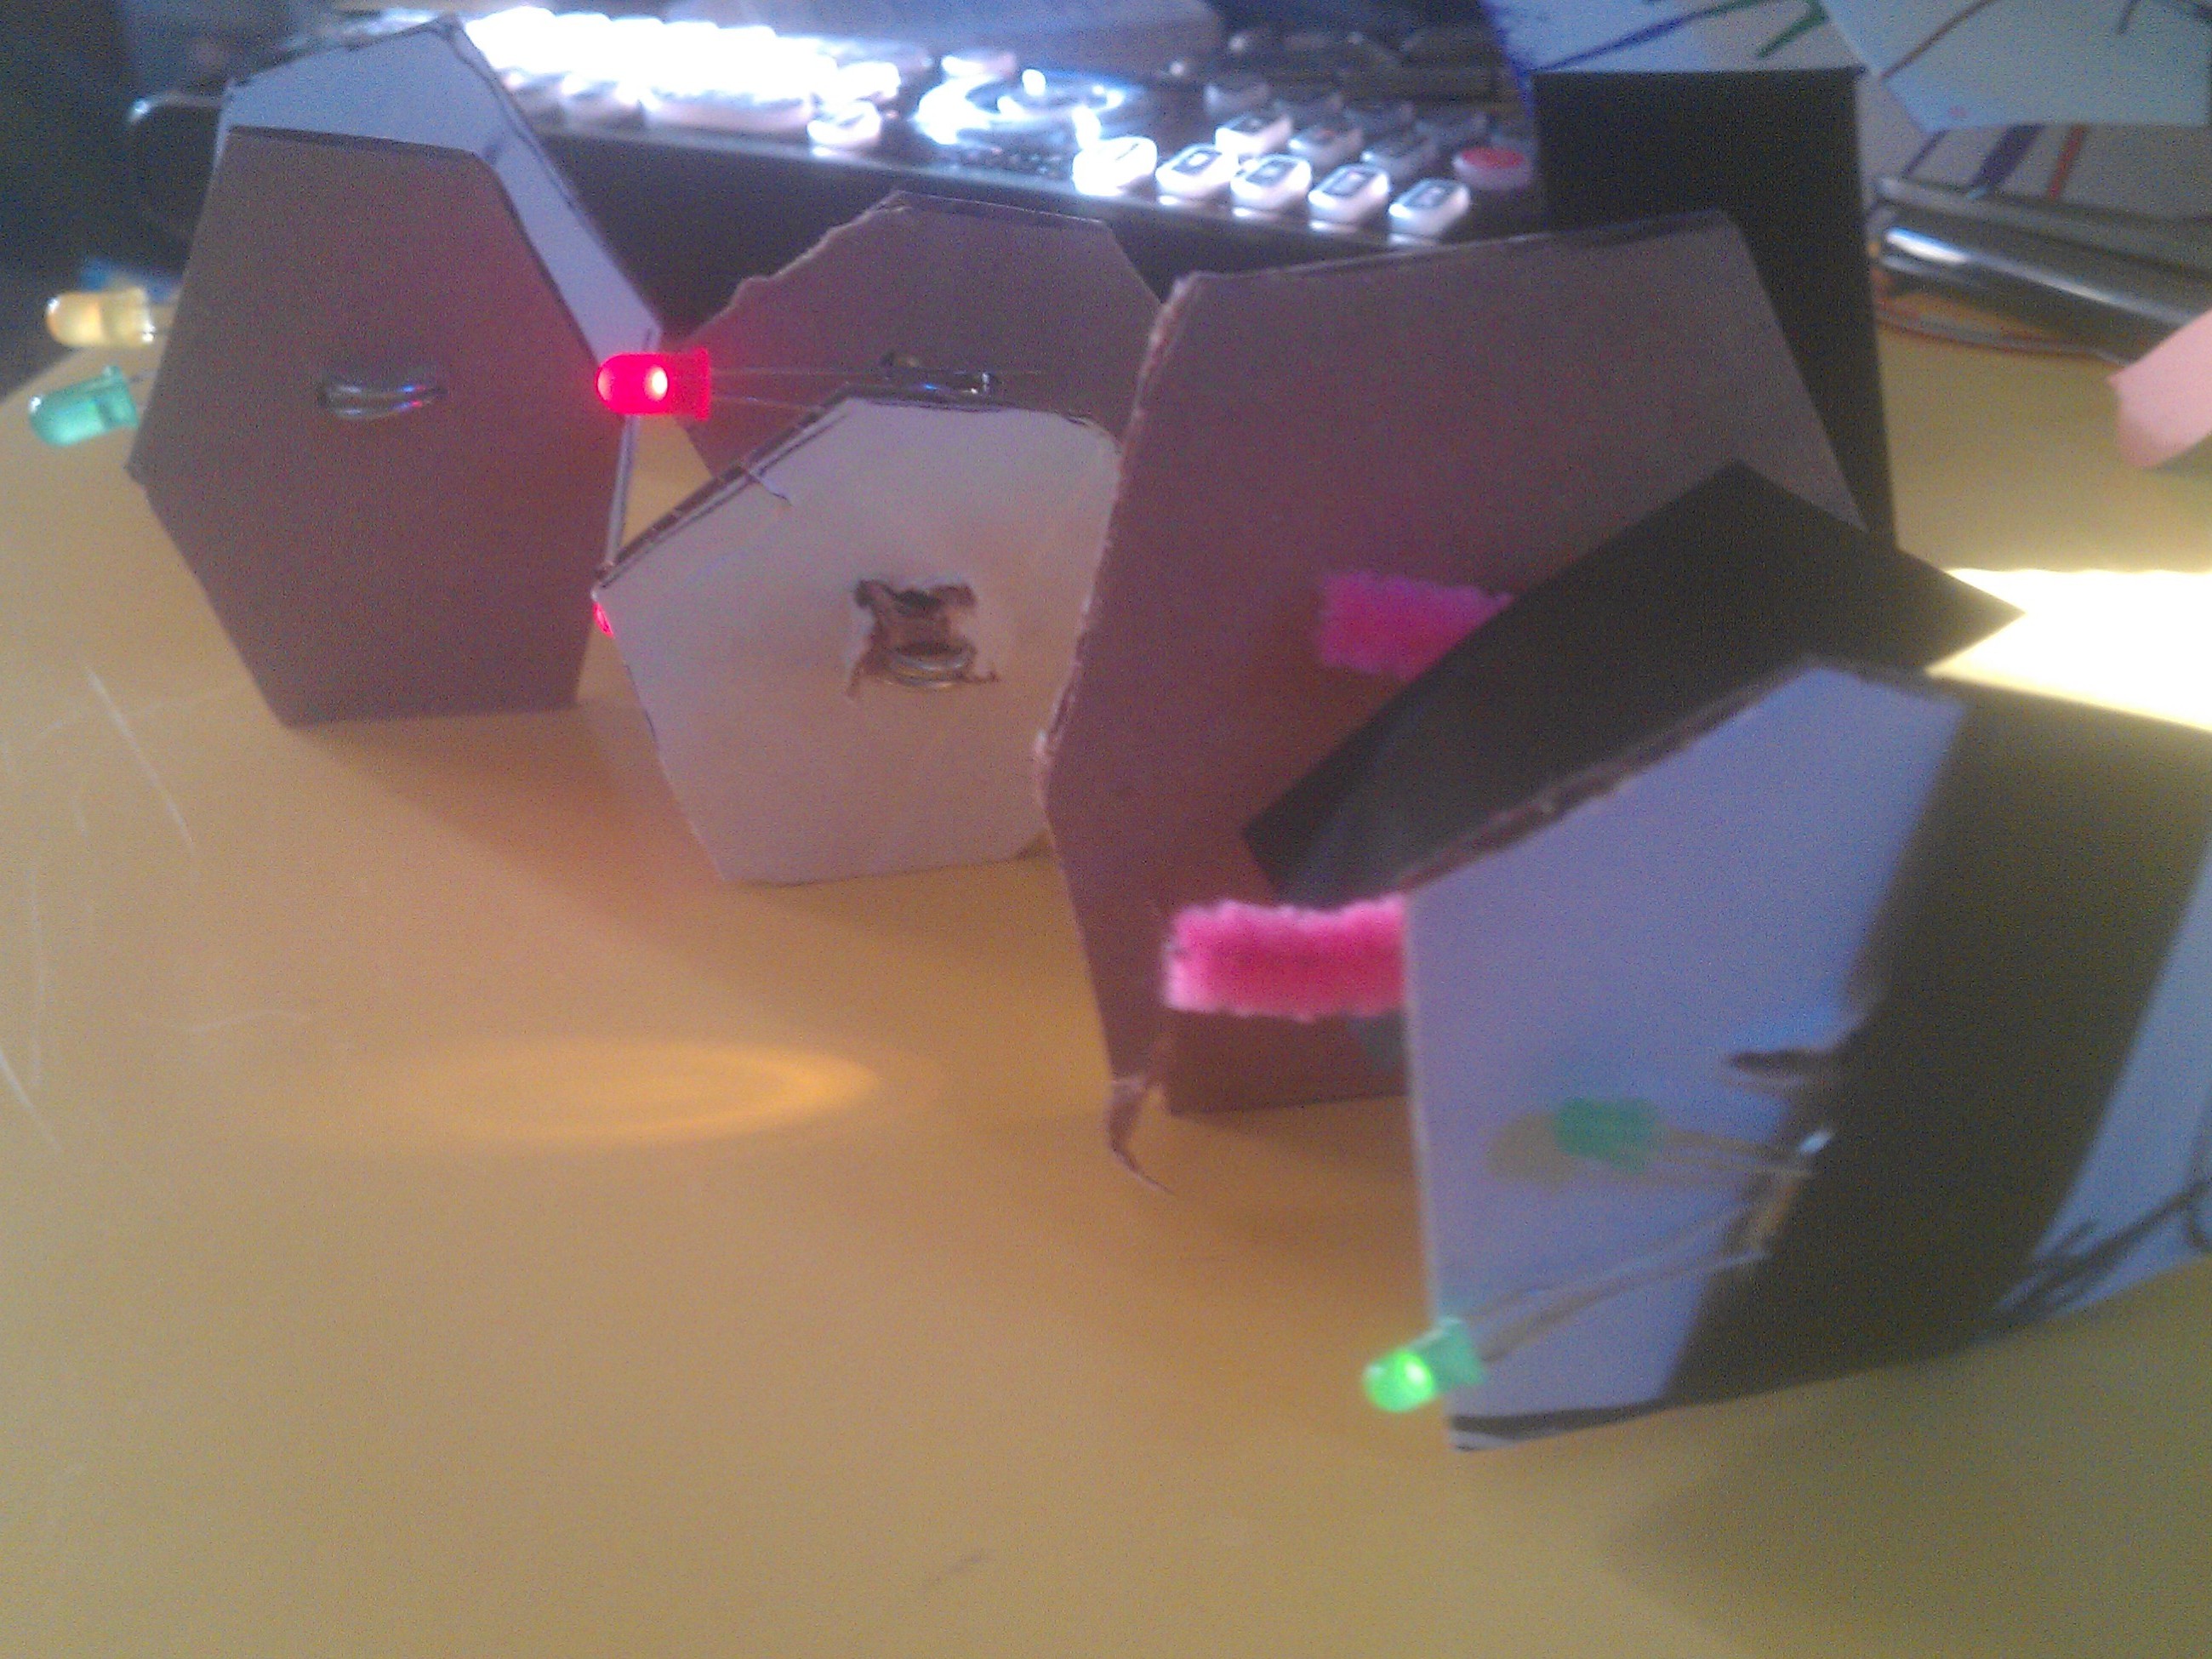
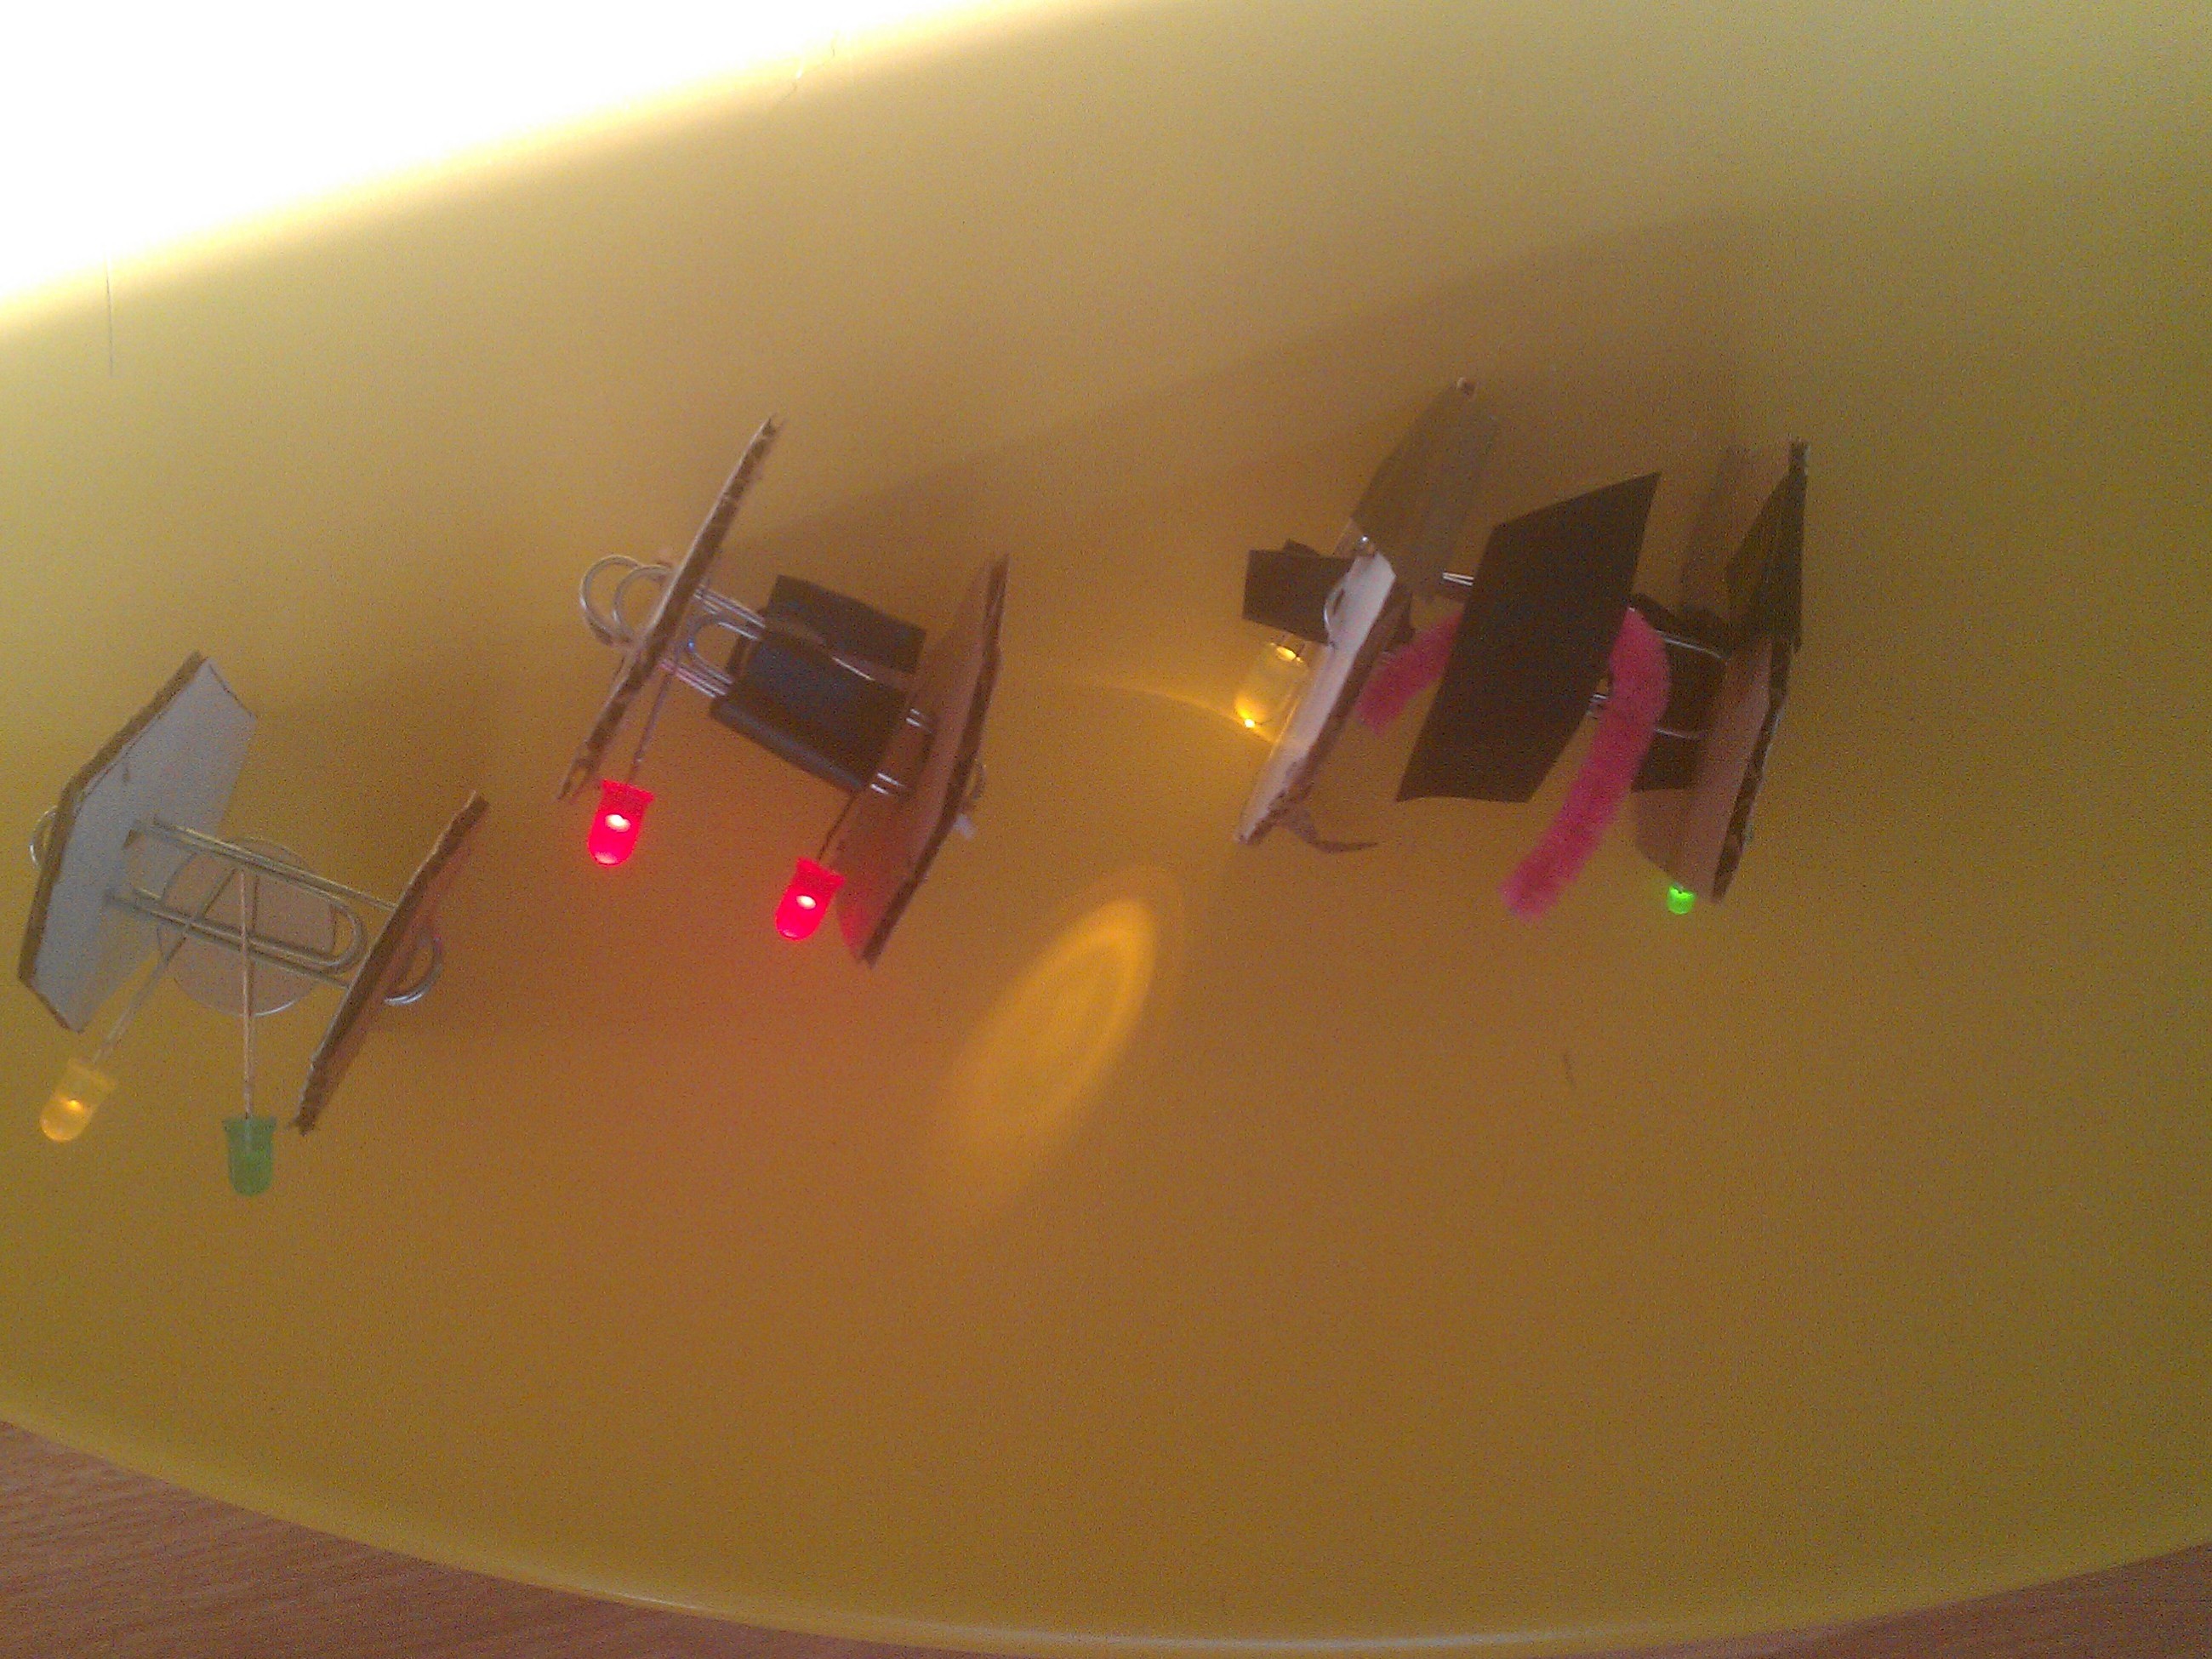
Attach the wings to the paper clips. You can tape the wings in place to give the TIE fighter extra strength if you want.
Attach the LEDs to the paper clips. Note that the longer leg of the LED is the positive side. Make sure the paper clips aren’t touching each other and that the legs of the LEDs aren’t touching.
Conclusion
Attach is a wing pattern which might be useful.


