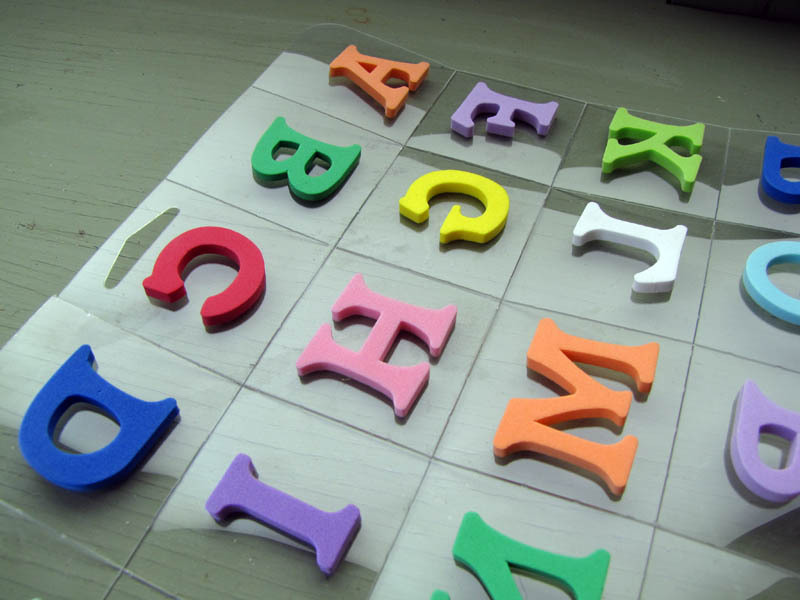
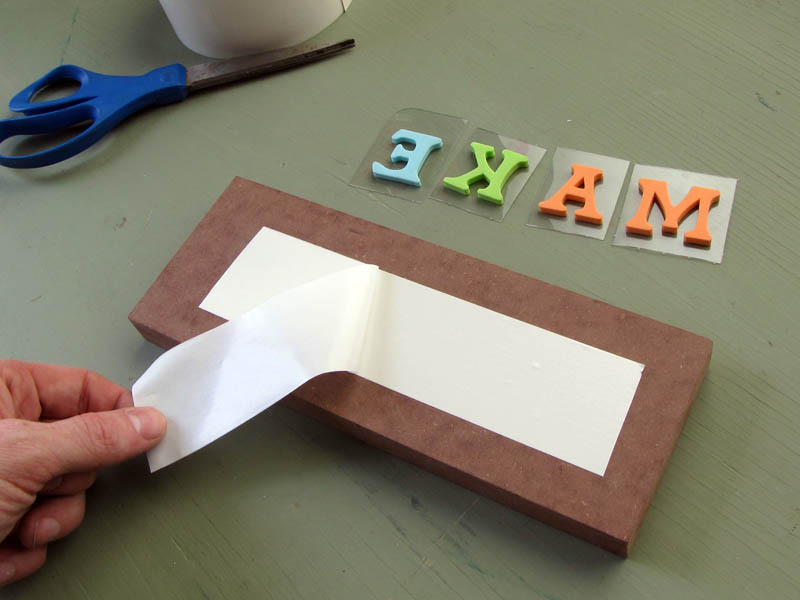
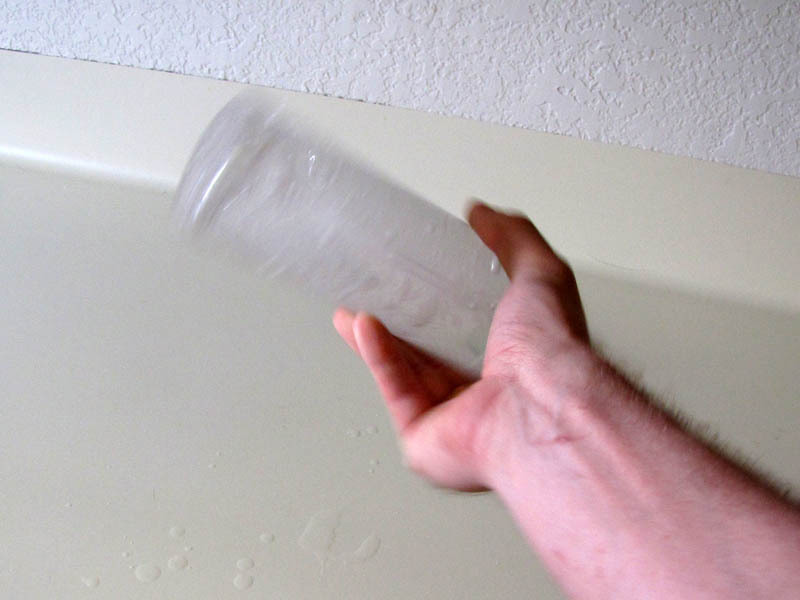
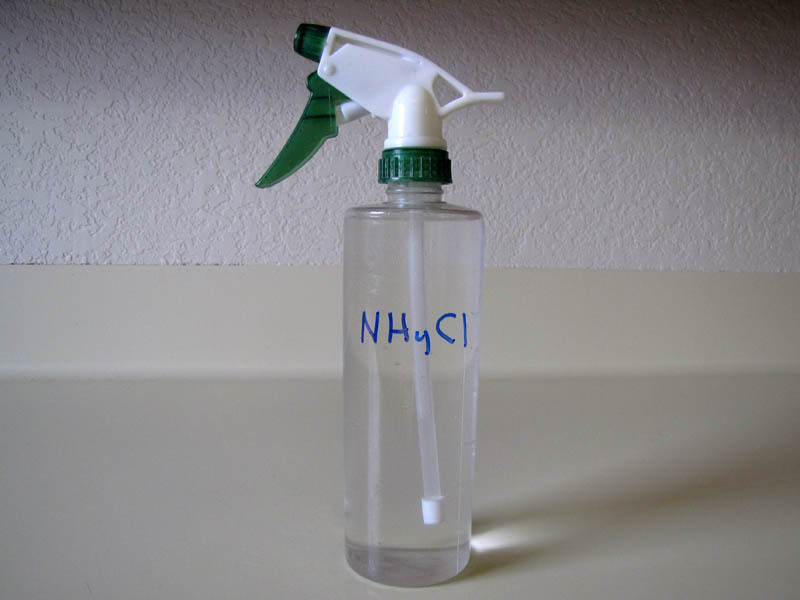
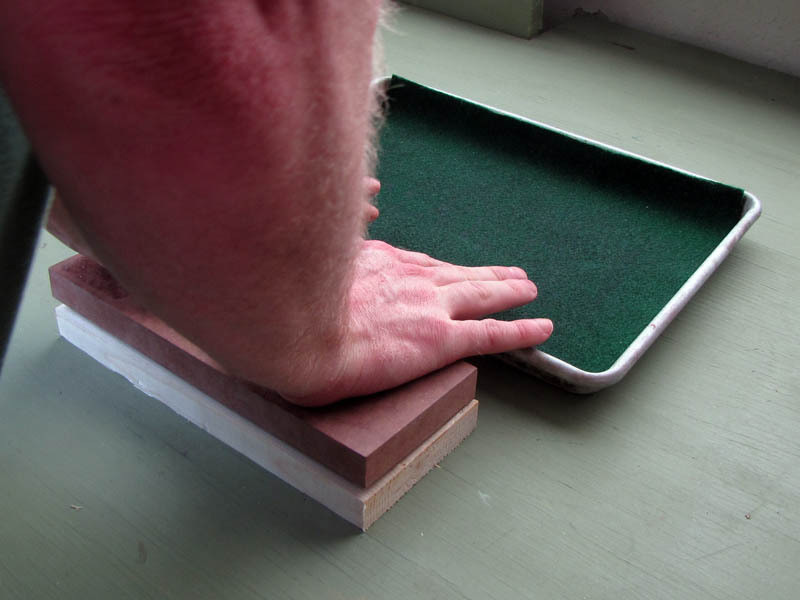
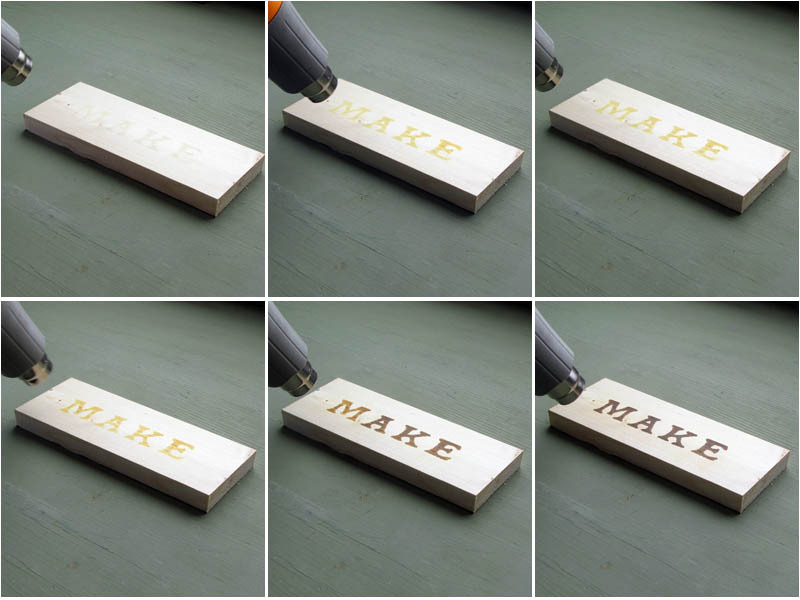
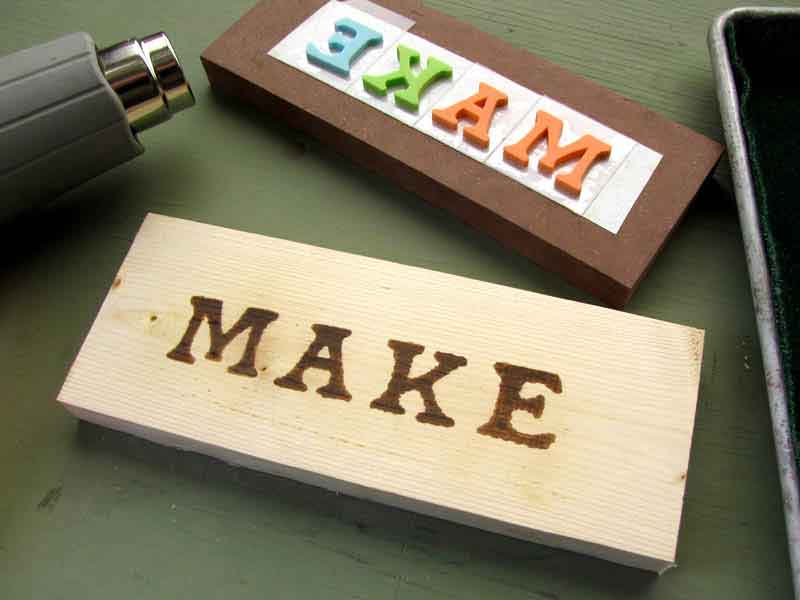
If you want to apply a maker’s mark or other repeated pyrograph to wooden goods, but can’t justify the expense of a custom branding iron, an indistinguishable effect can be achieved by applying a strong solution of ammonium chloride, for instance using a foam rubber stamp, followed by relatively mild heat.

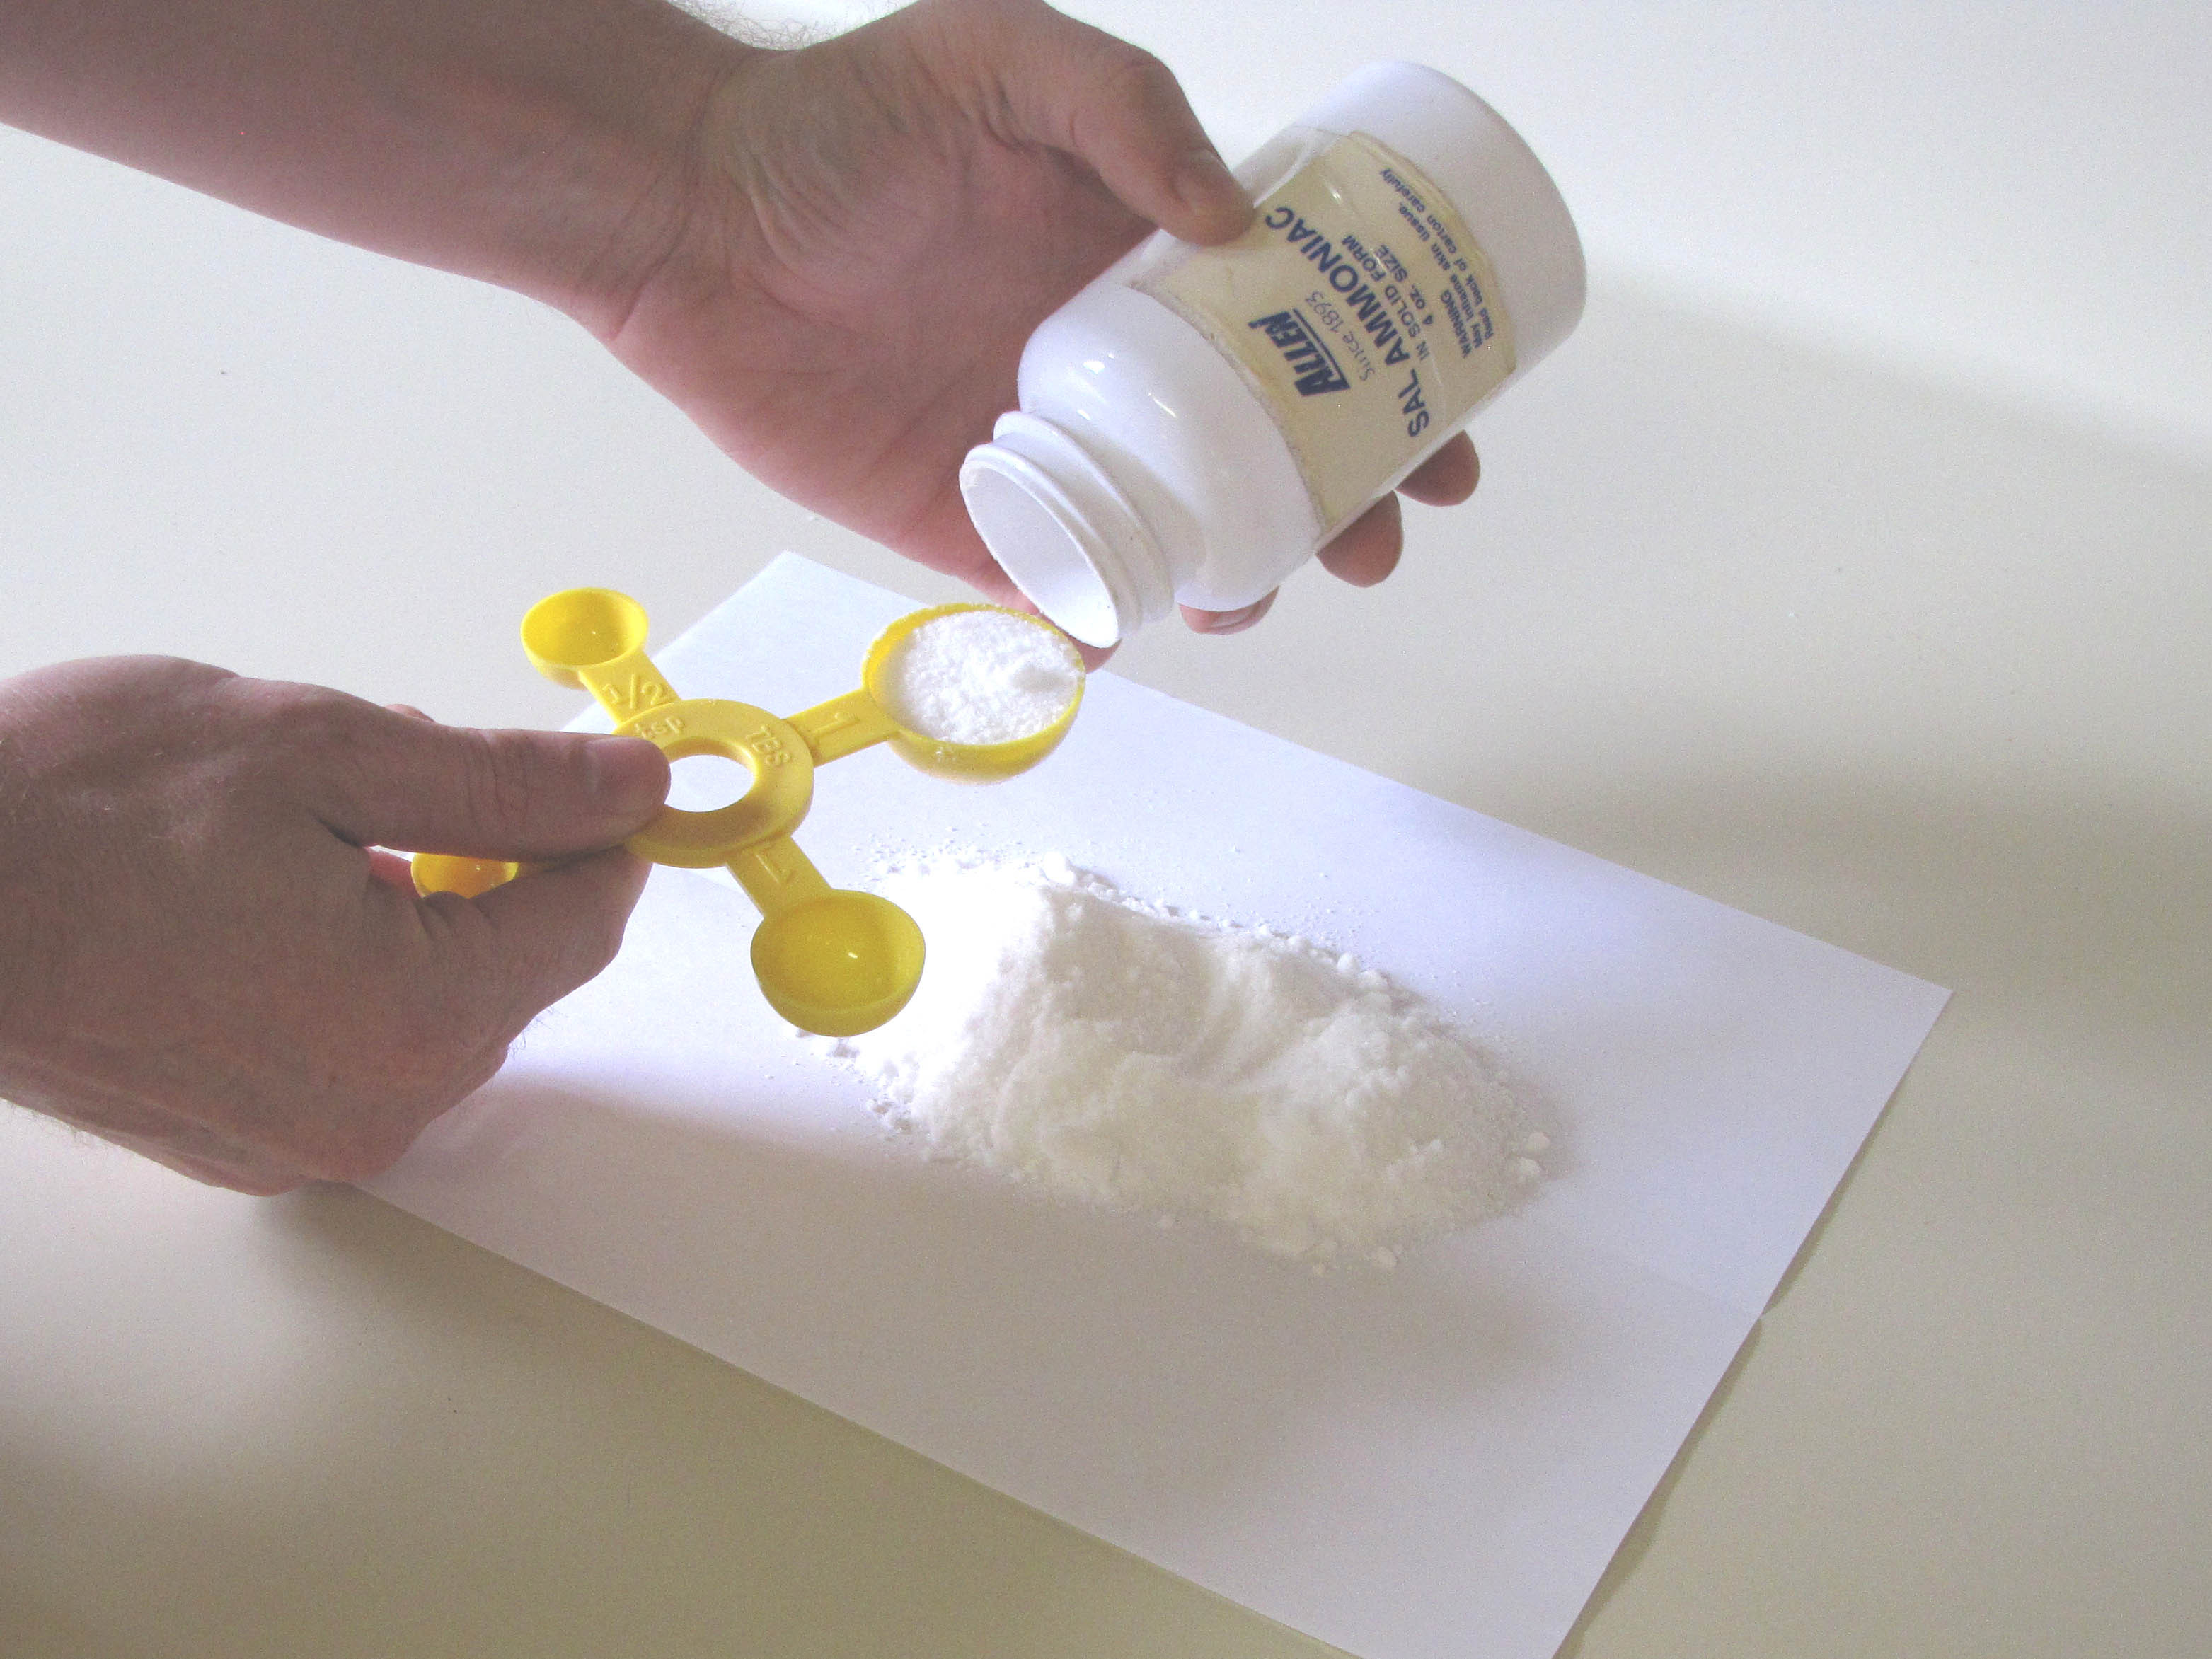
On heating, ammonium chloride decomposes into ammonia gas and strong hydrochloric acid (NH4Cl → NH3 + HCl). Ammonia diffuses away into the atmosphere, leaving the strong acid behind, which burns the wood. The resulting chemical burn is identical to a heat burn in most respects.

This process sounds nastier than it is, in practice, and although prudence dictates erring on the side of caution and working with plenty of ventilation, the process does not produce a noticeable smell either of ammonia or of HCl. The only detectable odor is burning wood.

CAUTION: Ammonium chloride fumes can cause respiratory harm or an asthma-like allergy, so avoid breathing dust, vapor, mist, or gas. Wash thoroughly after handling. Store ammonium chloride capped at room temperature and protect it from heat.

Project Steps

Prepare stamp

For my simple “MAKE” stamp, I used these plastic-backed 1.5″ foam-rubber letters from a hobby store.

Apply a strip of carpet tape to a suitably-sized piece of MDF, plywood, or other flat back. Remove the tape backing.

Arrange the letters as needed and push down the backing around each to fix it in place.

Measure and add solid

Although the photo shows me working with bare hands, you should err on the side of caution and wear latex or nitrile gloves, as well as goggles, from this point onward in the project.

Take a piece of paper and fold it in half lengthwise.

Lay it out on your work surface, then measure 5 level tablespoons of ammonium chloride onto the fold.

Gather up the paper from the long edges and form a channel, pouring as shown, using the fold to direct the solid into the mouth of the bottle.

If you want more or less than 500 mL of “ink,” the formula is 1 tablespoon ammonium chloride per 100 mL water.

Add water and mix

Pour 500 mL of warm water into the bottle on top of the solid ammonium chloride. Tap water should be fine.

Put the sprayer, or a matching cap, on the bottle and tighten it down securely. Shake the bottle gently until all the ammonium chloride is dissolved.

CAUTION: Although these photos show me working with bare hands, use caution and wear latex or nitrile gloves, as well as goggles.

NOTE: If you want more or less than 500mL of “ink,” the formula is 1 tablespoon ammonium chloride per 100mL water.

Prepare stamp pad

Set out a flat, shallow, aluminum or plastic tray that’s big enough to accept your stamp.

Line the tray with felt.

Saturate the felt by misting it generously with ammonium chloride “ink” from the spray bottle.

Ink and apply stamp

You’ll want to practice this process a couple times on scrap wood before trying it on anything important.

Put the stamp onto the felt and press down with some force to “ink” it.

Transfer the stamp to the workpiece, line it up carefully, and press down with about the same force to transfer the ink.

CAUTION: If you let the “ink” sit on a wooden surface too long, it may diffuse along the grain and blur the image.

Apply heat

If you let the “ink” sit on a wooden surface too long, it may diffuse along the grain and blur the image.

Immediately after applying the stamp, pick up the heat gun and begin applying heat. I used the “high” setting on my heat gun.

Play the heat gun evenly across the surface of the work. Within a minute or two the inked areas will begin to turn yellow, then brown, then brownish-black.

You’re done! For all practical purposes, the resulting chemical burn is indistinguishable from a heat burn. It is waterproof and can be finished or otherwise treated like a conventional pyrograph.

Going Further

The “ink” described here is nothing more than an 80% saturated solution of ammonium chloride. Though it works well enough, there’s plenty of room for improvement. Adding egg whites or other thickener, for instance, might improve the handling qualities by reducing the tendency of the ink to diffuse along grain lines.

And there’s no reason it has to be applied with a stamp. You might just as well use a stencil, marker, brush, inkjet printer, or some other means.

Other surfaces should also be susceptible to this treatment. It will certainly work on paper and cardboard. Leather, too, perhaps? Metal? Let us know what you find out at makezine.com/projects/chemical-woodburning.