
Embroidery is a great activity that can add the right aesthetic touch to many sewing projects. From adding a floral print to a hand towel, to adding a bit of flair to your bag! I started to learn embroidery from my mom when I was a kid. I would choose a kit and try to stay focused long enough to complete the full image. The project would seem to drag on and on, and by the time I got somewhat of an acceptable image, I never wanted to see the thing again. After playing around with a few embroidery concepts, I found that it was easier to complete the outline of an image. So, I refined the skill to add a different edge to my projects.
This is a great beginner embroidery mod project. It is a great introduction to the embroidery world without the commitment of completing a kit. This project allows you to use your own image to add a personal touch. It is a great, easy, indoor project for a rainy day.
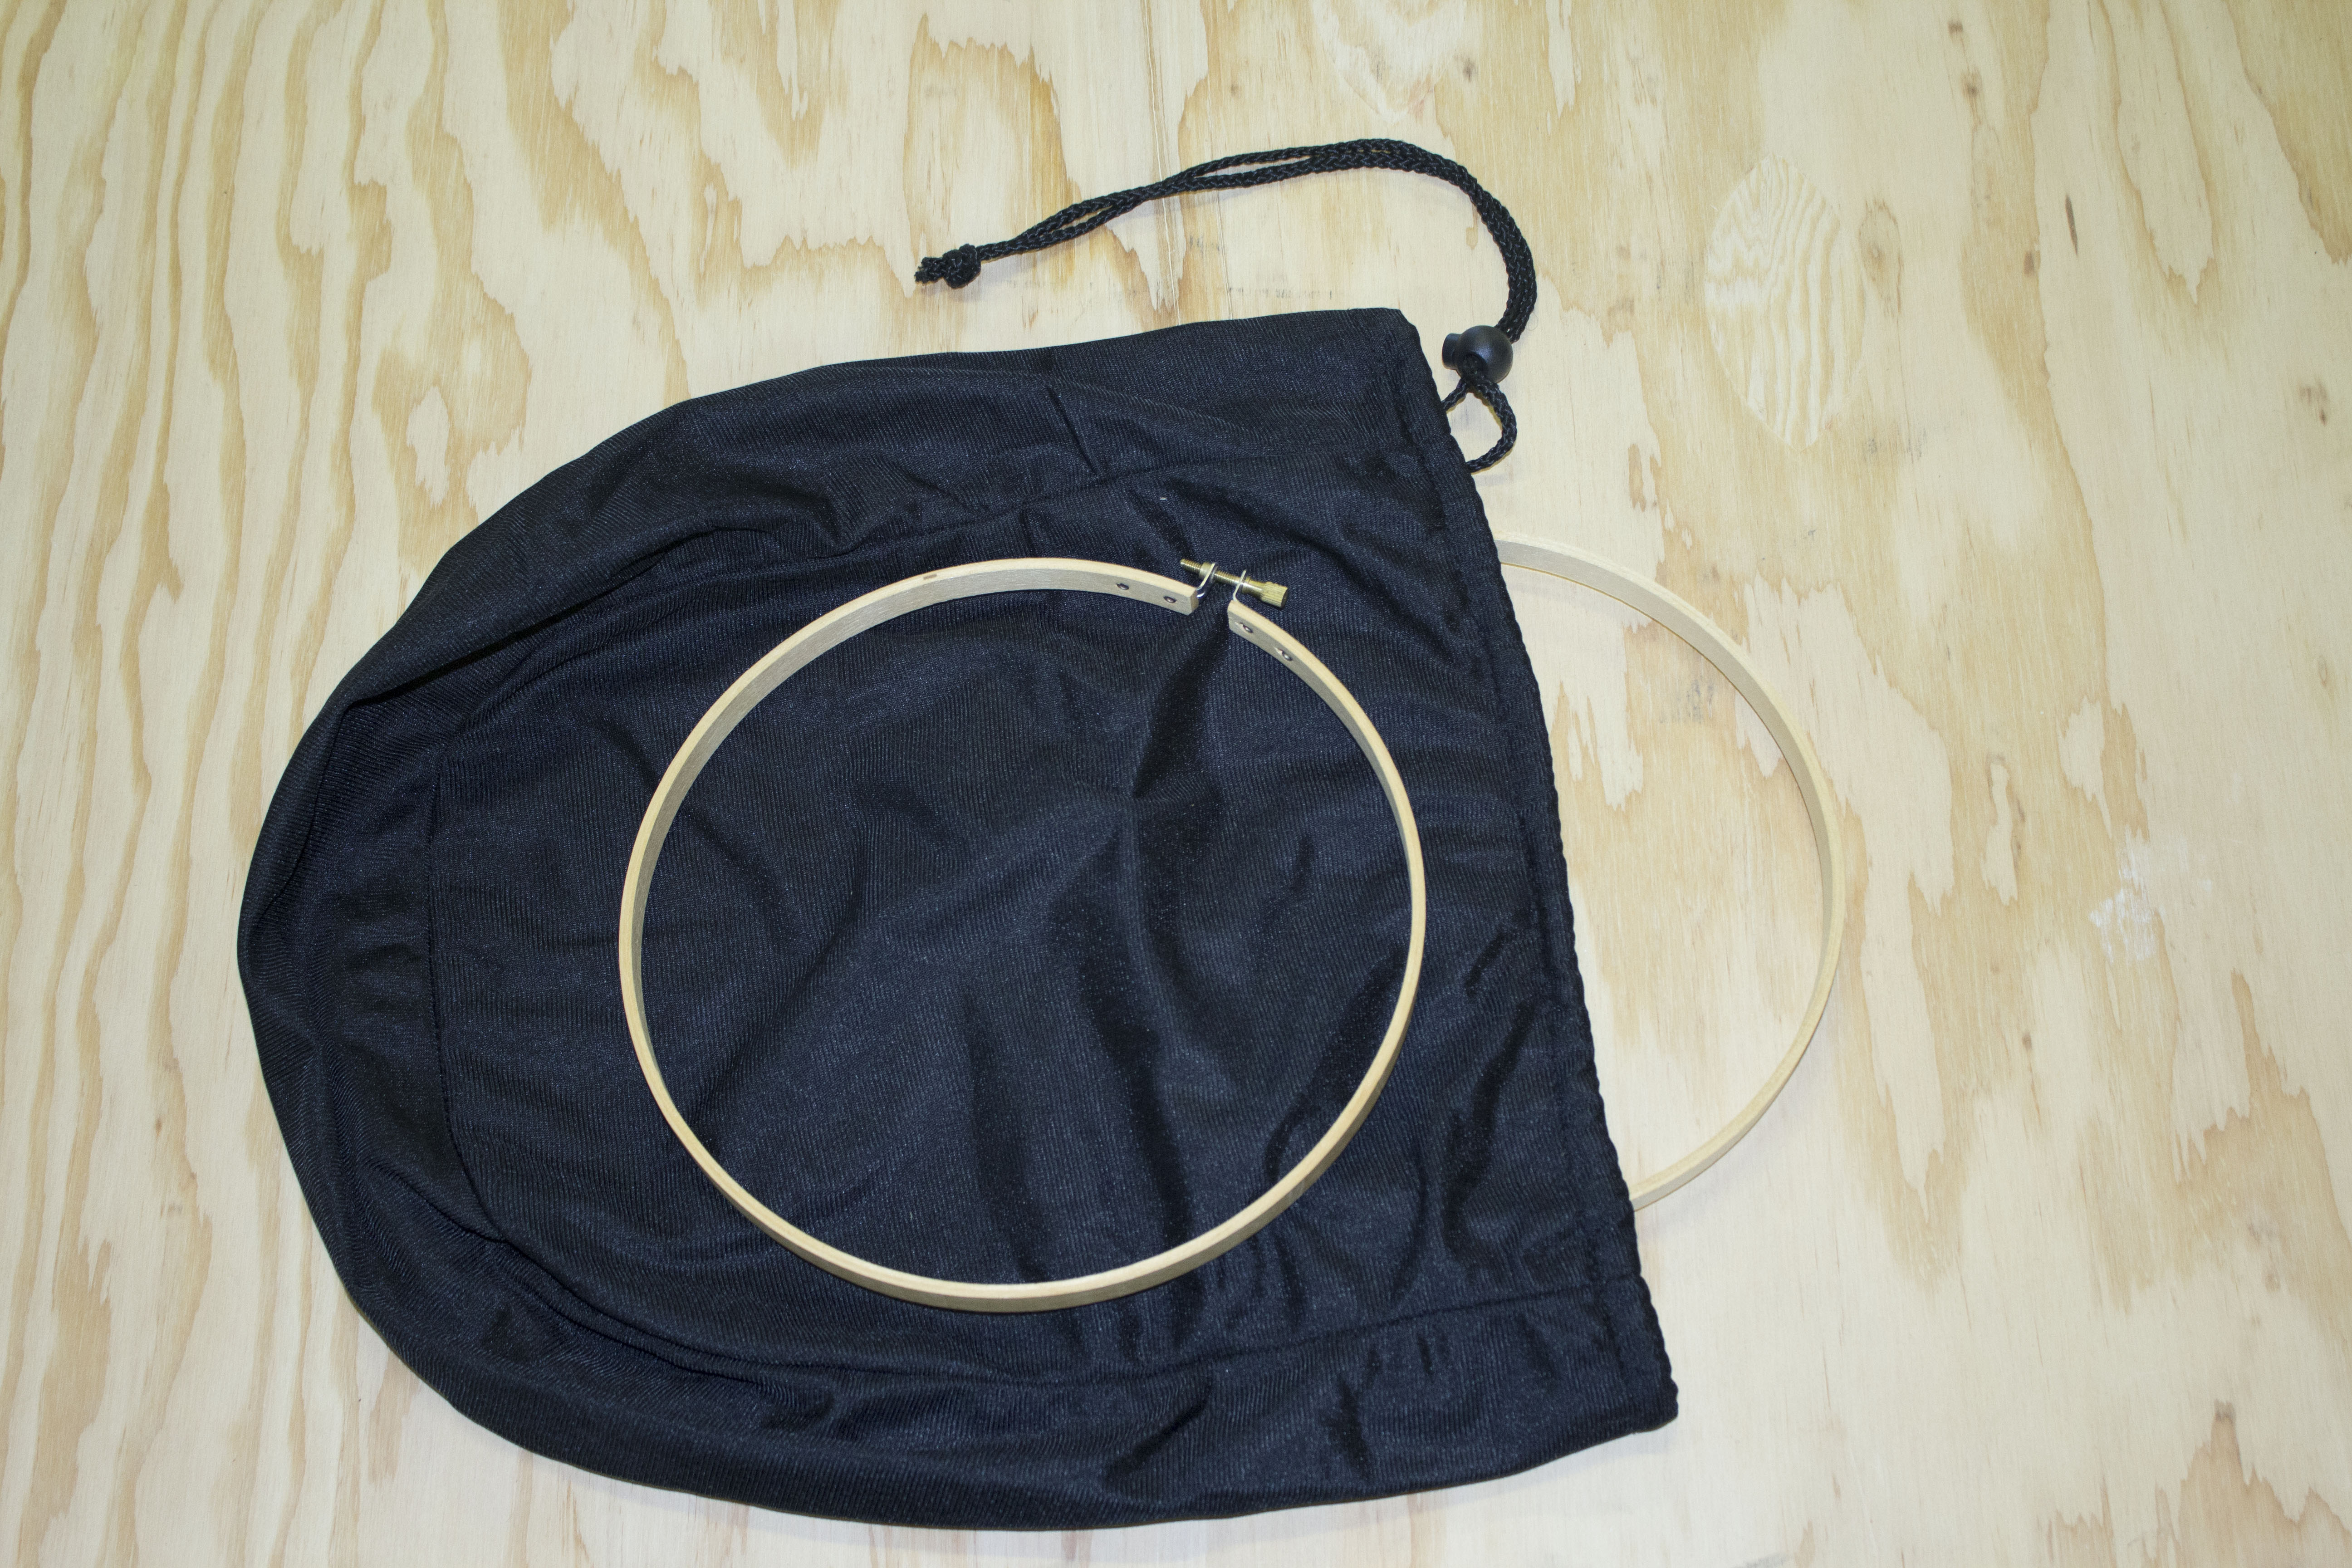
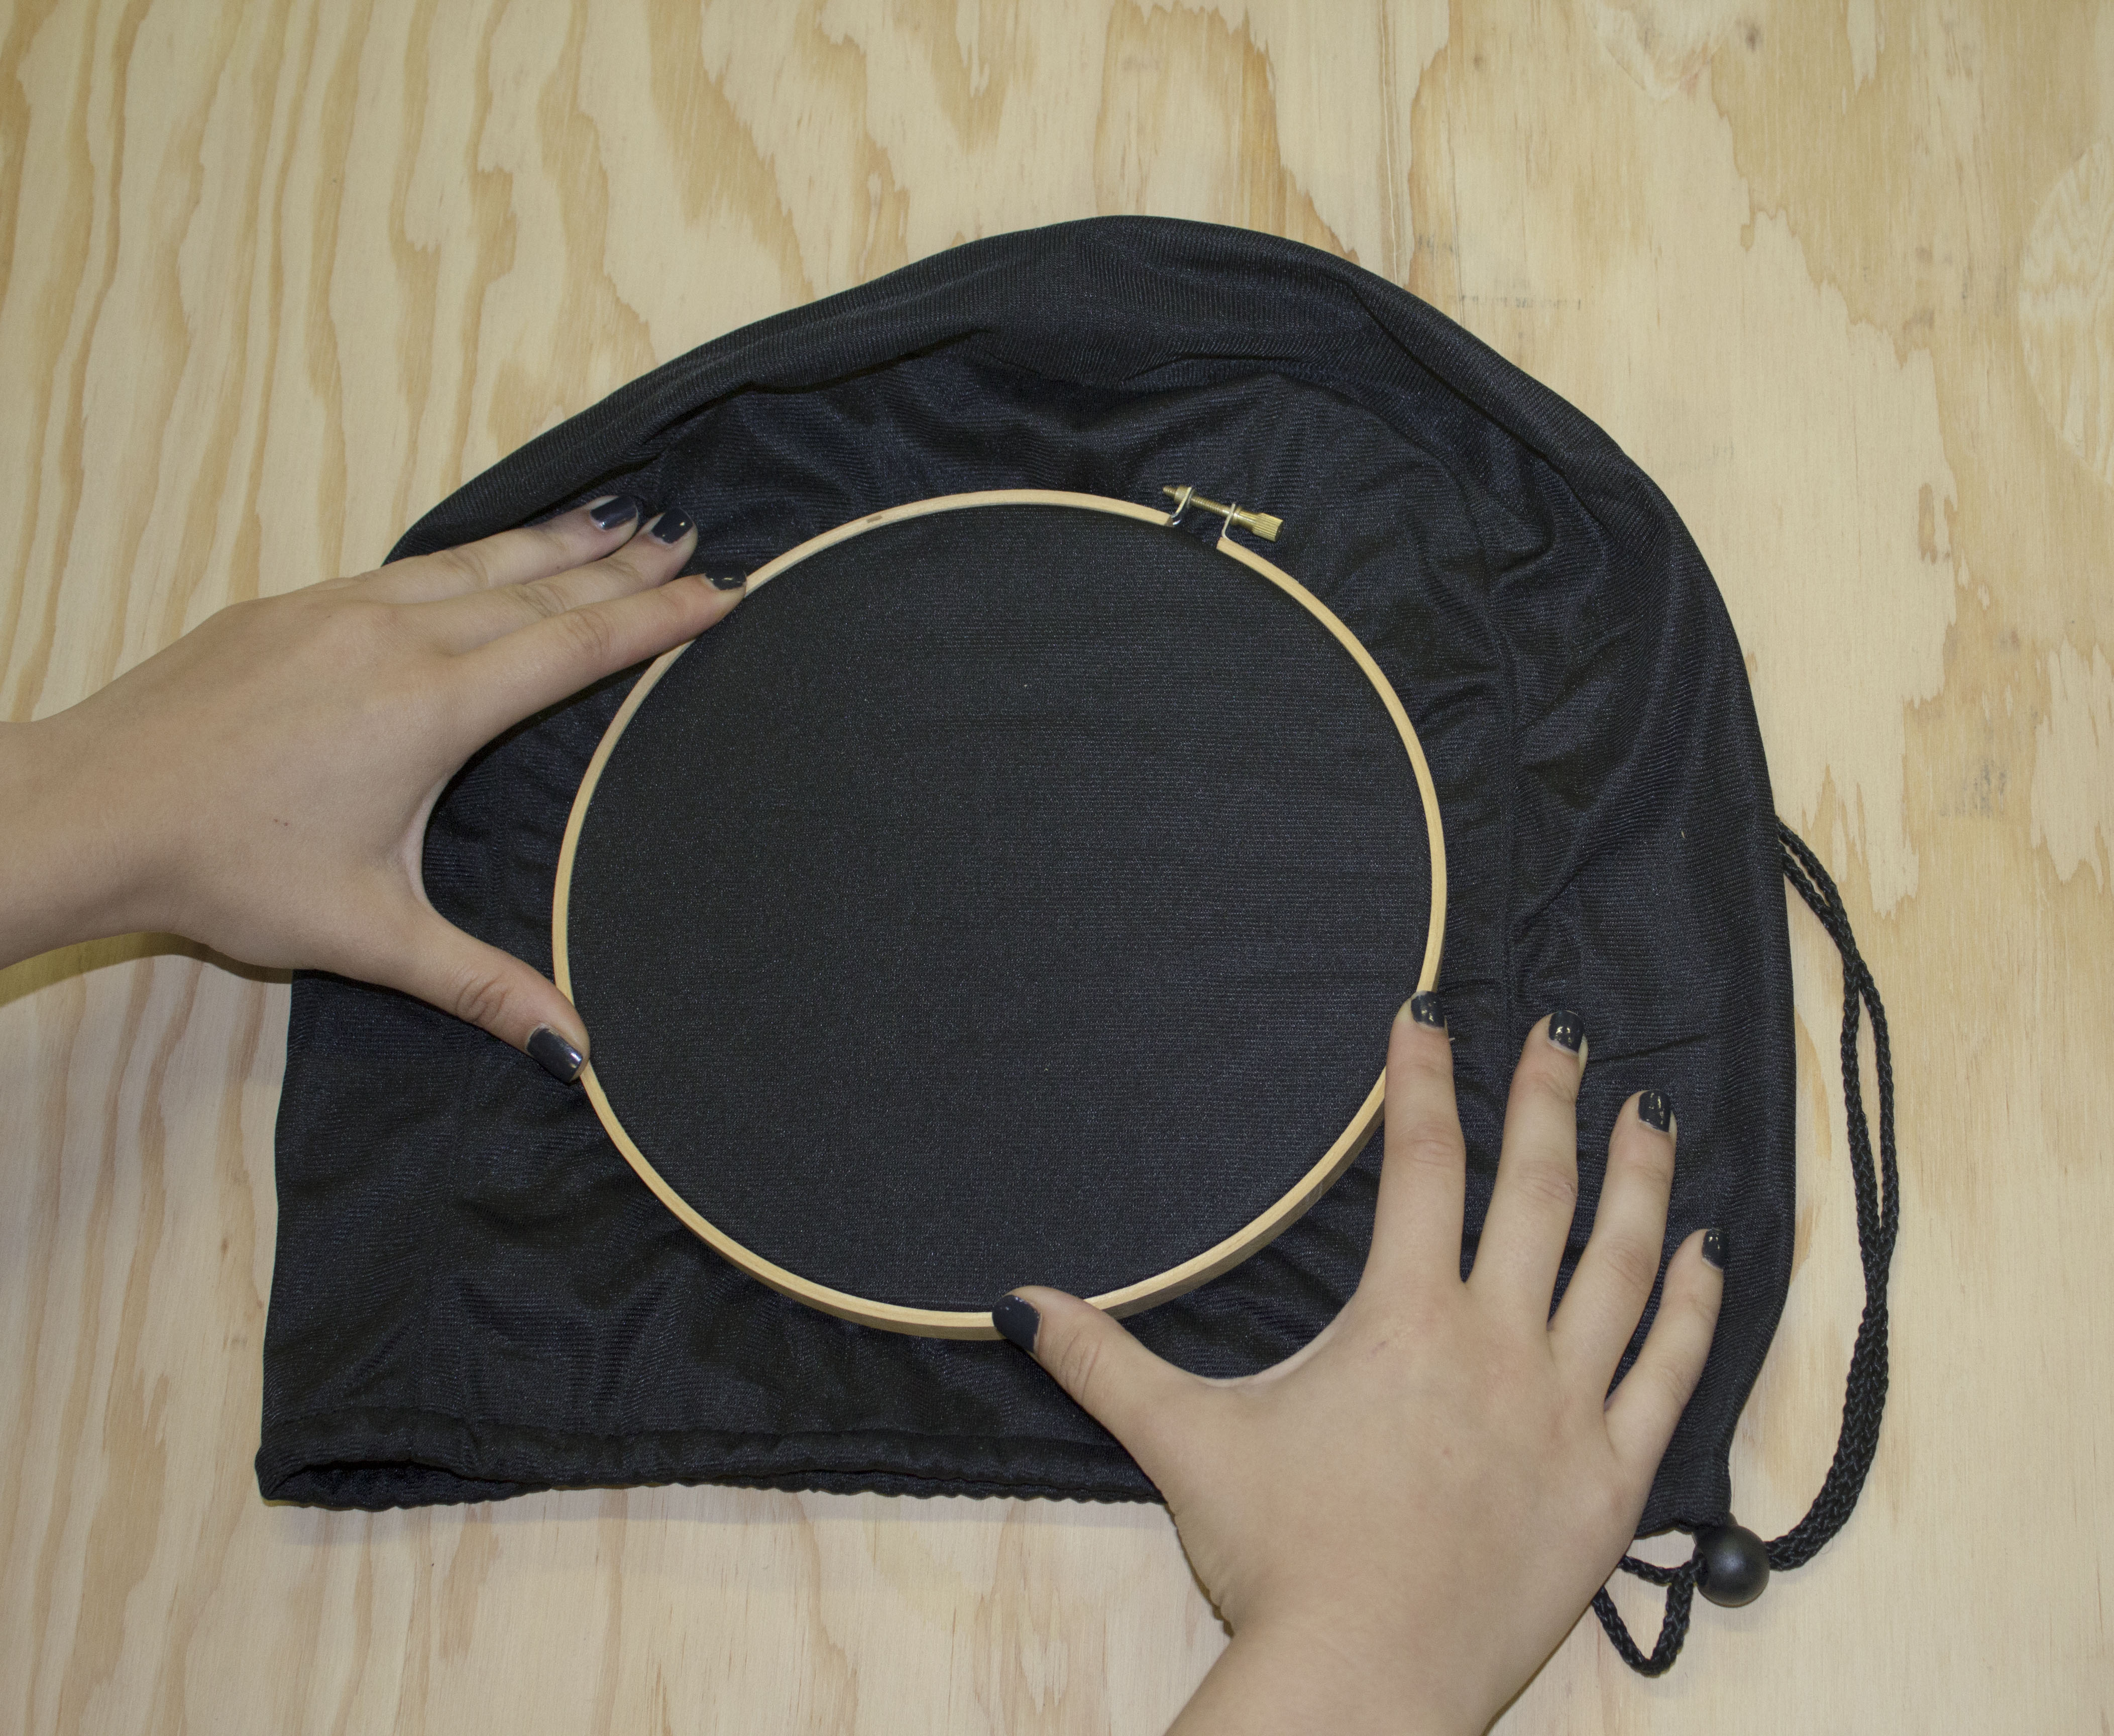
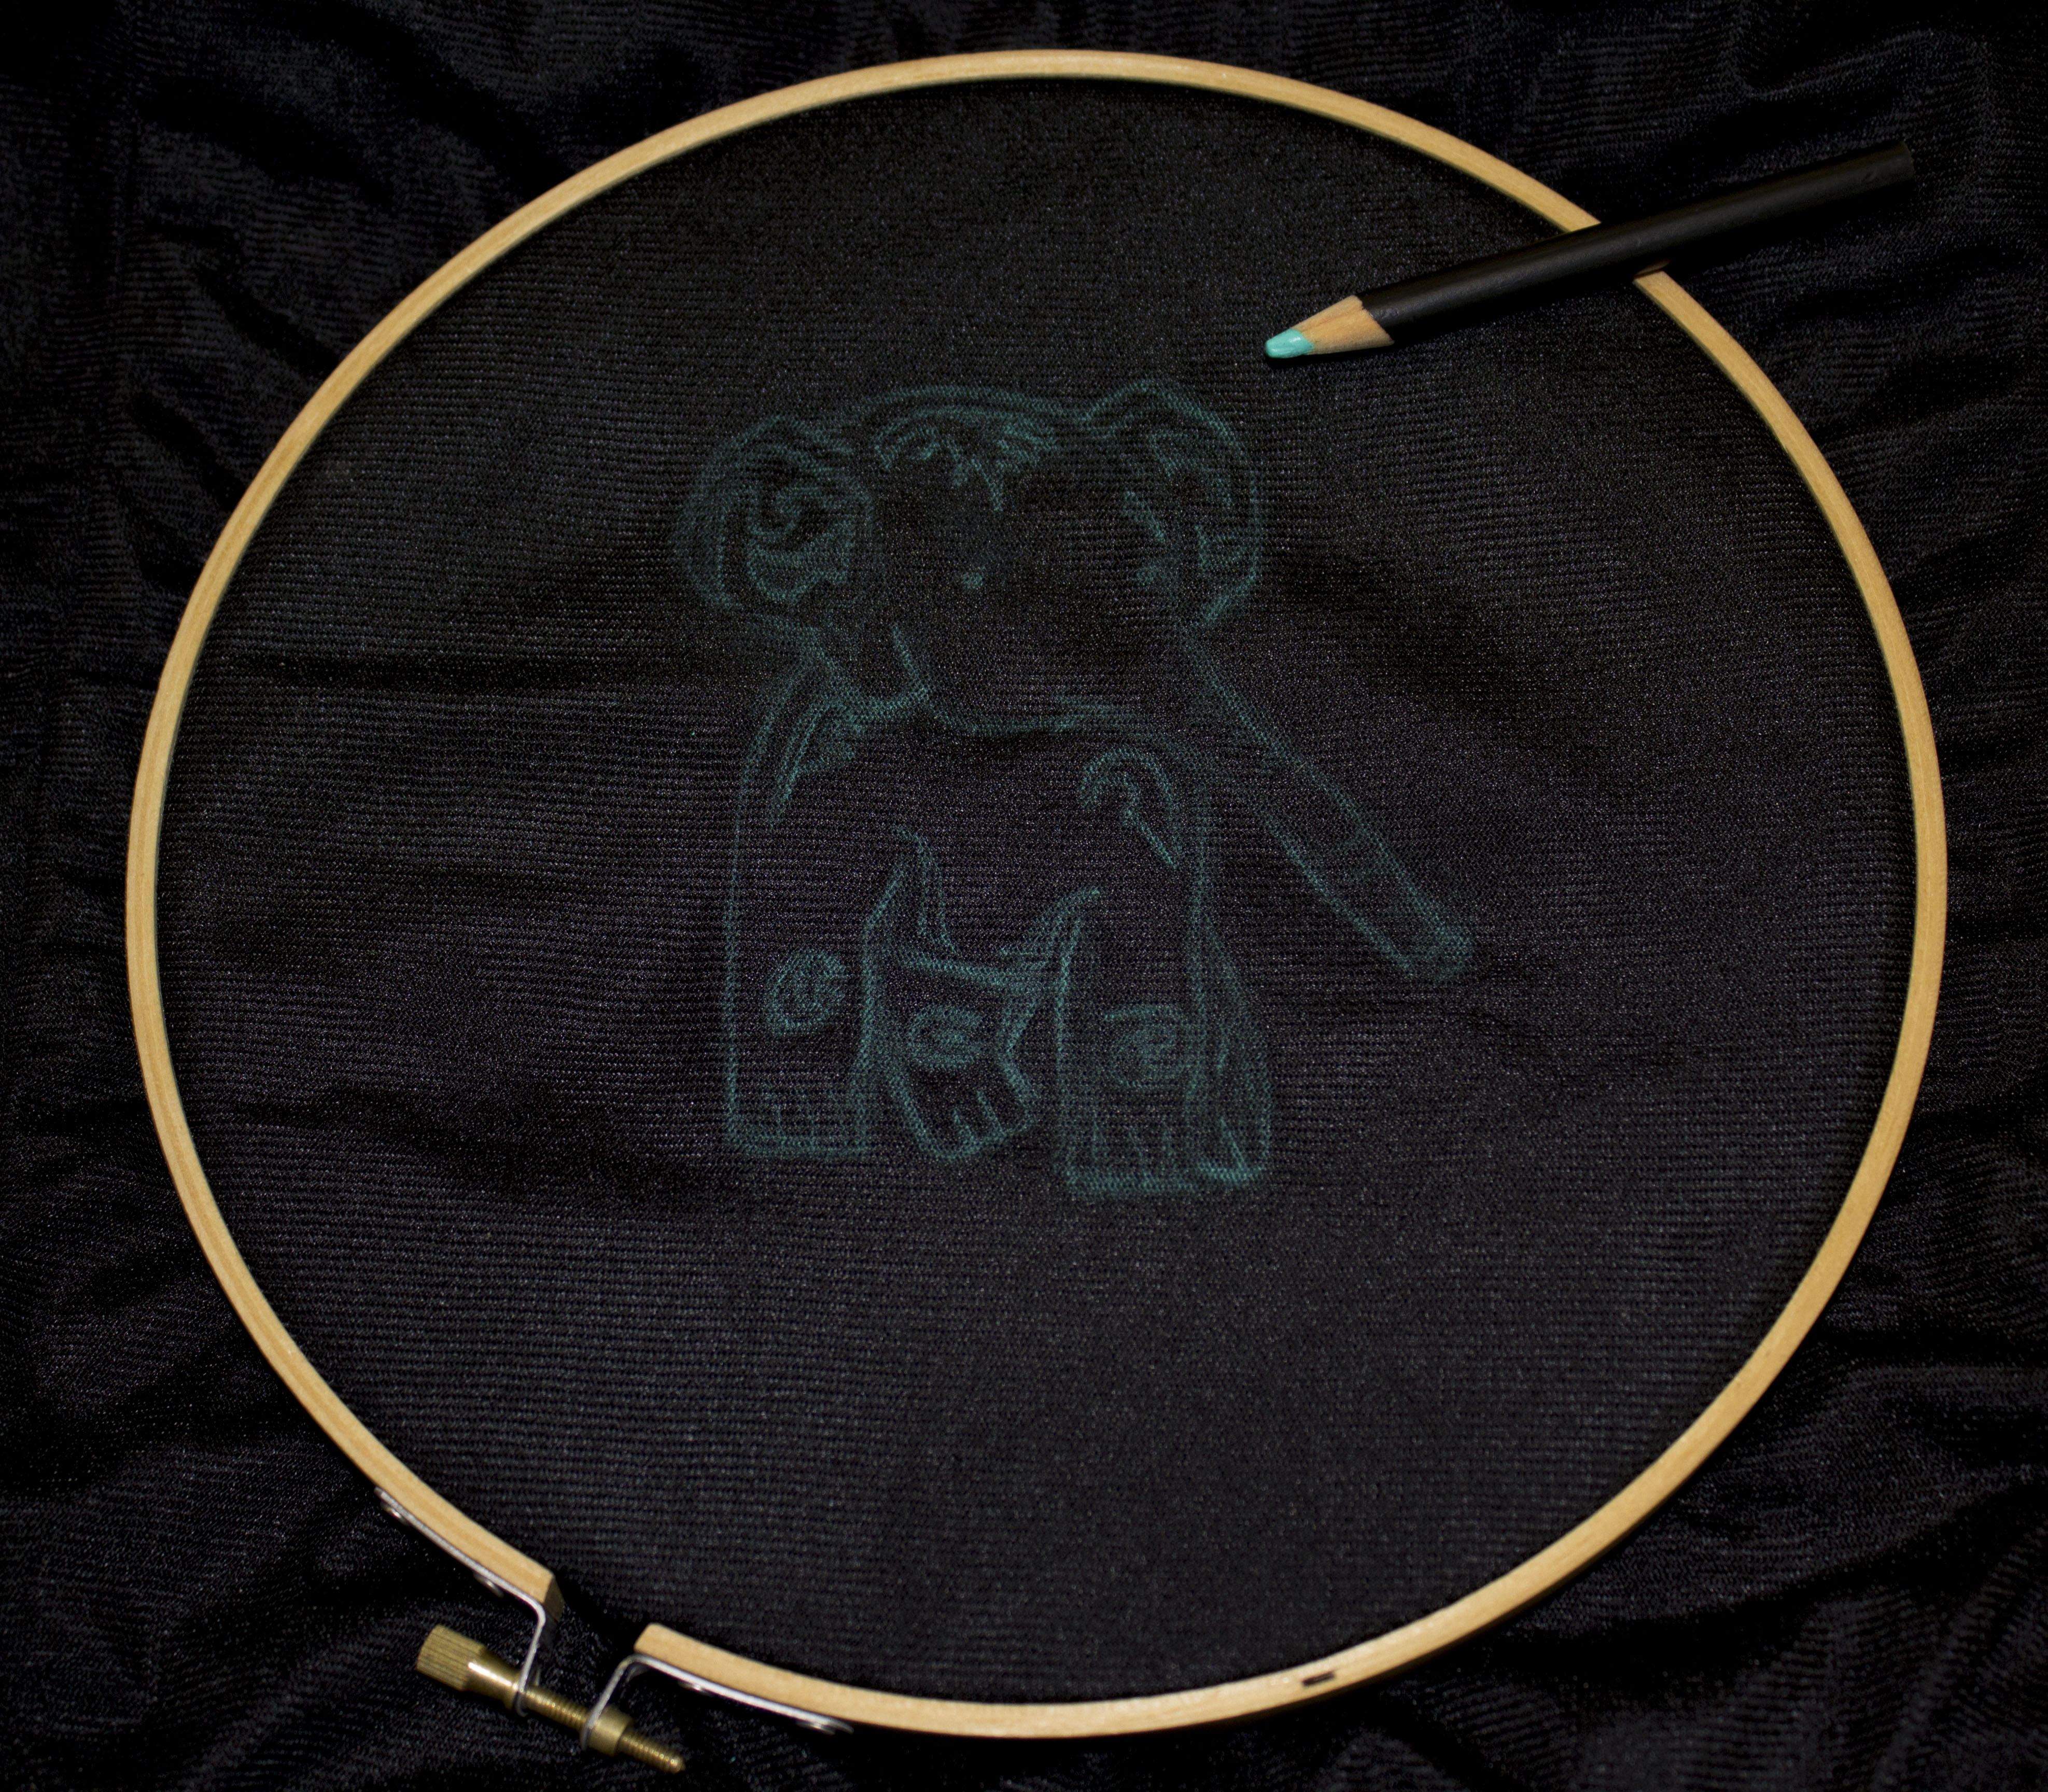
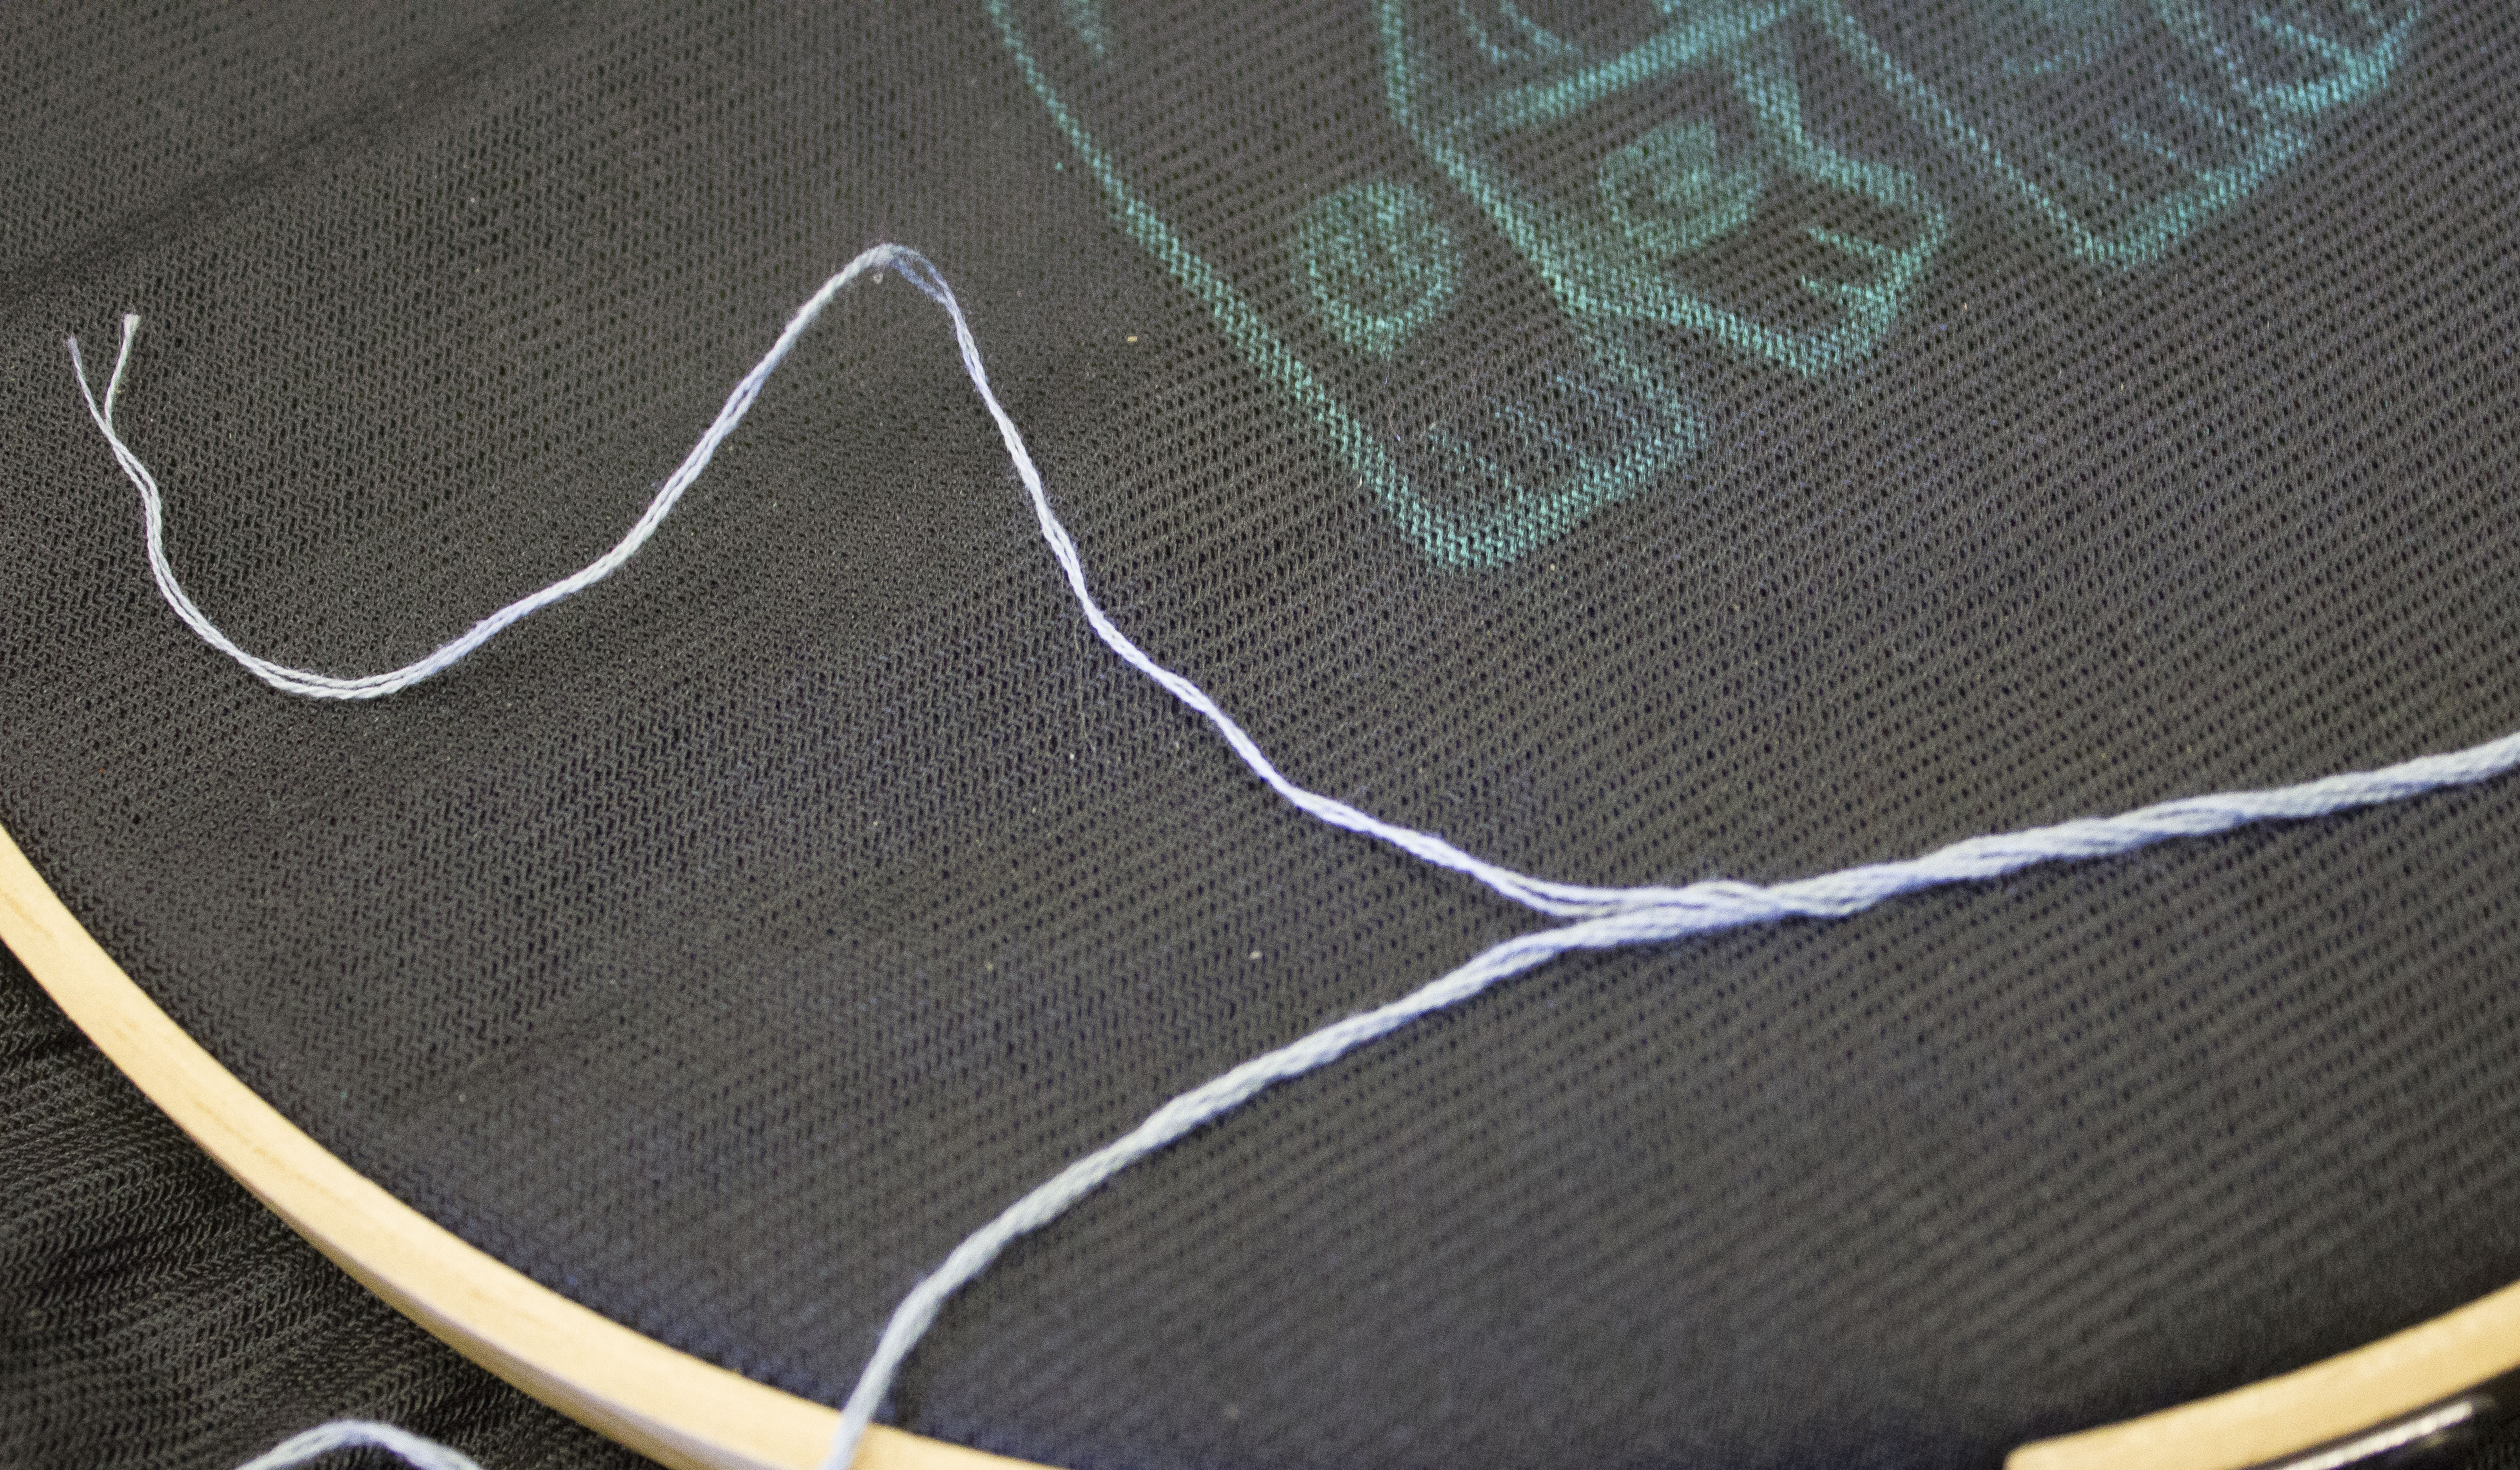
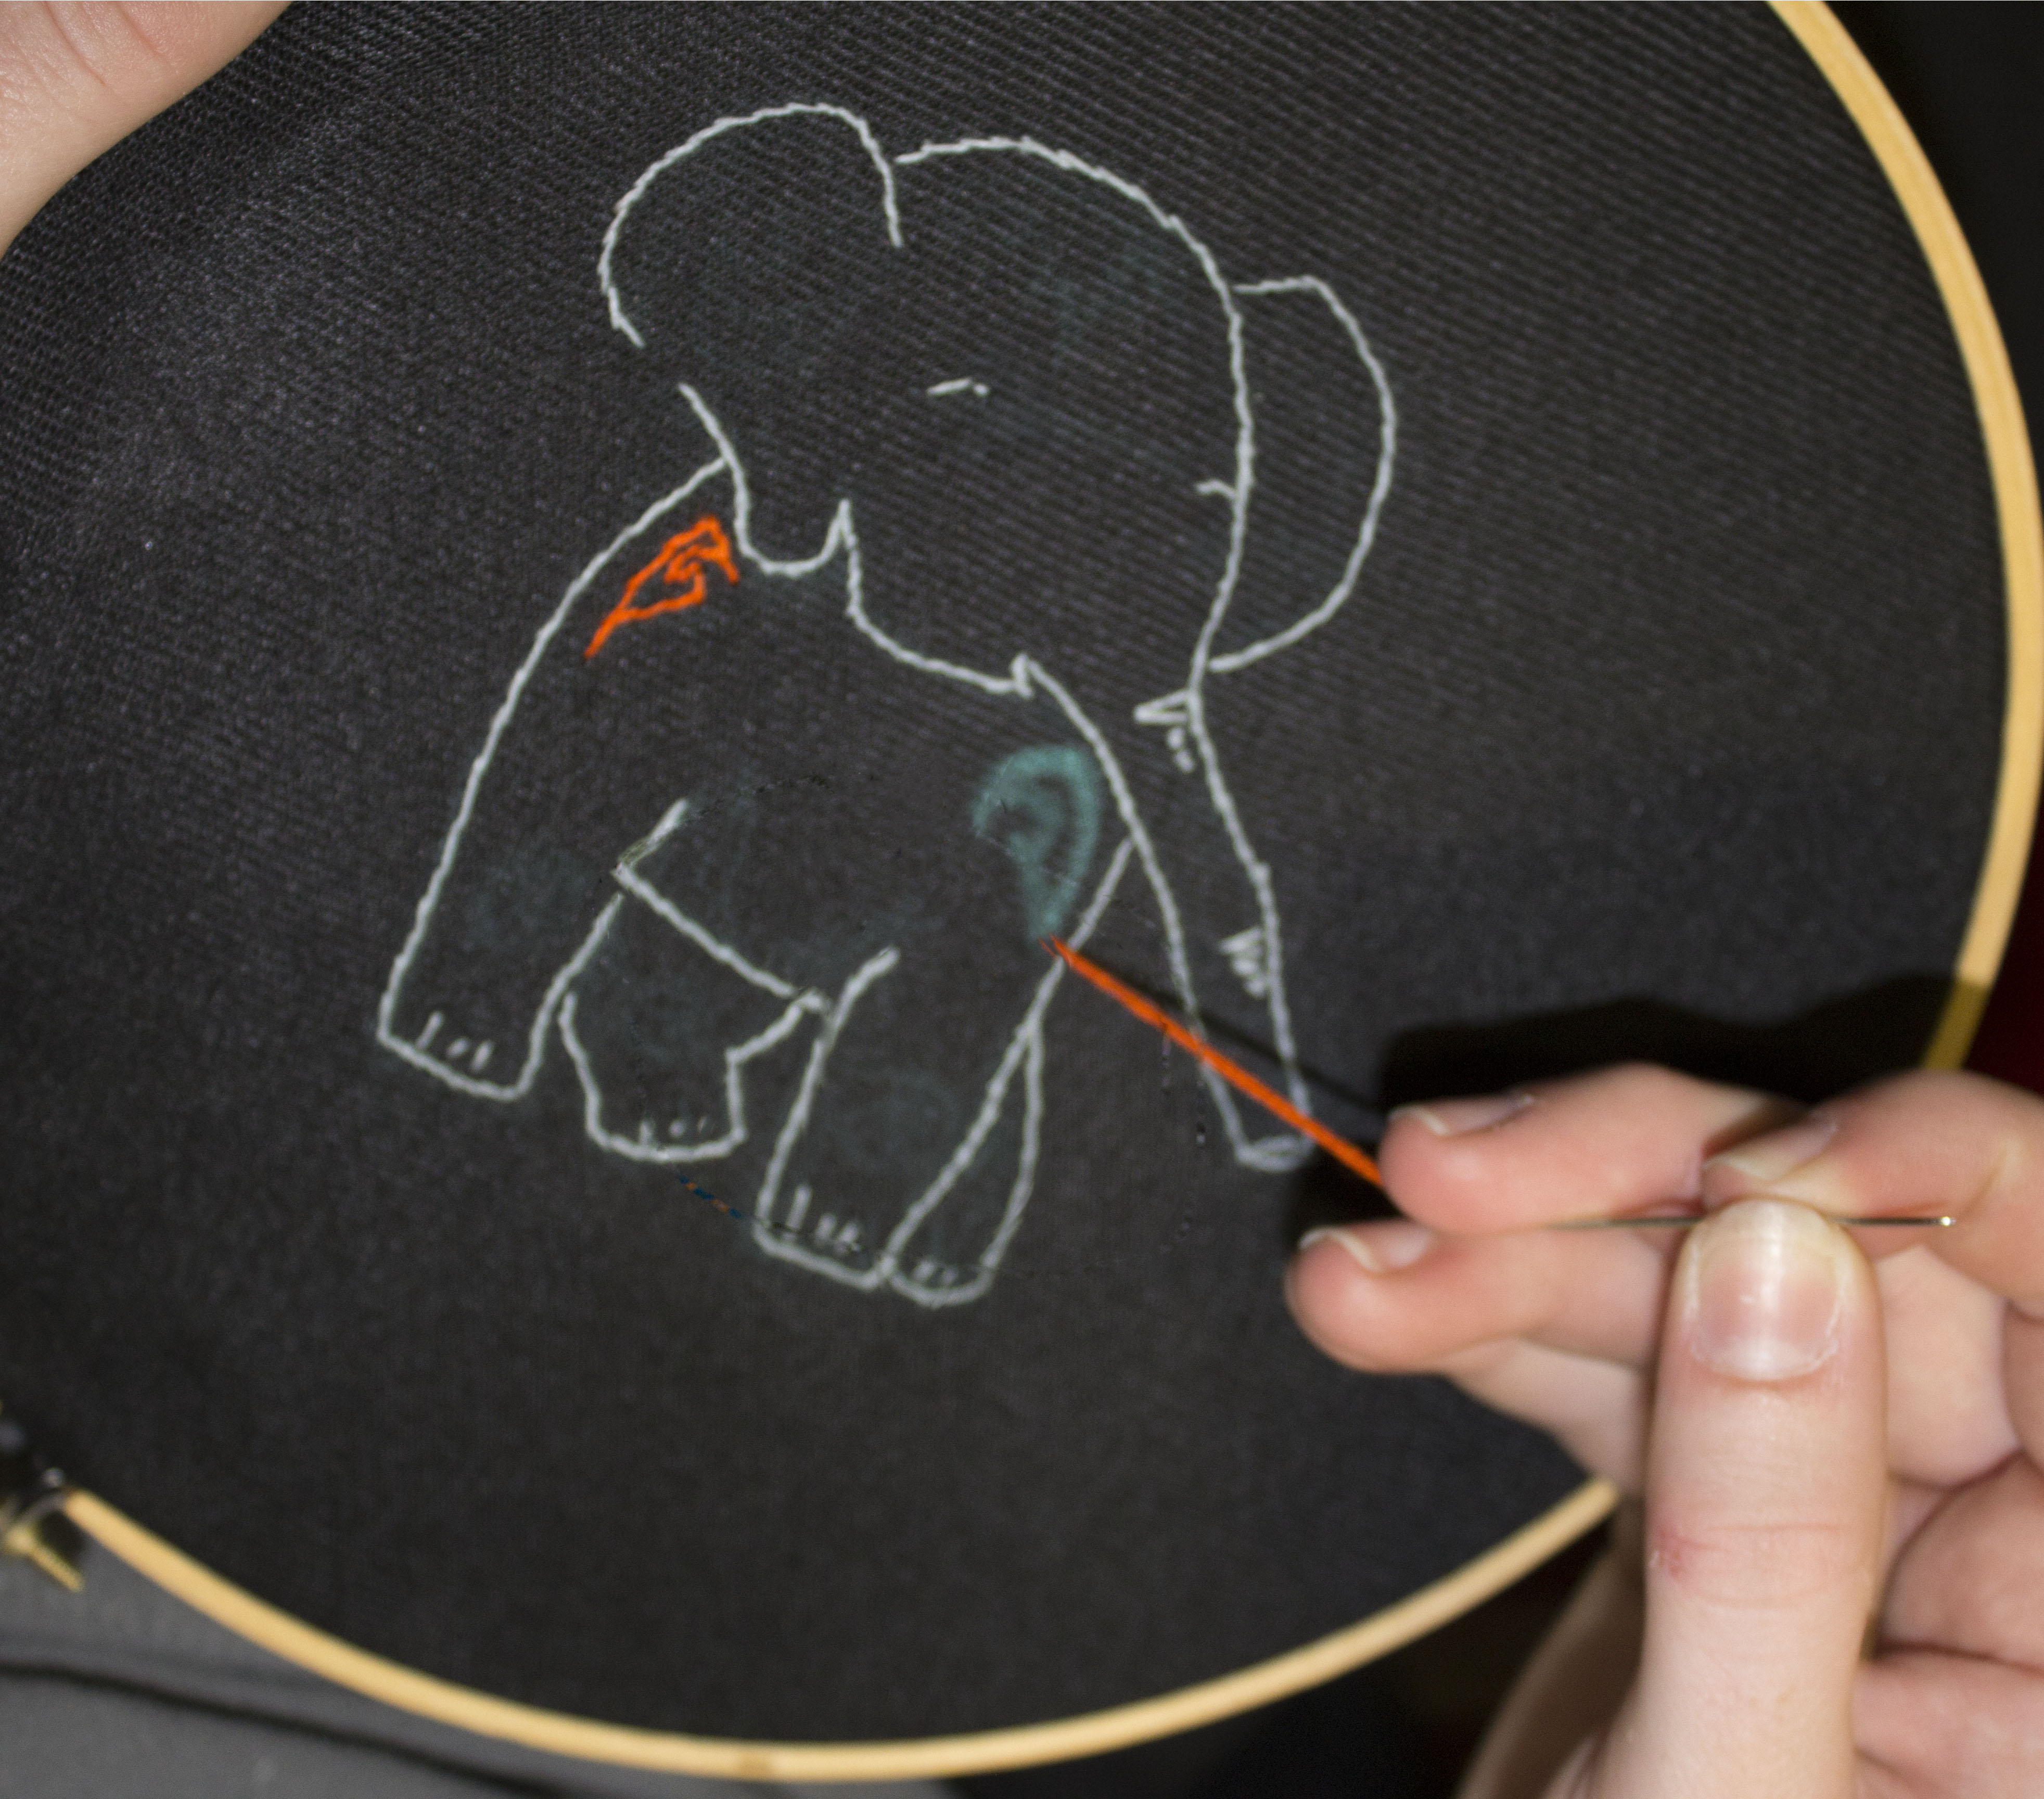
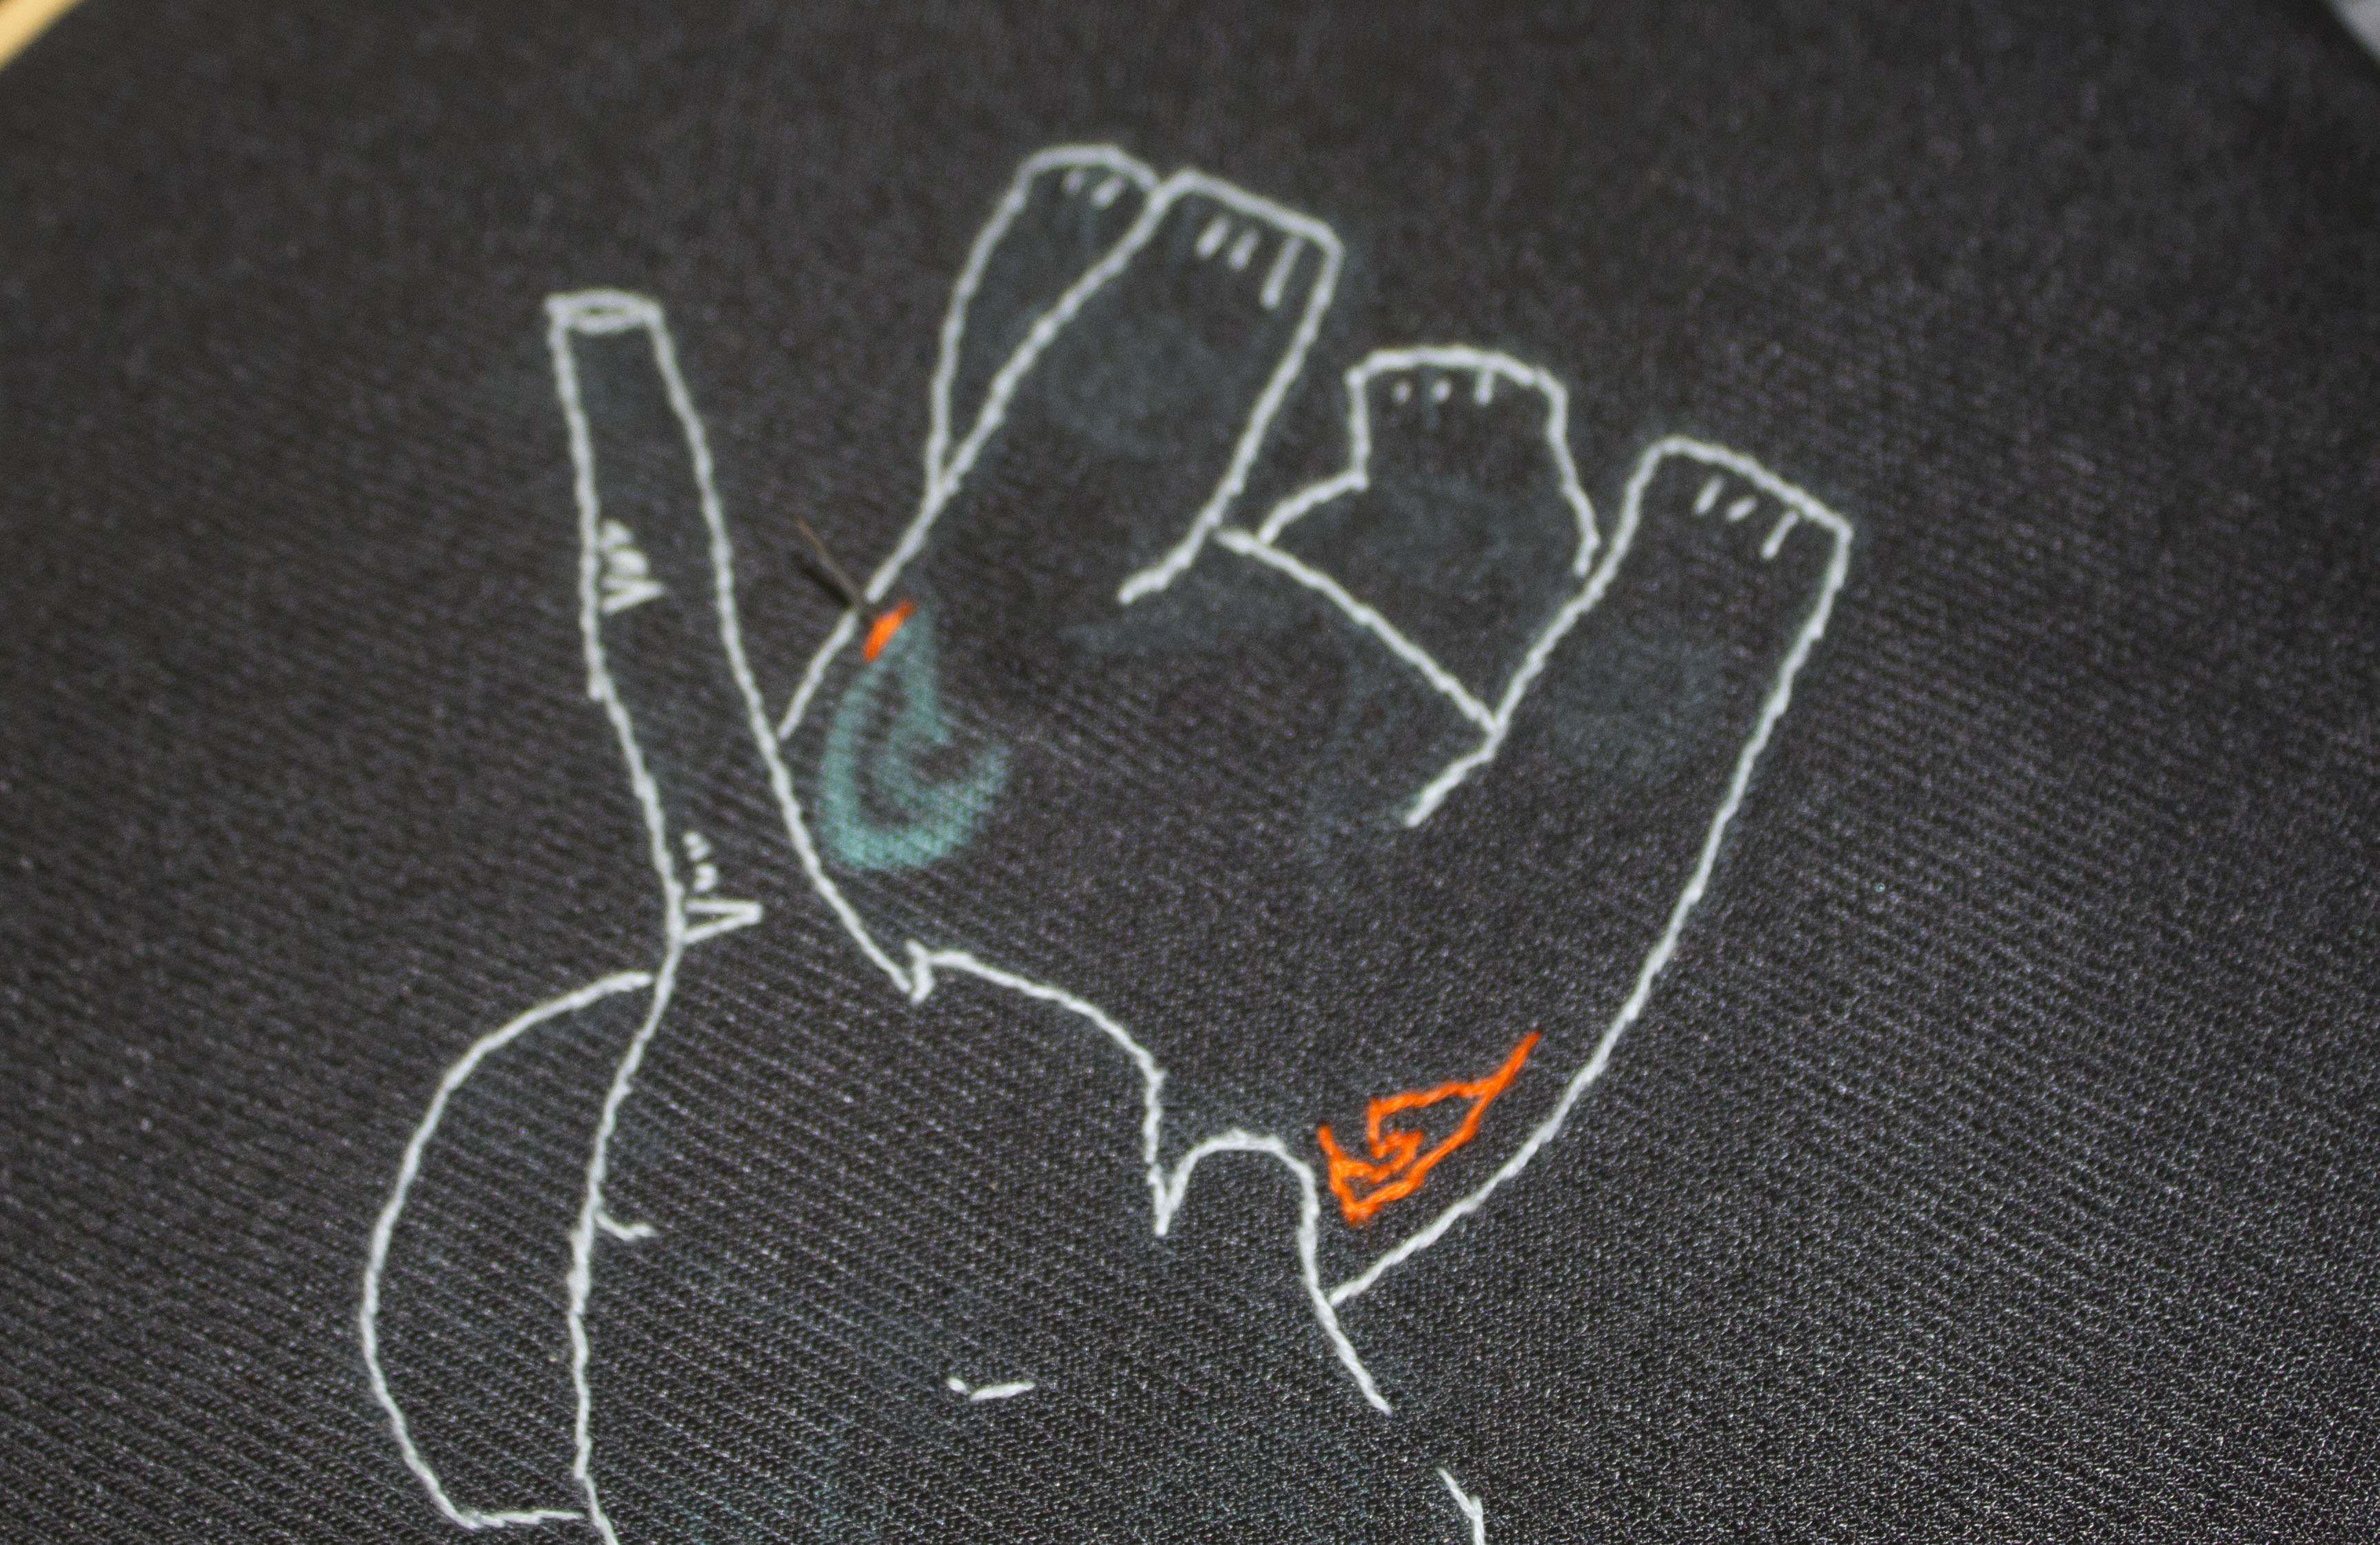
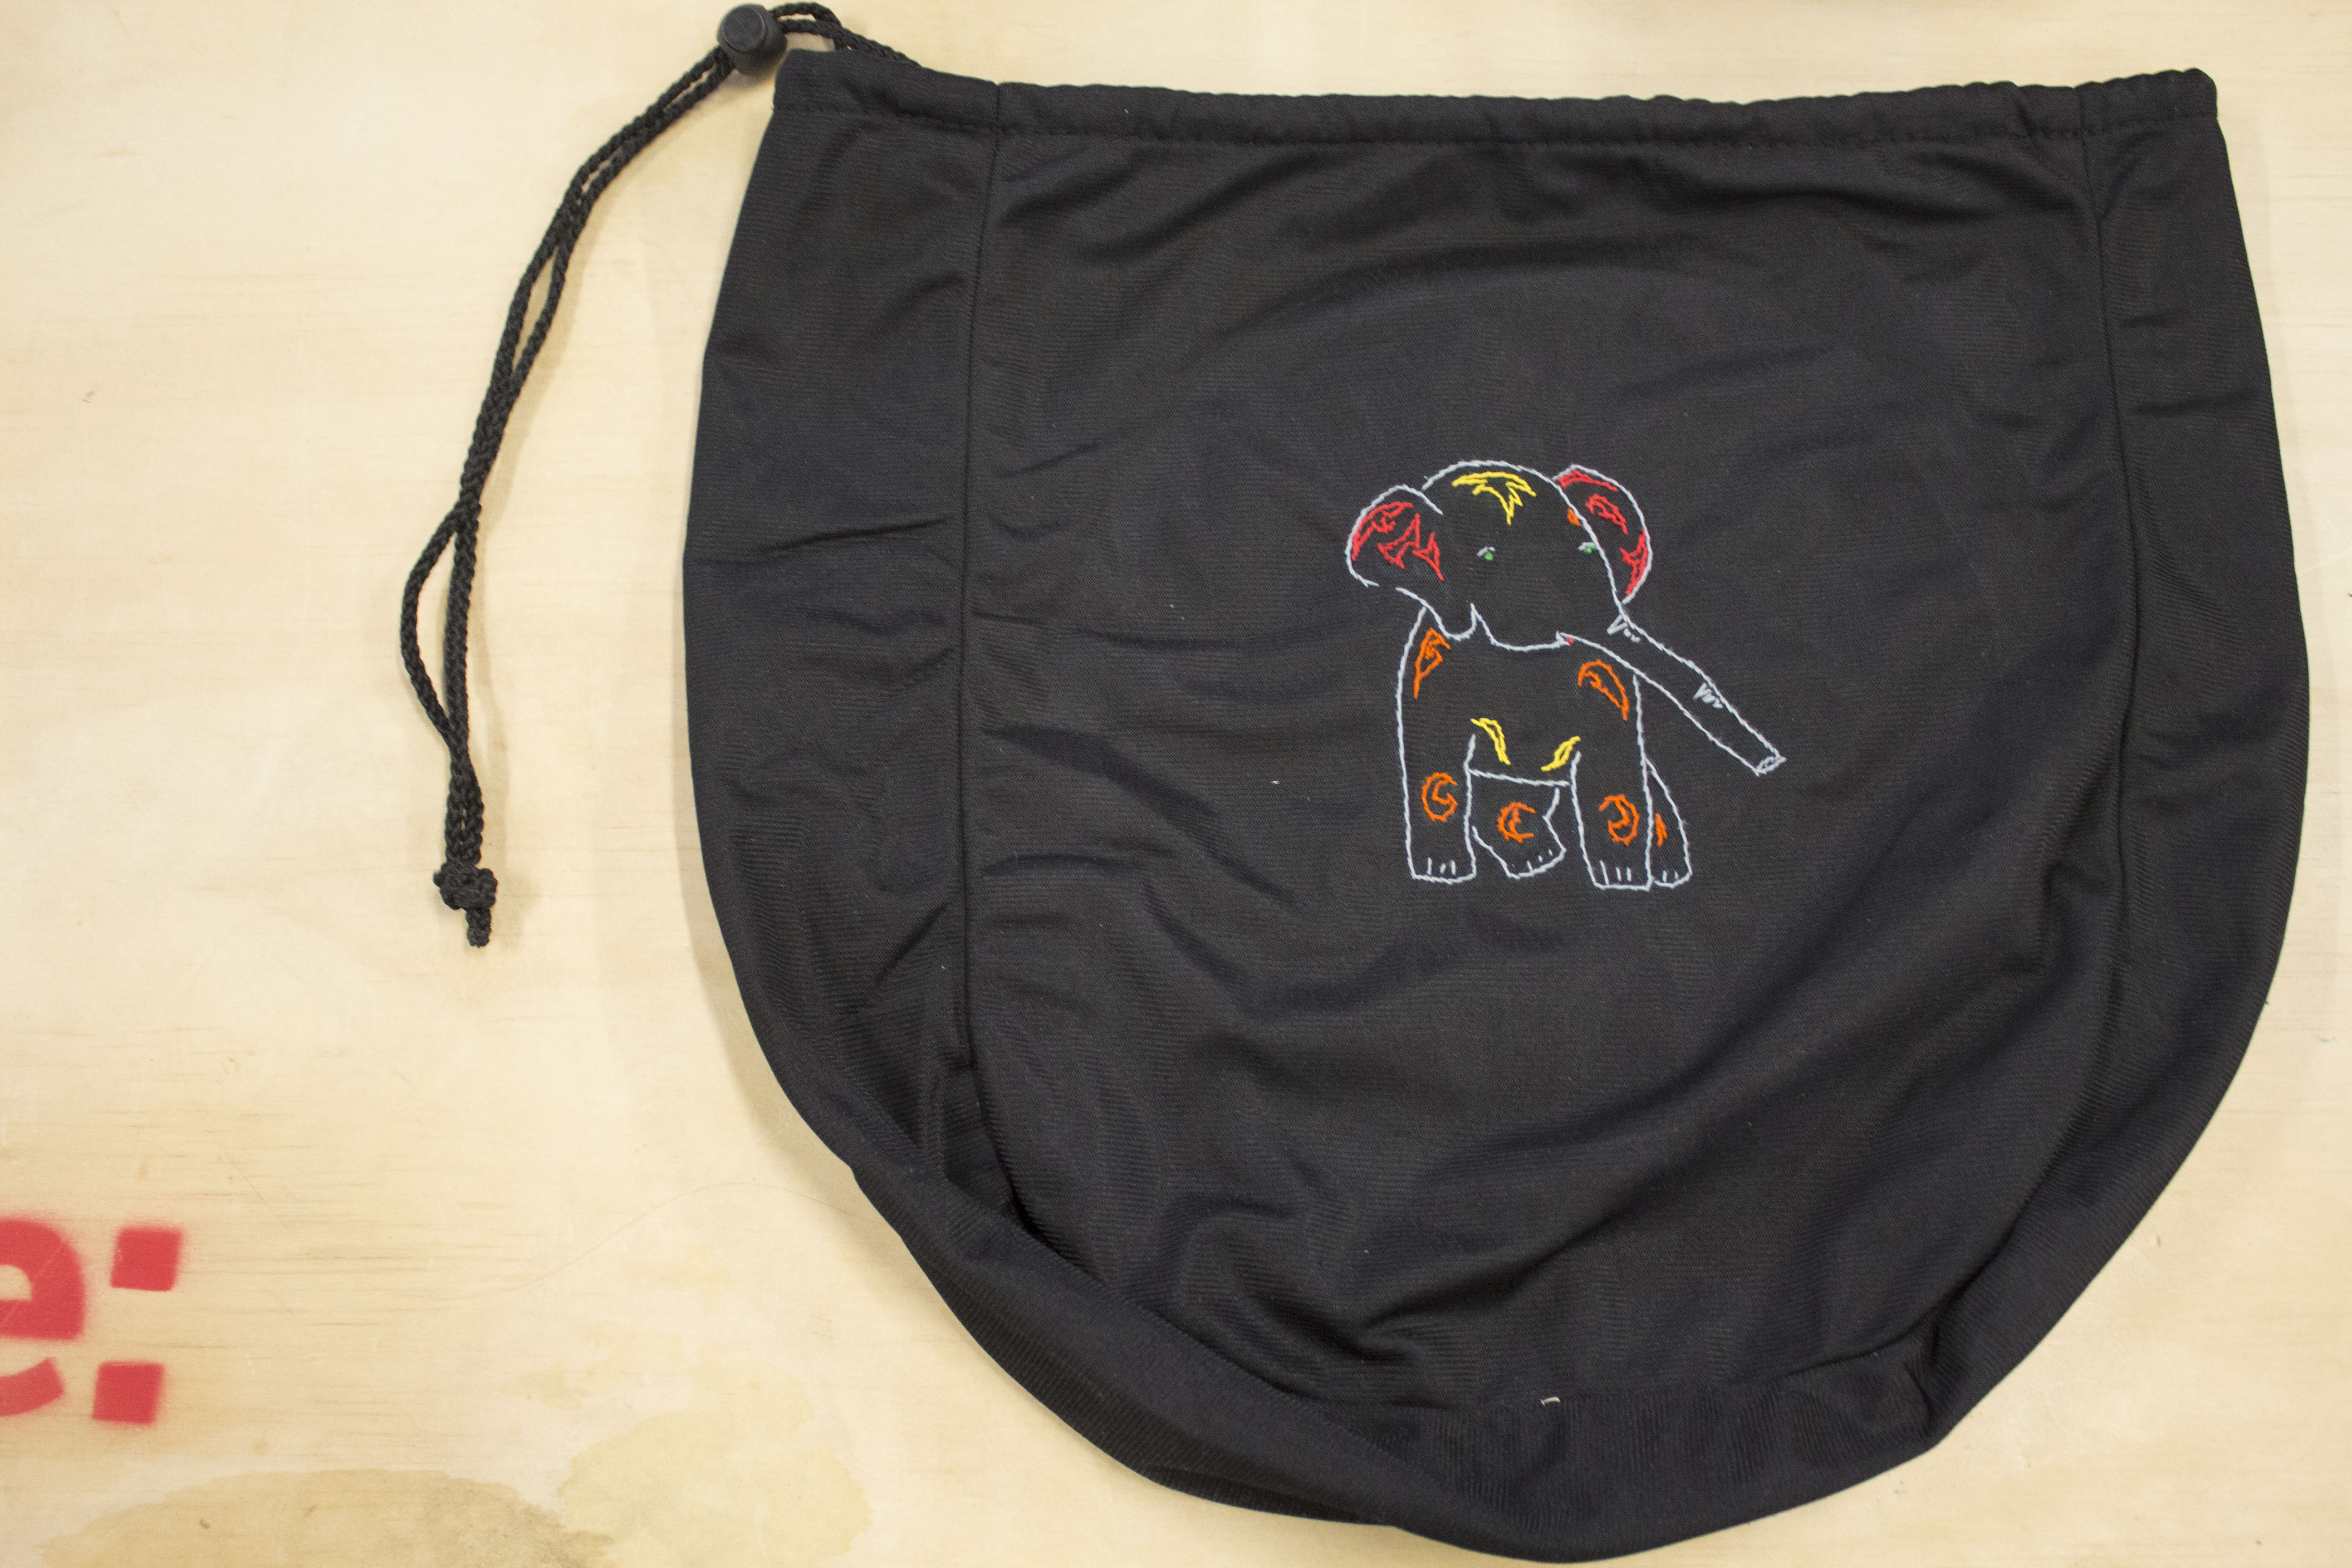
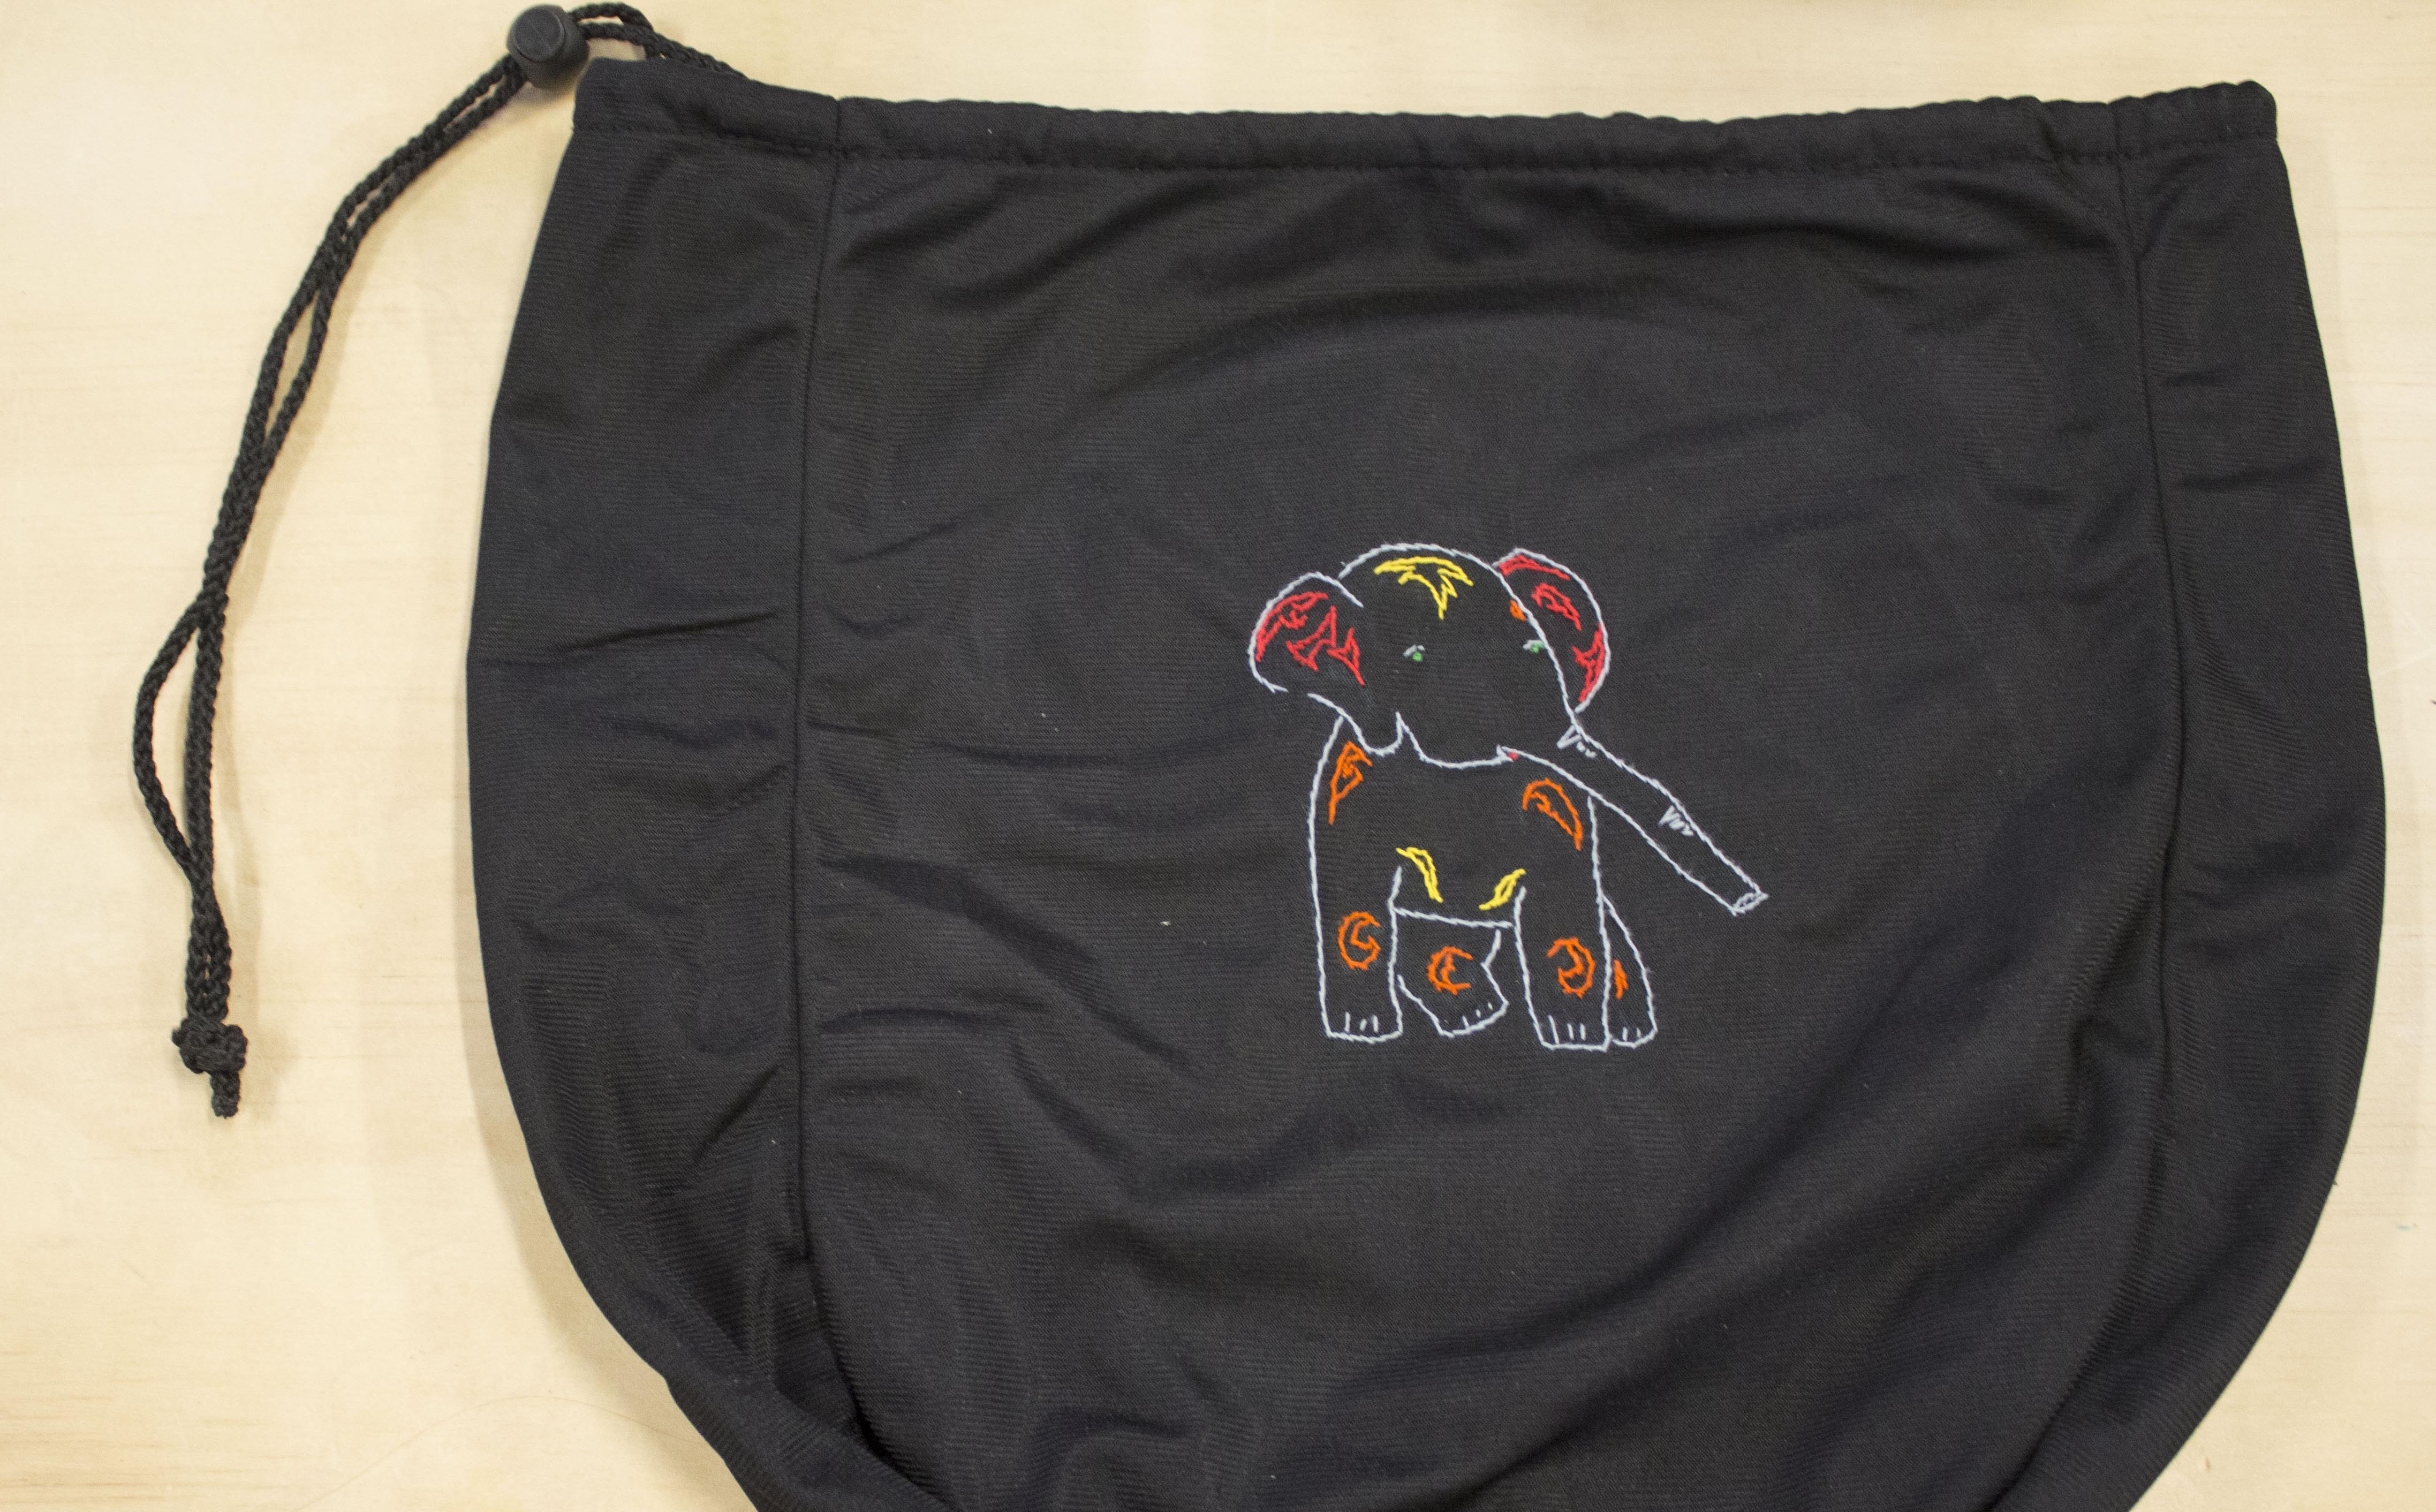
For this project, I decided to add a personal touch to a helmet bag that I had in my closet. I used a sketched image of an elephant to add a bit of character to the piece. Most of the imaging I have done has held up through multiple washing cycles. In the past I have added some embroidery to hand napkins, towels, pillowcases and shirts. For each project I had to adjust the amount of thread I used to create different thicknesses. For instance, with a fluffy towel I used four strands and a thicker needle on the design. For finer points within a project I would use less thread to help emphasize the full outline. However, for this project it was acceptable to use a set thickness for the thread. This image would take about 4-5 hours, though, different sized embroidery projects will take differing amounts of time.