Cover of Make: 93 - How to Train Your Robot
This article appeared in Make: Vol 93. Subscribe for the latest projects.

Photography by Lindsey Johnson

In 1979 my wife, Ronda, and I moved to the Central Oregon Coast, where we discovered our love for kites. We began attending workshops to learn the art of kite design and construction. As we became involved with local and international kite clubs, we formed strong friendships with people from around the world. What began as a hobby grew into a business making and selling high-quality kite kits worldwide. We’ve built a global reputation, traveling extensively to share our love of kites and leading kite-making workshops for all ages.

Our Maker Faire experience began in 2019 when Nic O’Neill of Fortuna Found invited us to join her team. Through that collaboration we’ve had the opportunity to share the Ty Glider — a small, hands-on project for kids and adults. Participants cut out the kite using a hand-operated die-cutting machine, for an interactive experience that blends art, science, and a lot of joy. These workshops are always a big hit, and it’s rewarding to see all generations discover the magic of kite-making.

Why Kites Are Awesome

Kites are amazing. Flying a kite isn’t just about watching it soar — it’s about feeling the tug of the wind and being part of the magic.

Kites might seem simple, but they’re full of surprises. They teach us about science, aerodynamics, and even ecology, all while improving coordination and motor skills. Kites also open doors to creativity and learning. Did you know the Wright brothers used kites to help invent airplanes? Or that parachutes and hang gliders were inspired by them?

Flying a kite connects you to nature in a way that’s both grounding and exhilarating. You start noticing how the wind shapes everything around you — from trees to birds — and it feels freeing.

Making your own kite takes it up a notch, teaching useful skills like knot-tying and design while sparking creativity. We’re embracing technology by using 3D printing for custom fittings and connectors that allow for precise, durable, and innovative designs.

And the best part? Kites create unforgettable memories. Make a kite, head outside, and see for yourself!

Tradition + Innovation

Nic O’Neill, Ronda Brewer, and Lindsey Johnson led kite-making workshops at Maker Faire Bay Area 2024.
Photo by Keith Hammond

This project combines traditional kite-making methods with contemporary innovations like 3D printing, offering a unique and enjoyable build for kite enthusiasts of all ages. This kite, named Wildfish, started as an easy-to-build kite for a hands-on workshop at the Wildwood, New Jersey festival. It was made from Tyvek, with folded corners and small mailing labels to create the pockets for the fiberglass spine and bowed spreader.

Fifteen years later, the Wildfish has evolved into the Maker-Fish, keeping the same sail material, shape, and fiberglass frame. Thanks to 3D printing, we’ve swapped the folded corners for easy-to-print fittings and added a simple no-sew, peel-and-stick assembly method.

  1. Sail: A kite’s main body, usually made from ripstop nylon or polyester, or in our case Tyvek. It’s lightweight and crucial for flight.
  2. Frame: This gives the kite its structure — often a vertical spine, cross-spar(s), and/or spreaders made from bamboo, fiberglass, or carbon fiber rods.
  3. Dihedral: Rigid kites with a frame often incorporate a dihedral, similar to the upward angle of an airplane’s wings. This stabilizes the kite during flight and helps it respond smoothly to wind changes. A dihedral can be achieved by using a cross-fitting with a built-in angle, or by tensioning a line stretched from tip to tip across the cross-spar. Both ways are effective, but the tensioned line allows you to fine-tune the kite’s performance.
  4. Camber: The Maker-Fish uses camber — an upward curve at the nose — to create lift, replacing the need for a dihedral. This curve is formed by the 3D-printed center fitting, which flexes the spine into shape. Camber not only enhances lift but also makes relaunching easy; a quick tug on the line can get the kite back in the air if it lands face-down. This feature has been used for hundreds of years in the traditional fighter kites of India and Pakistan. In those kites, bamboo was heated over a flame and then bent by hand to create the desired curve. The Maker-Fish carries this time-honored tradition forward with a modern, 3D-printed twist.
  5. Bridle: Connects the kite to the flying line, influencing how it flies. The Maker-Fish doesn’t have a bridle because the flying line is connected directly to the kite.
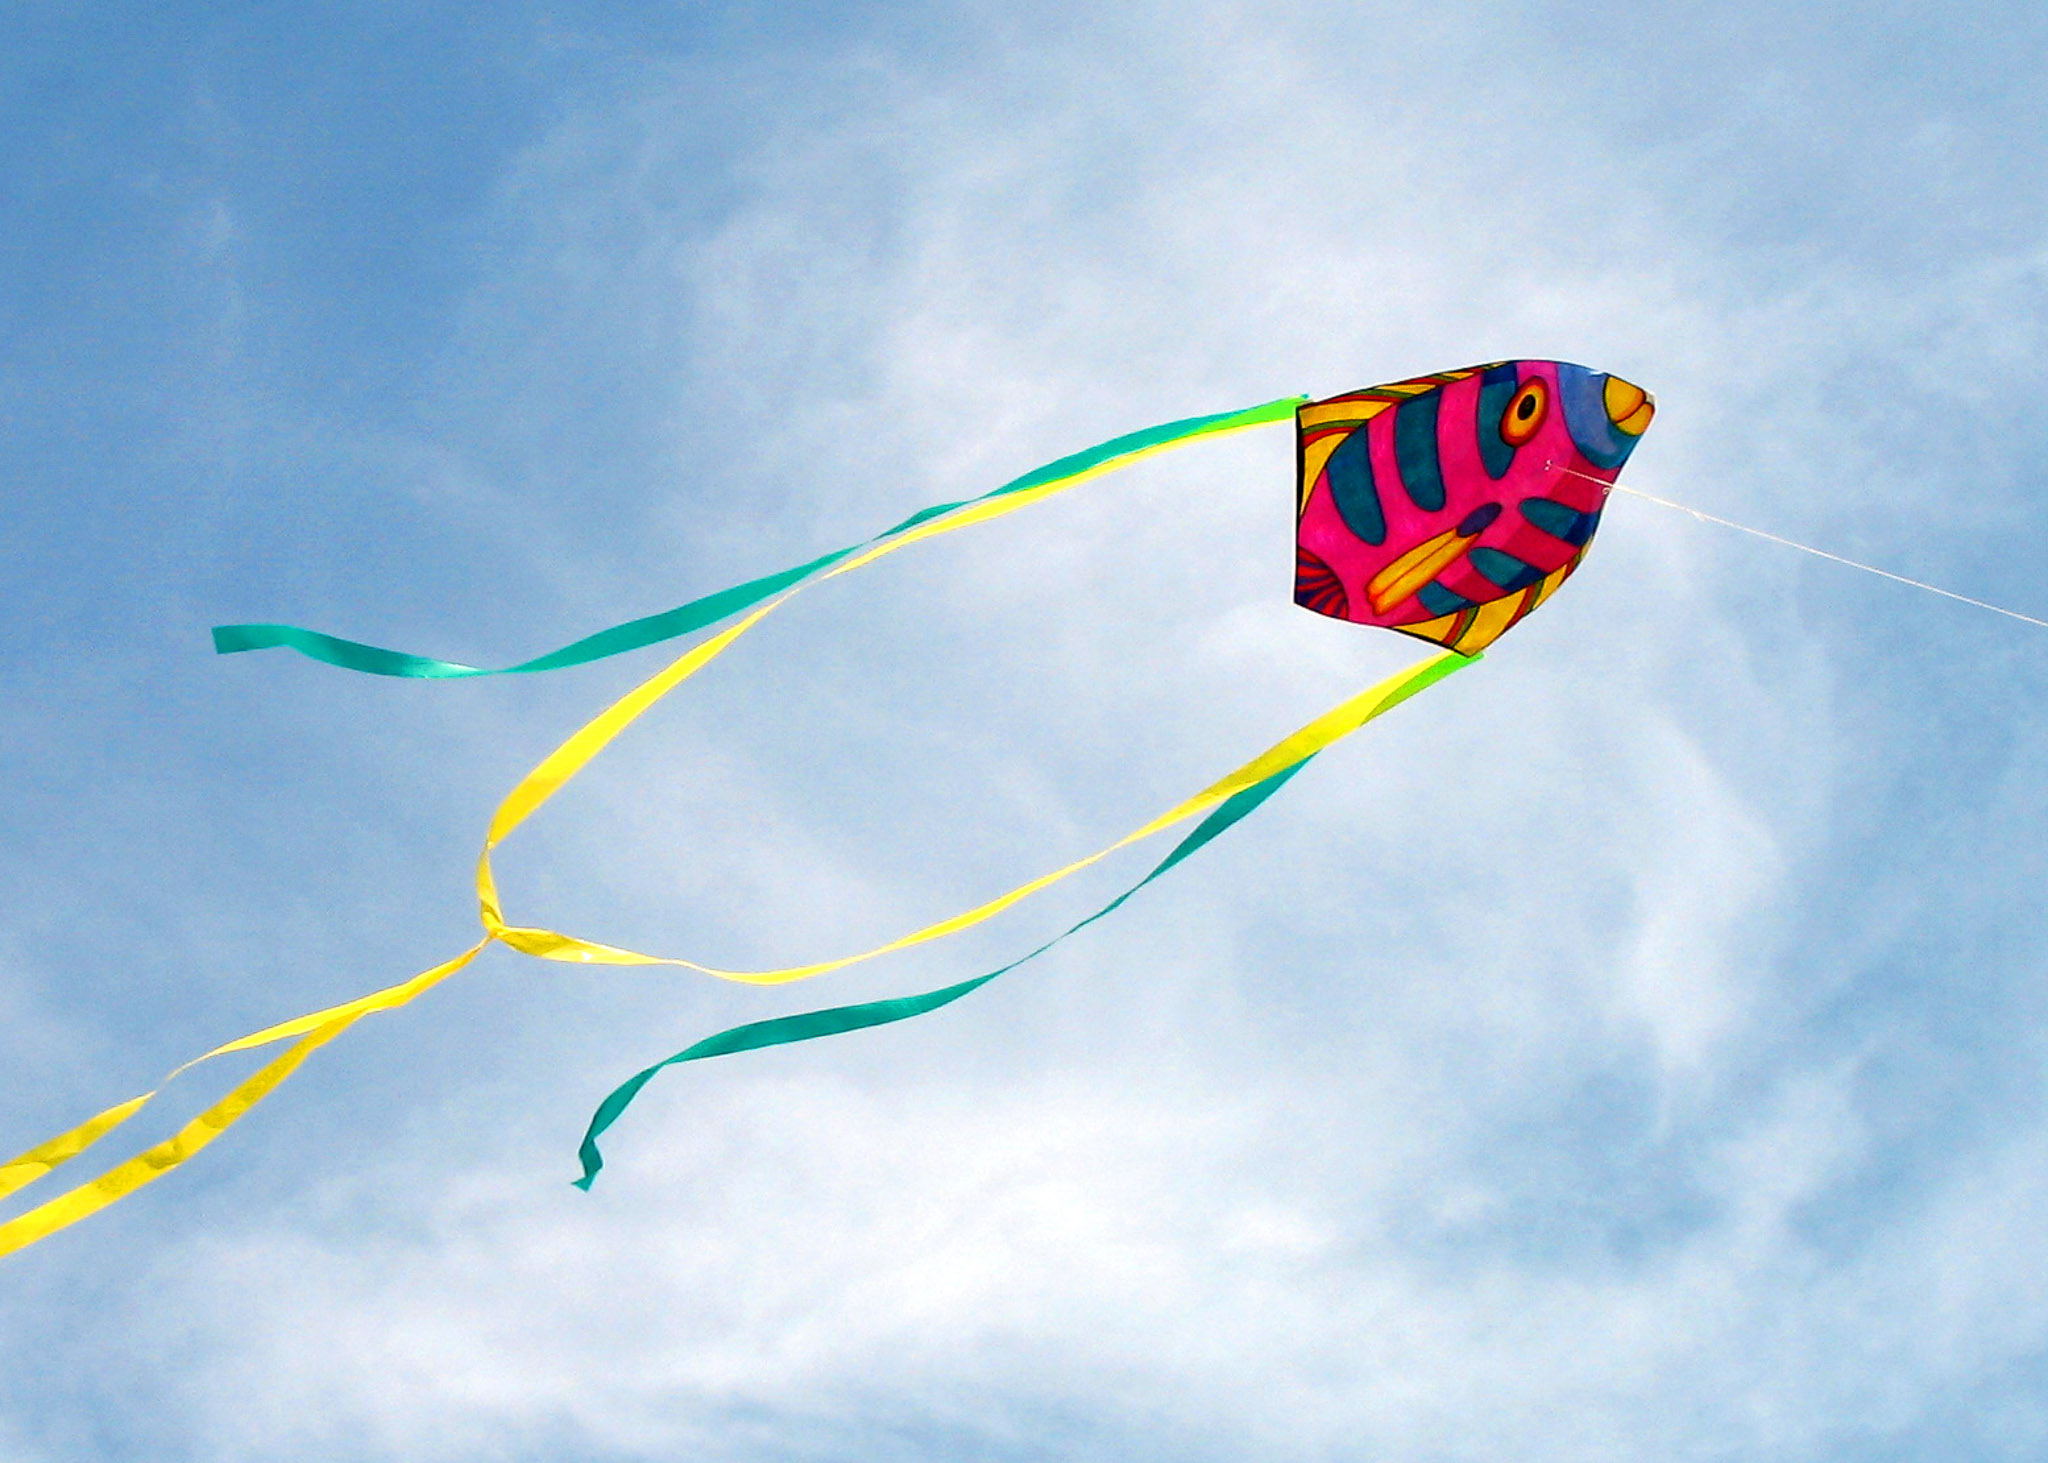
  6. Tail: Not all kites need a tail, but they can provide both stability and visual flair. Typically made from ribbons or strips of fabric, tails add movement and color to the kite’s flight. Since the Maker-Fish is a flat kite, it relies on a tail for stability and — bonus — the tail enhances its fish-like appearance, bringing the design to life in the sky.
  7. Flying line: The string you use to control the kite, usually nylon or polyester twine.

Designing and Building Kites

  • Aerodynamics: It’s all about lift, drag, and stability. The kite’s shape and bridle points are key to its flight.
  • Materials: Lightweight and durable materials are a must for performance and longevity.
  • Shape and Structure: Different shapes mean different flying characteristics. Delta kites are stable, while stunt kites are acrobatic.
  • Aesthetics: Colors, patterns, and decorations make kites visually stunning. We use techniques like painting, applique, and printed fabrics.

A Brief History of Kites

Kites go back more than 2,000 years, starting in ancient China. Back then, people used kites for signaling, measuring distances, and even scaring enemies with bamboo strips attached to the kites that made creepy screeching sounds. The designs of those kites still inspire modern ones today. In Polynesia, they used kites to fish, flying baited lines over the water to catch fish — a method that’s also still around.

In the late 1800s and early 1900s, kites were used in wartime for surveillance and even as weapons to take down enemy aircraft. They also helped scientists study the weather.

Today, kites are all about fun. Kite festivals, kite surfing, and snowboarding with kites make them even more exciting. 

Types of Kites

Single-Line Kites

Classic and easy to fly, single-line kites like diamond, delta, or box kites are perfect for beginners. Some can be massive and used as show kites, filling the sky with vibrant colors and shapes.

Stunt Kites

With two or more lines, stunt kites let you perform cool tricks and maneuvers in the air. Teams also use them for precision routines choreographed to music, adding a dynamic element to kite festivals.

Power Kites

These massive kites generate hundreds of pounds of pull, making them ideal for extreme sports like kite surfing, kite-powered buggies, and snowboarding.

Inflatable & Large Show Kites

Inflatable kites hold their shape with air pressure, and large 3D designs really stand out at kite festivals. These kites fill the sky with incredible, larger-than-life displays — a spectacle of color and creativity that makes any kite festival unforgettable.

Build Your OWN Maker-Fish Kite

Our DIY kite is inspired by a classic shield design. By rotating this shape 180 degrees, we achieve a silhouette shaped like a fish, which is further enhanced by adding tails that join together a short distance from the base, giving the appearance of a fish’s body in motion. The kite is constructed from hard-structured Tyvek, a material known for its light weight and durability, similar to the tough envelopes used by FedEx. The frame is built using 1.5mm fiberglass rods, ensuring a strong yet flexible structure.

The 3D-printed plastic parts connect the sail to the frame and are designed for precision and ease of assembly, adhering securely with strong double-sided tape.

The Maker-Fish design is highly adaptable, making it an excellent platform for creating other kite shapes. Visit the Fortuna Found resources page for detailed guides and easy-to-follow videos. I’ll also share tips from my many years of making, including handling sticky parts and safely using a craft knife. These lessons apply to all kinds of kite designs, whether you’re sewing or not!

Project Steps

1. Source Your Materials

Tyvek and fiberglass rods can be tricky to source in small quantities, so we’ve made kits available at fortunafound.com/make-kite-maker-fish.

While waiting for your supplies, you can get started by printing and assembling the paper templates and 3D printing the parts. Head over to the resources page to download the sail templates and 3D model files. There’s even a kite winder handle in the shape of Makey, the robot mascot of Maker Faire.

For the sail, you can also use these materials:

Tyvek: Priority Mail, FedEx, or UPS envelopes work well. You may need to tape them together to create a large enough sheet. Avoid Tyvek HomeWrap — it’s too heavy.

3mil polyethylene film: You can use trash bags or reusable grocery bags (the plain back side works best). You’ll need to join two pieces together for the full sail.

For detailed instructions on preparing these materials, visit the resources page.

2. 3D Print Your Parts

Every project I design, from cabinets and furniture to kites to electronics, goes through an iterative process: concept, design, build, break, and repeat until the desired result is achieved. So you might notice that some photos here differ slightly from the files you’ve downloaded — this reflects the evolution of the design.

The parts for your kite are designed to be easy to print. You can use either PLA or PETG filament, but I prefer PETG as it’s a bit more flexible and handles impacts better. Then again, who’s planning on crashing their kite, right?

I designed these parts using Autodesk Fusion, but they could just as easily have been created in Tinkercad or another modeling program. I’ve been using Prusa printers for the past 10 years and have owned all four i3 variants. These parts were printed on my MK4 using Prusa’s stock filament and speed profiles. While the tolerances are the same for either PLA or PETG, I recommend printing slower and using your printer’s stock profiles for the best results.

When printing, use a smooth print sheet instead of a textured one. I’ve found that textured sheets don’t work as well with pressure-sensitive adhesives — the parts just don’t stick as securely.

3. Prepare Your Work Area

Make sure you have enough room — a surface of 3 to 4 feet wide and 2 to 3 feet deep should do the trick. It’s best to have a self-healing cutting mat, but heavy cardboard or poster board will work.

Using a sharp craft knife is crucial; you shouldn’t be pressing so hard that you cut through and damage your dining room table top. (Trust me, my mom was not happy about many of my choices of work areas!)

Have another piece of cardboard ready for spraying the glue onto your template parts.

Tip:  For any prints with horizontal holes, here’s a tip: add a small “roof” at the top of the circle to prevent the plastic from sagging and partially filling the hole. This ensures that our 0.062″ (1.57mm) fiberglass rod fits perfectly without needing to clean out the hole with a drill bit. My goal in 3D printing is to avoid post-processing as much as possible — because who has time for that? 

4. Assemble the Template

Download the four PDF template patterns from the resources page and print them at full size on either letter or A4 paper. Do not use the fit-to-sheet setting.

Using your craft knife and a straightedge, carefully trim sheets 1 and 3 along the dotted line on the 11″ edge.

Take a permanent glue stick and apply glue to the uncut 11″ edge of sheets 2 and 4. Line up the cut edge of sheet 1 with the glued edge of sheet 2. Join them by tapping lightly along the glued edge, then rub to ensure a good bond.

Repeat for sheets 3 and 4. Now you’ll have two sets of joined sheets.

Cut the long edge of joined sheets 3 and 4. Apply glue to the uncut edge of sheets 1 and 2, and place a weight on them with the glued edge facing you. Line up the cut edge of sheets 3 and 4 with the glued edge of 1 and 2 and join them.

Now it’s time to attach the printed template to the poster board. In a well-ventilated area or outdoors, place a piece of scrap cardboard down for spraying, and spray adhesive onto the back of the printed template. Let it dry briefly, then carefully press it onto the poster board.

Use your straightedge and craft knife to trim the straight edges, and cut the curves free-hand.

Repeat this process two more times to make the template three layers thick. Trim the edges for each layer, and then cut out the flying line holes using a ⅛” or 3mm drill bit or your craft knife. Be sure to use a piece of scrap wood as backing when drilling.

That’s it — your template is ready to go.

Tip:  If you plan to make multiple kites, you can stiffen the edge of the template with super glue and a spray accelerator.

5. Cut the Sail

Lightly spray adhesive on the backside of your template. Let it dry just enough to become tacky.

Next, unroll your Tyvek with the curled side facing down onto your cutting surface. You can fit six kite sails onto a 36″×48″ sheet of Tyvek.

Place your template, tacky side down, onto the bottom-left corner of the Tyvek as shown. Rub it down lightly to secure it, then roughly trim around the template with scissors or a craft knife.

Now position the template and Tyvek on your cutting surface and add a weight to keep them from sliding. Using a sharp craft knife, carefully trim the exposed Tyvek along the edges of the template. Keep your fingers safely out of the blade’s path! To make the cuts easier, start with one of the straight edges, then rotate the template and sail as needed.

Also cut the flying line holes as you did when making the template.

After cutting, simply peel the sail away from the template. If you plan to build multiple kites, now’s a great time to cut the remaining sails. Wipe off any residual spray adhesive with a dry towel.

Well done! With your sail ready, it’s time to decorate. Sharpie markers are my go-to for designs, but any alcohol-based marker will work. Be careful with solvent-based industrial markers — they’ll pucker the Tyvek — and avoid water-based markers since they won’t dry.

If you’d like to paint your kite with artists’ acrylic paints, check out the painting tips on the Fortuna Found resources page.

6. Apply Adhesive to Printed Parts

Pressure-sensitive adhesive (PSA) — aka peel ’n’ stick adhesive — is sticky stuff, but don’t worry; I’ll walk you through it step by step.

First, gather your materials: the printed parts (don’t forget the Burnishing Block), a PSA sheet, alcohol, a towel, a craft knife, and a toothpick or bamboo skewer. Before you dive in, wash your hands and give them a wipe with alcohol. Trust me, clean hands are key to keeping the adhesive free of oils and dirt.

Now, take the alcohol and towel and clean the bottoms of your printed parts. Use the Burnishing Block to hold the parts while you clean them — that way, you’re not getting fingerprints all over the surfaces.

Lay out your cleaned parts on the back of the adhesive sheet to see how much you’ll need. Mark and cut out just what you’re going to use. Smaller pieces are easier to handle.

Peel the backing off the adhesive, but only touch the edges. PSA is super sticky, and the less you handle it, the better. Keep the backing sheet handy — you’ll need it for sticky scraps later.

Place the printed parts, one by one, onto the sticky face. The parts are small and a bit tricky to handle; it helps to use a toothpick or skewer to help position them. Once they’re in place, press the parts down firmly on the adhesive sheet.

Use your craft knife to carefully trim the excess adhesive from around each part. Take your time — neat edges make a big difference. Stick the scraps onto the saved backer sheet to keep your workspace tidy.


For parts with holes, like the center fitting, use the knife and toothpick to clear out the adhesive. It’ll save you trouble when it’s time to assemble.

Here’s where the magic happens: burnishing. Use the Burnishing Block to hold each part steady and use something round, like the barrel of a Sharpie, to press the adhesive down firmly. A little extra pressure ensures a good bond and makes this kind of adhesive stick like it’s supposed to.

Finally, wipe down the edges of the parts with alcohol to clean up any stray adhesive. You’re done! I know it seems like a lot, but this attention to detail will make your kite parts look great and hold up for a long time.

7. Attach Printed Parts to Sail

Place the sail on your work surface with the curled side facing up — this side is the back of the kite. This orientation ensures the kite will have a nice curved surface to catch the wind. Lightly clean the areas where the parts will be affixed using a towel and alcohol. Don’t soak it — just a light wipe will do. Let it dry thoroughly before moving on.

You’ll be forming a center line crease at the nose and tail to help align the parts. Reference the template for the correct length of the two creases.

Begin by bringing the two bottom corners together and aligning the straight and curved edges.

Crease the top and bottom areas as indicated on the template. Place a weight to help keep the sail steady while you work. Use the barrel of a Sharpie to create a sharp, clean crease.

Take the Right Corner Fitting and use the tip of your craft knife to gently lift the adhesive backing, peeling it from the edge of the part that aligns with the sail’s edge. Peel it back only halfway — do not remove it completely.

Align the edges of the part with the edge of the sail, using a toothpick or skewer to position it precisely.

The folded backer keeps the sticky areas from prematurely sticking and allows you to slide the part for perfect alignment. Once the edge is aligned, press the part firmly onto the sail and peel away the rest of the backer. Repeat this process for the other three corners.

Using the same technique, align the two holes of the center fitting with the corresponding holes in the sail. Ensure the center of the tip is perfectly centered on the crease line.

Insert the part into the Burnishing Block, then rub the sail’s face firmly using the barrel of a Sharpie to ensure a strong bond.

That’s it for the sticky stuff! Your kite is now ready for framing.

8. Frame the Kite

Place the sail on your work surface with the printed parts facing up.

Cut one piece of the 1.5mm fiberglass rod at 425mm for the Spine and one piece at 670mm for the Bowed Spreader.

Tip:  When cutting small-diameter fiberglass and wood dowels I use a utility knife to score the material. Lay the fiberglass rod on your cutting surface and mark it with a pencil where you will be cutting. Place the blade on the mark and roll the knife and rod back-and-forth to score it. Do not cut all the way through; depending on the thickness, typically one-quarter of the way is enough. Once scored, you can bend and snap at the scored line. Finally sand and round the ends with fine sandpaper.

Insert the Spine into the Center Fitting from the bottom, and slide the end into the Nose Fitting. Then insert the tail end into the Bottom Fitting. Looking from the side, it should look curved, like a smile. But when looking down on the kite, the spine should appear straight.

If the spine is too tight and doesn’t lie straight on the sail, you’ll need to sand the end down, a little at a time, until it is slightly loose.

Now you’ll insert the Bowed Spreader. Start by finding the center of the spreader using a ruler or tape measure and marking it with a pencil. Insert the spreader into the cross-hole of the center fitting. Slide it until the pencil mark is in the center of the fitting. Curve the spreader down toward the corner fittings.

Insert the ends of the spreader, one at a time, into the corner fittings. The curve on both sides of the spine must be balanced.

We’re getting really close.

9. Tie the Tow Point Connector

YouTube player

This kite doesn’t use an adjustable bridle, just a single tow point. We’ll attach the flying line using a lark’s head hitch, which is a super simple and reliable knot used on nearly every kite. No need for swivels or other hardware.

Cut a piece of flying line from your winder, about 350mm long. Lightly melt both ends with a lighter flame to keep them from fraying. Fold the line in half and tie a figure-eight knot close to each end.

From the front side of the kite, feed the folded loop through one of the two holes in the center fitting. Then feed it back through the second hole. A toothpick, bamboo skewer, or tweezers can be helpful here.

Tie a loose lark’s head hitch on your toothpick, then pass the knotted end through the loops of the lark’s head. Slide the hitch down snug against the fitting and pull it tight.


And that’s it — your tow point is secure and ready to fly.

10. Make the Tails

The tails are a big part of what gives the Maker-Fish its bold, flowing look in the sky. Use one color or mix things up, to match or contrast with your kite’s artwork.

Cut two outer ribbons 3x the spine length, and two center ribbons 6x the spine length.

Cut four lengths of flying line, 225–250mm each. Melt the ends, fold each line in half, and tie two knots — one near the end, and one about 10mm up. Trim and re-melt the tips. Add a drop of super glue to each knot. Try to keep the loops consistent in size — it’s a small detail that matters.

Cut seven lengths of tape 60mm long — one for each tail, one to join the center tails, and two to use as “third hands” to hold the ribbon while you work.

Fold the end of a ribbon lengthwise in fourths to narrow it to about 6mm wide. Make the fold about 75mm long. Tape it to your work surface using one of your “third-hand” strips, leaving 60mm sticking out. Place a piece of tape sticky-side up under the folded ribbon, halfway back toward the fold. Slide a knotted loop onto the ribbon near the tape.

Fold the ribbon over the loop and hold it in place with one finger. Wrap the tape over the top of the fold, securing it as you go. Don’t remove the “third-hand” tape just yet. Lift the knotted end of the loop and finish wrapping the tape neatly around the folded ribbon.

Repeat for the remaining tails.

Join the two long center ribbons in the middle with a 60mm piece of tape. Use the ends of the shorter tails to line up the joint so all the ends match. This creates the illusion of a flowing fish body in flight.

Now attach the tails to the kite: Insert one short tail and one center tail into each corner fitting. Stagger the knots and slide them into the tapered slot until secure.

The tab at the end of each fitting makes it easy to remove the tails if you want to switch colors or lengths.

That’s it — your tails are ready to bring your Maker-Fish to life in the sky.

11. Prepare the Flying Line

Flight is in sight, but there’s one last important task: preparing the flying line. It’s why kite flying is referred to as “tethered aviation.”

Your kite winder handle should contain 100 meters of line, approximately 330 feet. This is enough for three Maker-Fish kites. Remember, when flying a kite, whatever line you let out, you will have to wind it back in!

Measure out 1/3 of the line (110 feet), cut, and melt the ends. Tie a 350mm loop at one end of the line. Then tie a small loop on the tip of this loop to create a tab.

Pass the tab through one of the holes in your handle. Pull the loop until the knot comes through the hole. Pass the whole handle through the loop and pull on the line until the loop is tight against the winder. Now your line won’t come off if you feed it all out to the kite! Wind your line onto the handle.

Finally, tie an identical loop and tab on the free end of the line. This loop will attach to your tow point knot.

Conclusion

Go Fly a Kite!

All the hard work is done — time to see how your Maker-Fish flies!

Before you head out, check the Kite Safety and Beaufort Wind Scale infographics on the Fortuna Found resources page. The Maker-Fish likes smooth winds in the Beaufort 2 to 4 range (about 4 to 12mph). In gusty air, it gets a bit … lively.

Find a wide open space — no trees, buildings, or power lines. Beaches, parks, or schoolyards are ideal.

This kite is easy to fly. Its cambered nose even helps it pop back into the air with a quick tug if it lands face-down.

Attach your flying line to the tow point using a lark’s head hitch, as seen in the video. With the wind at your back, have a friend hold the kite out at arm’s length — make sure they’re behind it and not standing on the tails. Walk back about 20 feet and give a light pull. If your build is balanced, the kite should lift smoothly into the sky.

Flying solo? No problem. In steady wind, hold the kite by the nose and let it float up while feeding line through your fingers. The Maker-Fish doesn’t pull hard, so this works well — just don’t try it with bigger kites. For those, you’ll need a helper … and gloves.

When you’re done, wind up the line and tuck the tails under the spine.

Nice work — now go have fun!


This article appeared in Make: Volume 93.