For Halloween in 2014, my son, Ben (then 5), and I built his costume together. In previous years, he had worn the usual toddler fare — store-bought monkey, dragon, and Buzz Lightyear costumes — but last year he found inspiration at the North Carolina Maker Faire, in the form of a costumed exhibitor dressed as Soundwave, the Decepticon from the first generation of Transformers.

While we were there, Ben mostly fixated on the working MAME setup in Soundwave’s chest, where the pop-out tape deck would be on the toy, but when we got home he started asking if he could dress up “like that blue robot” for Halloween.

costume

Project Steps

Planning and gathering materials

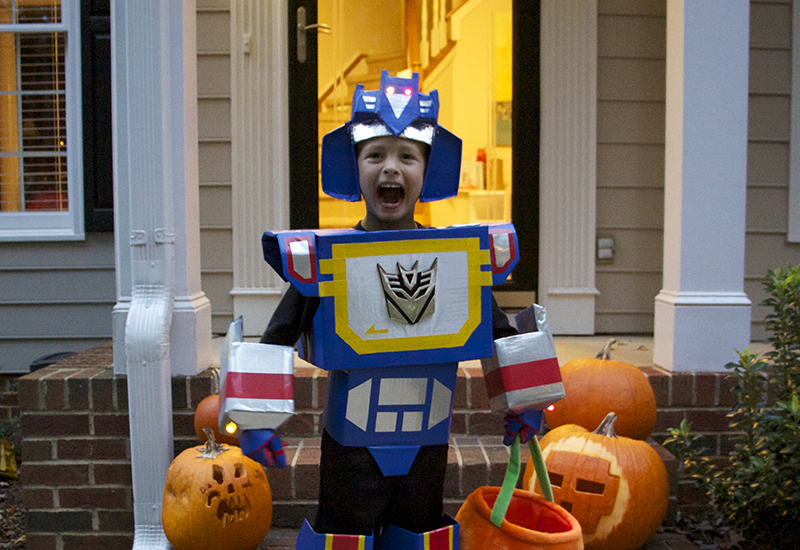
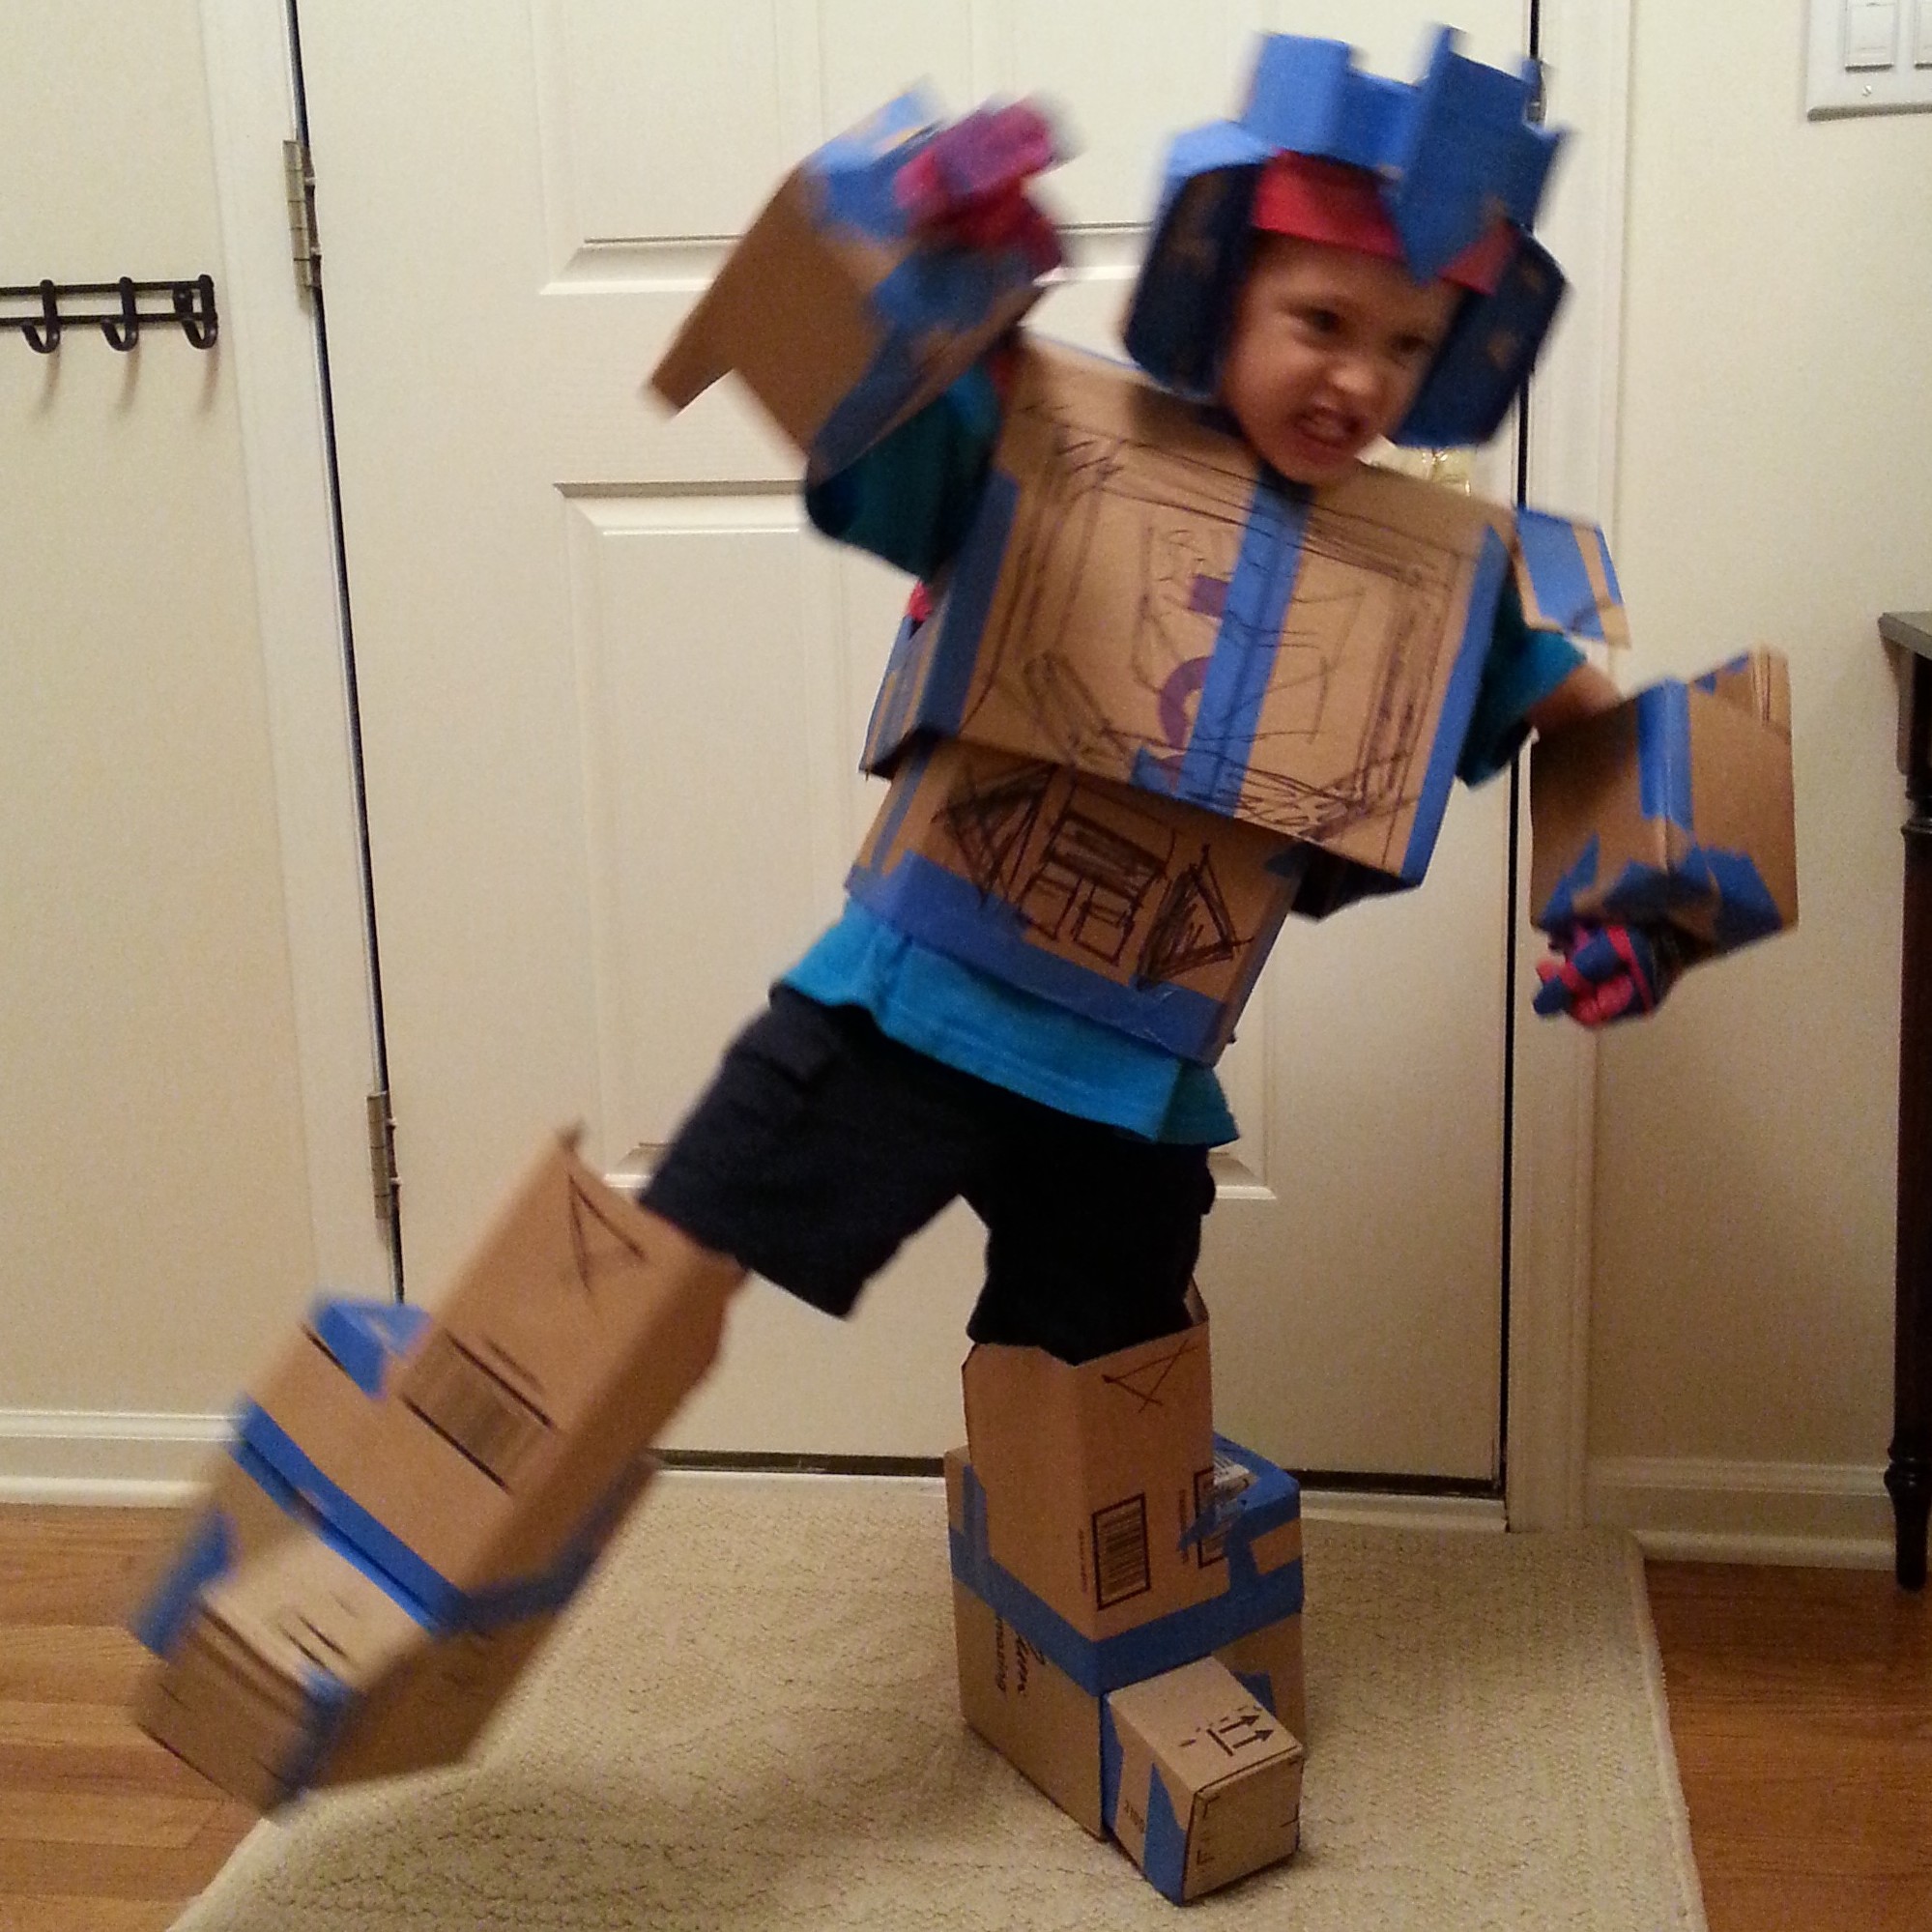
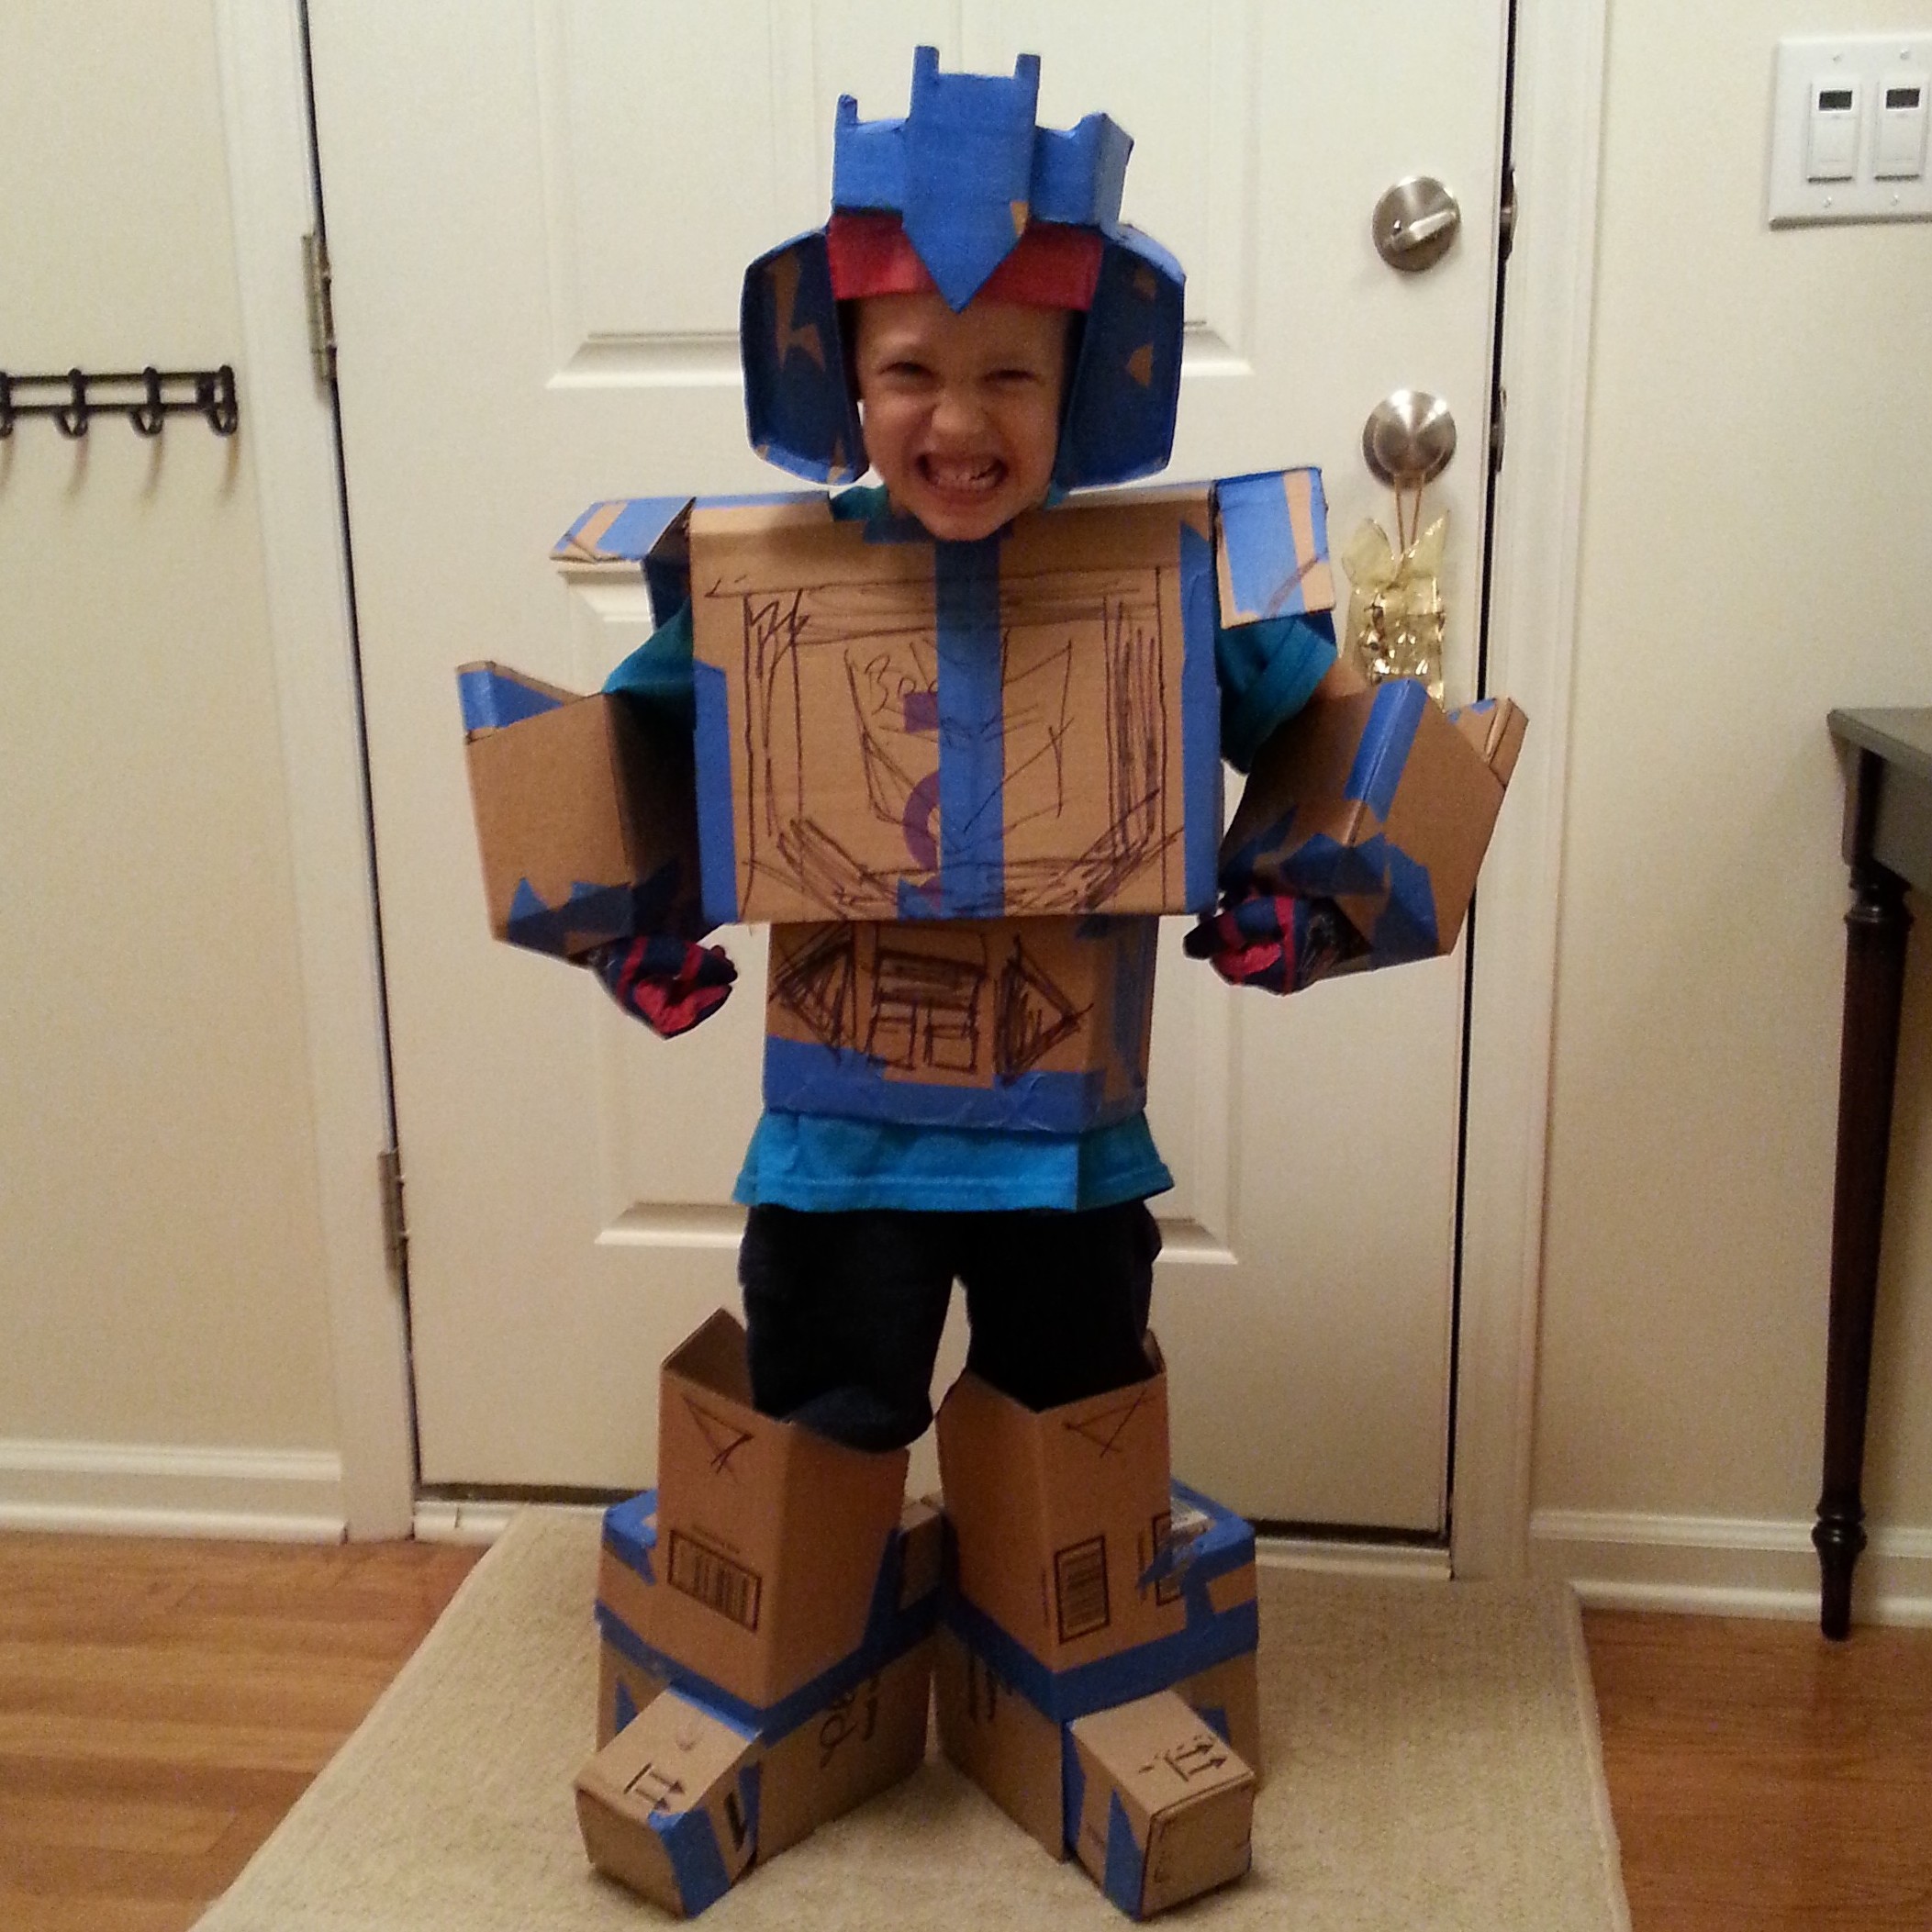
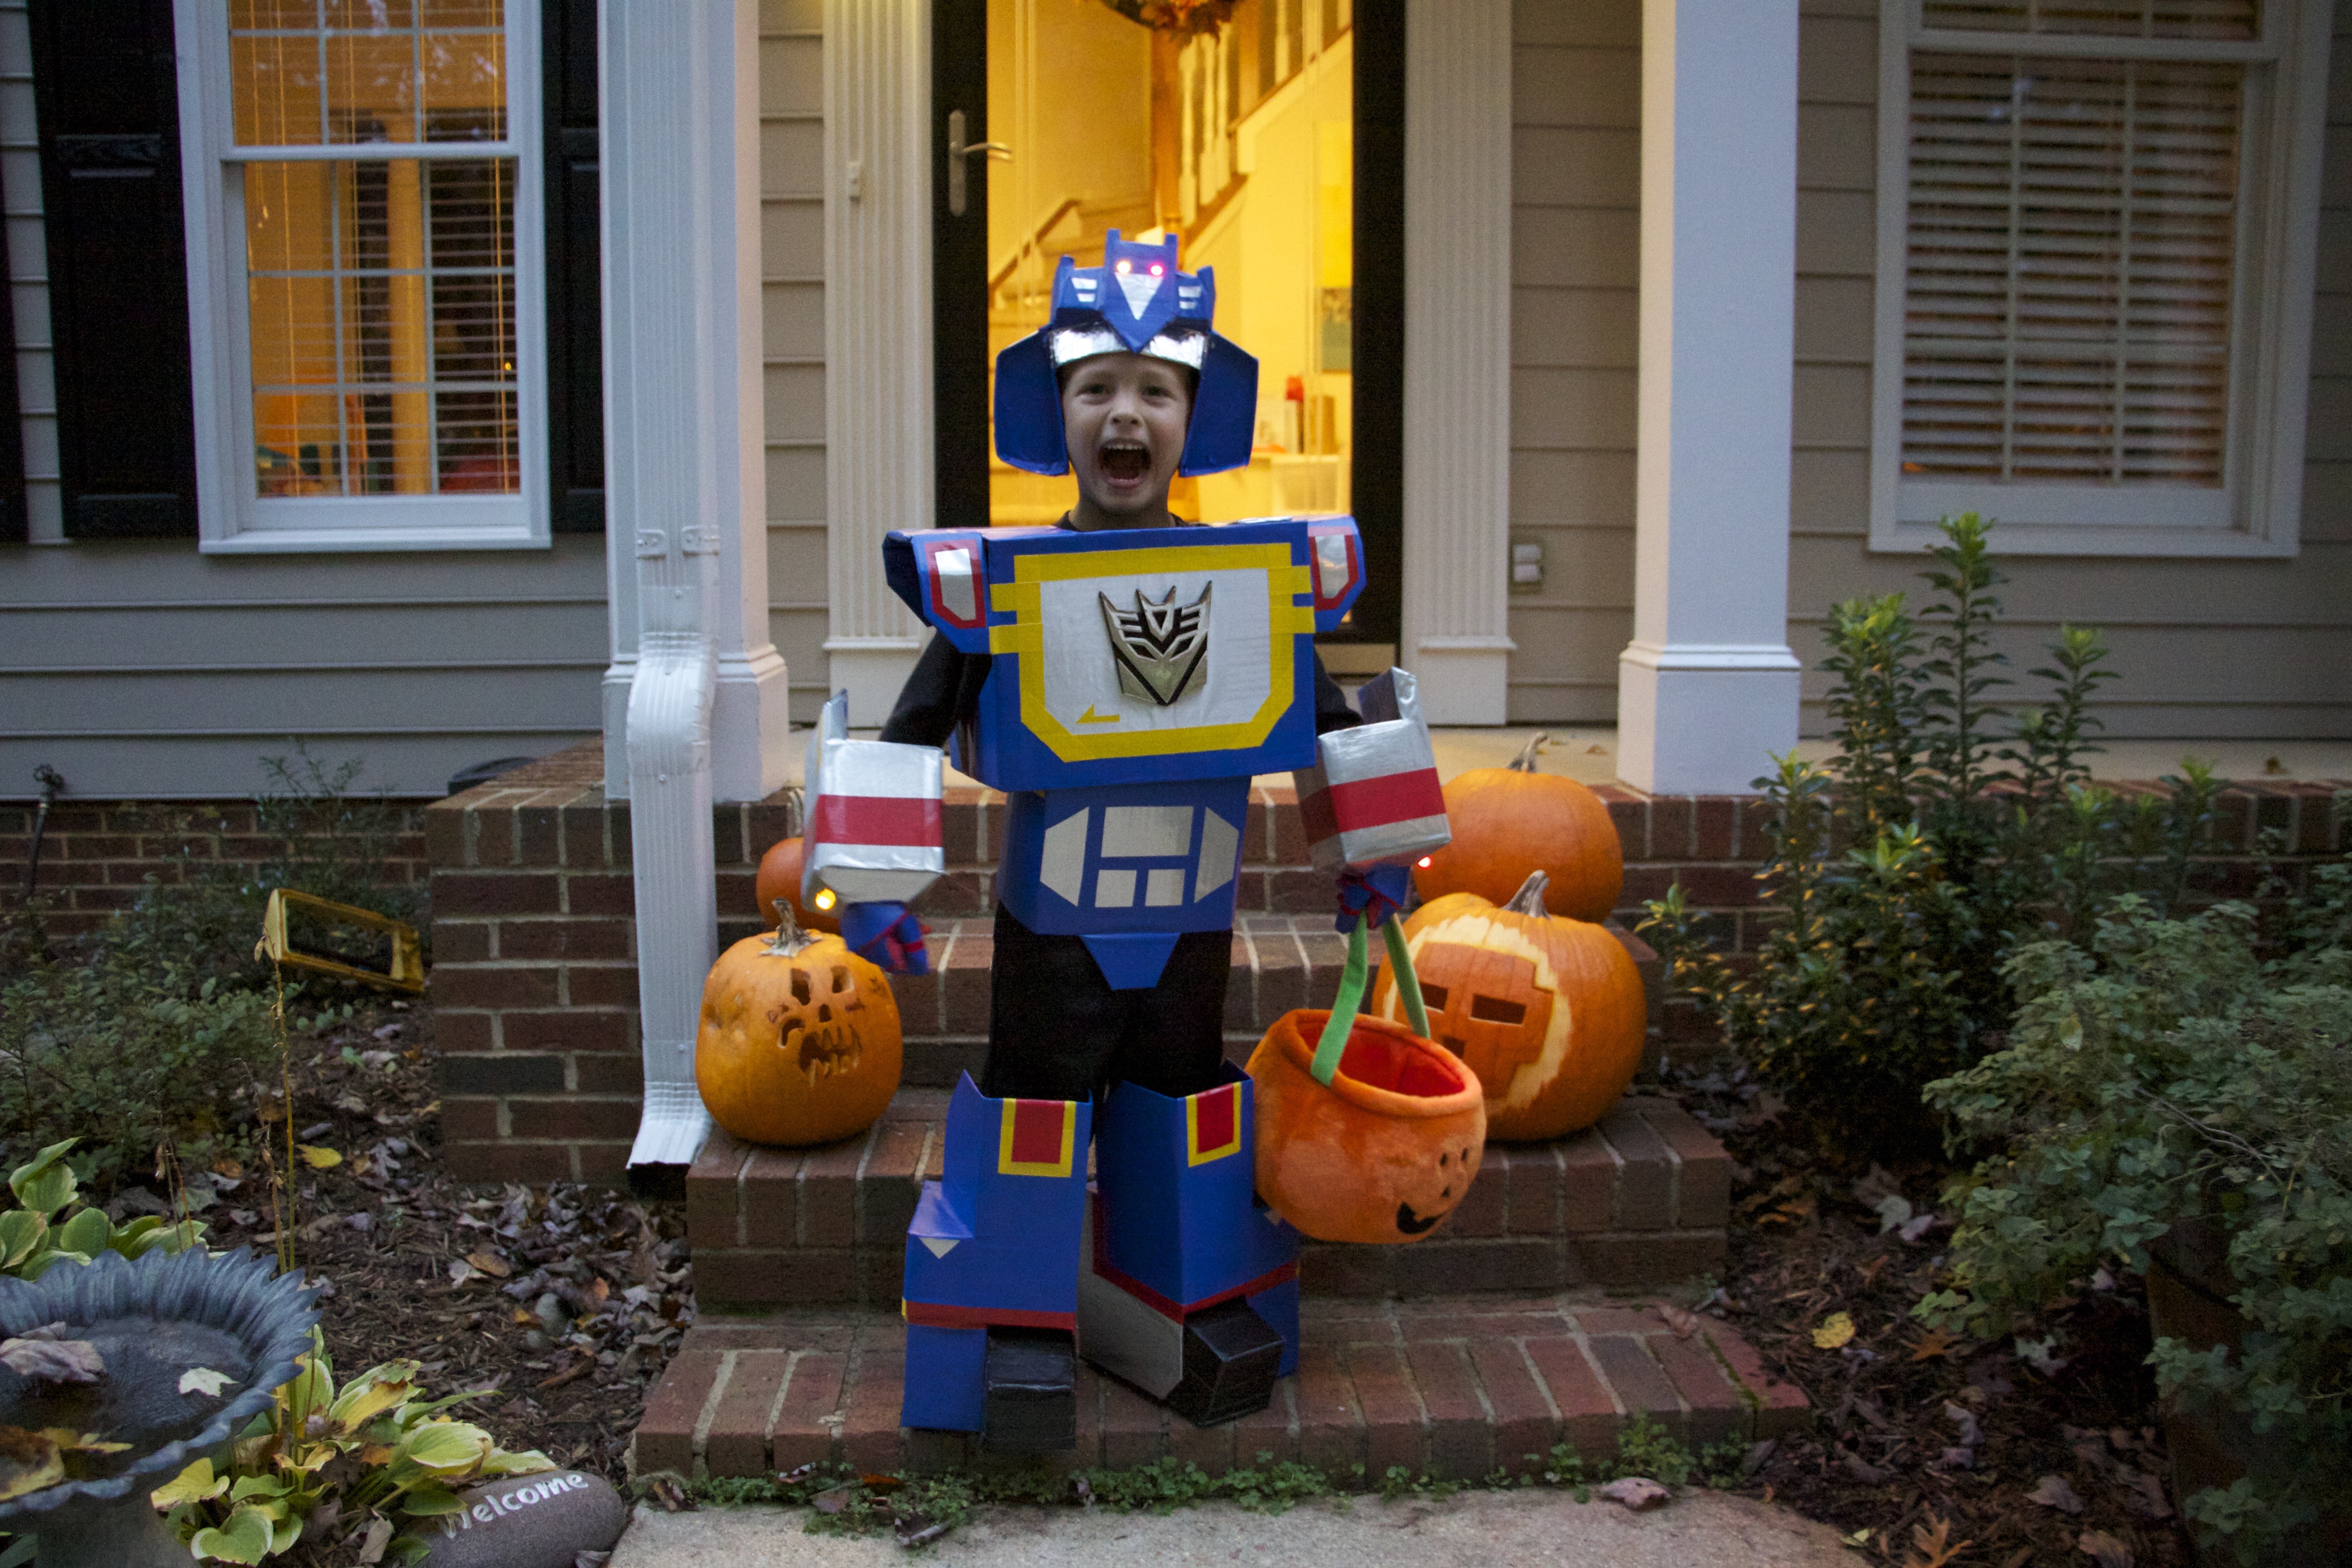
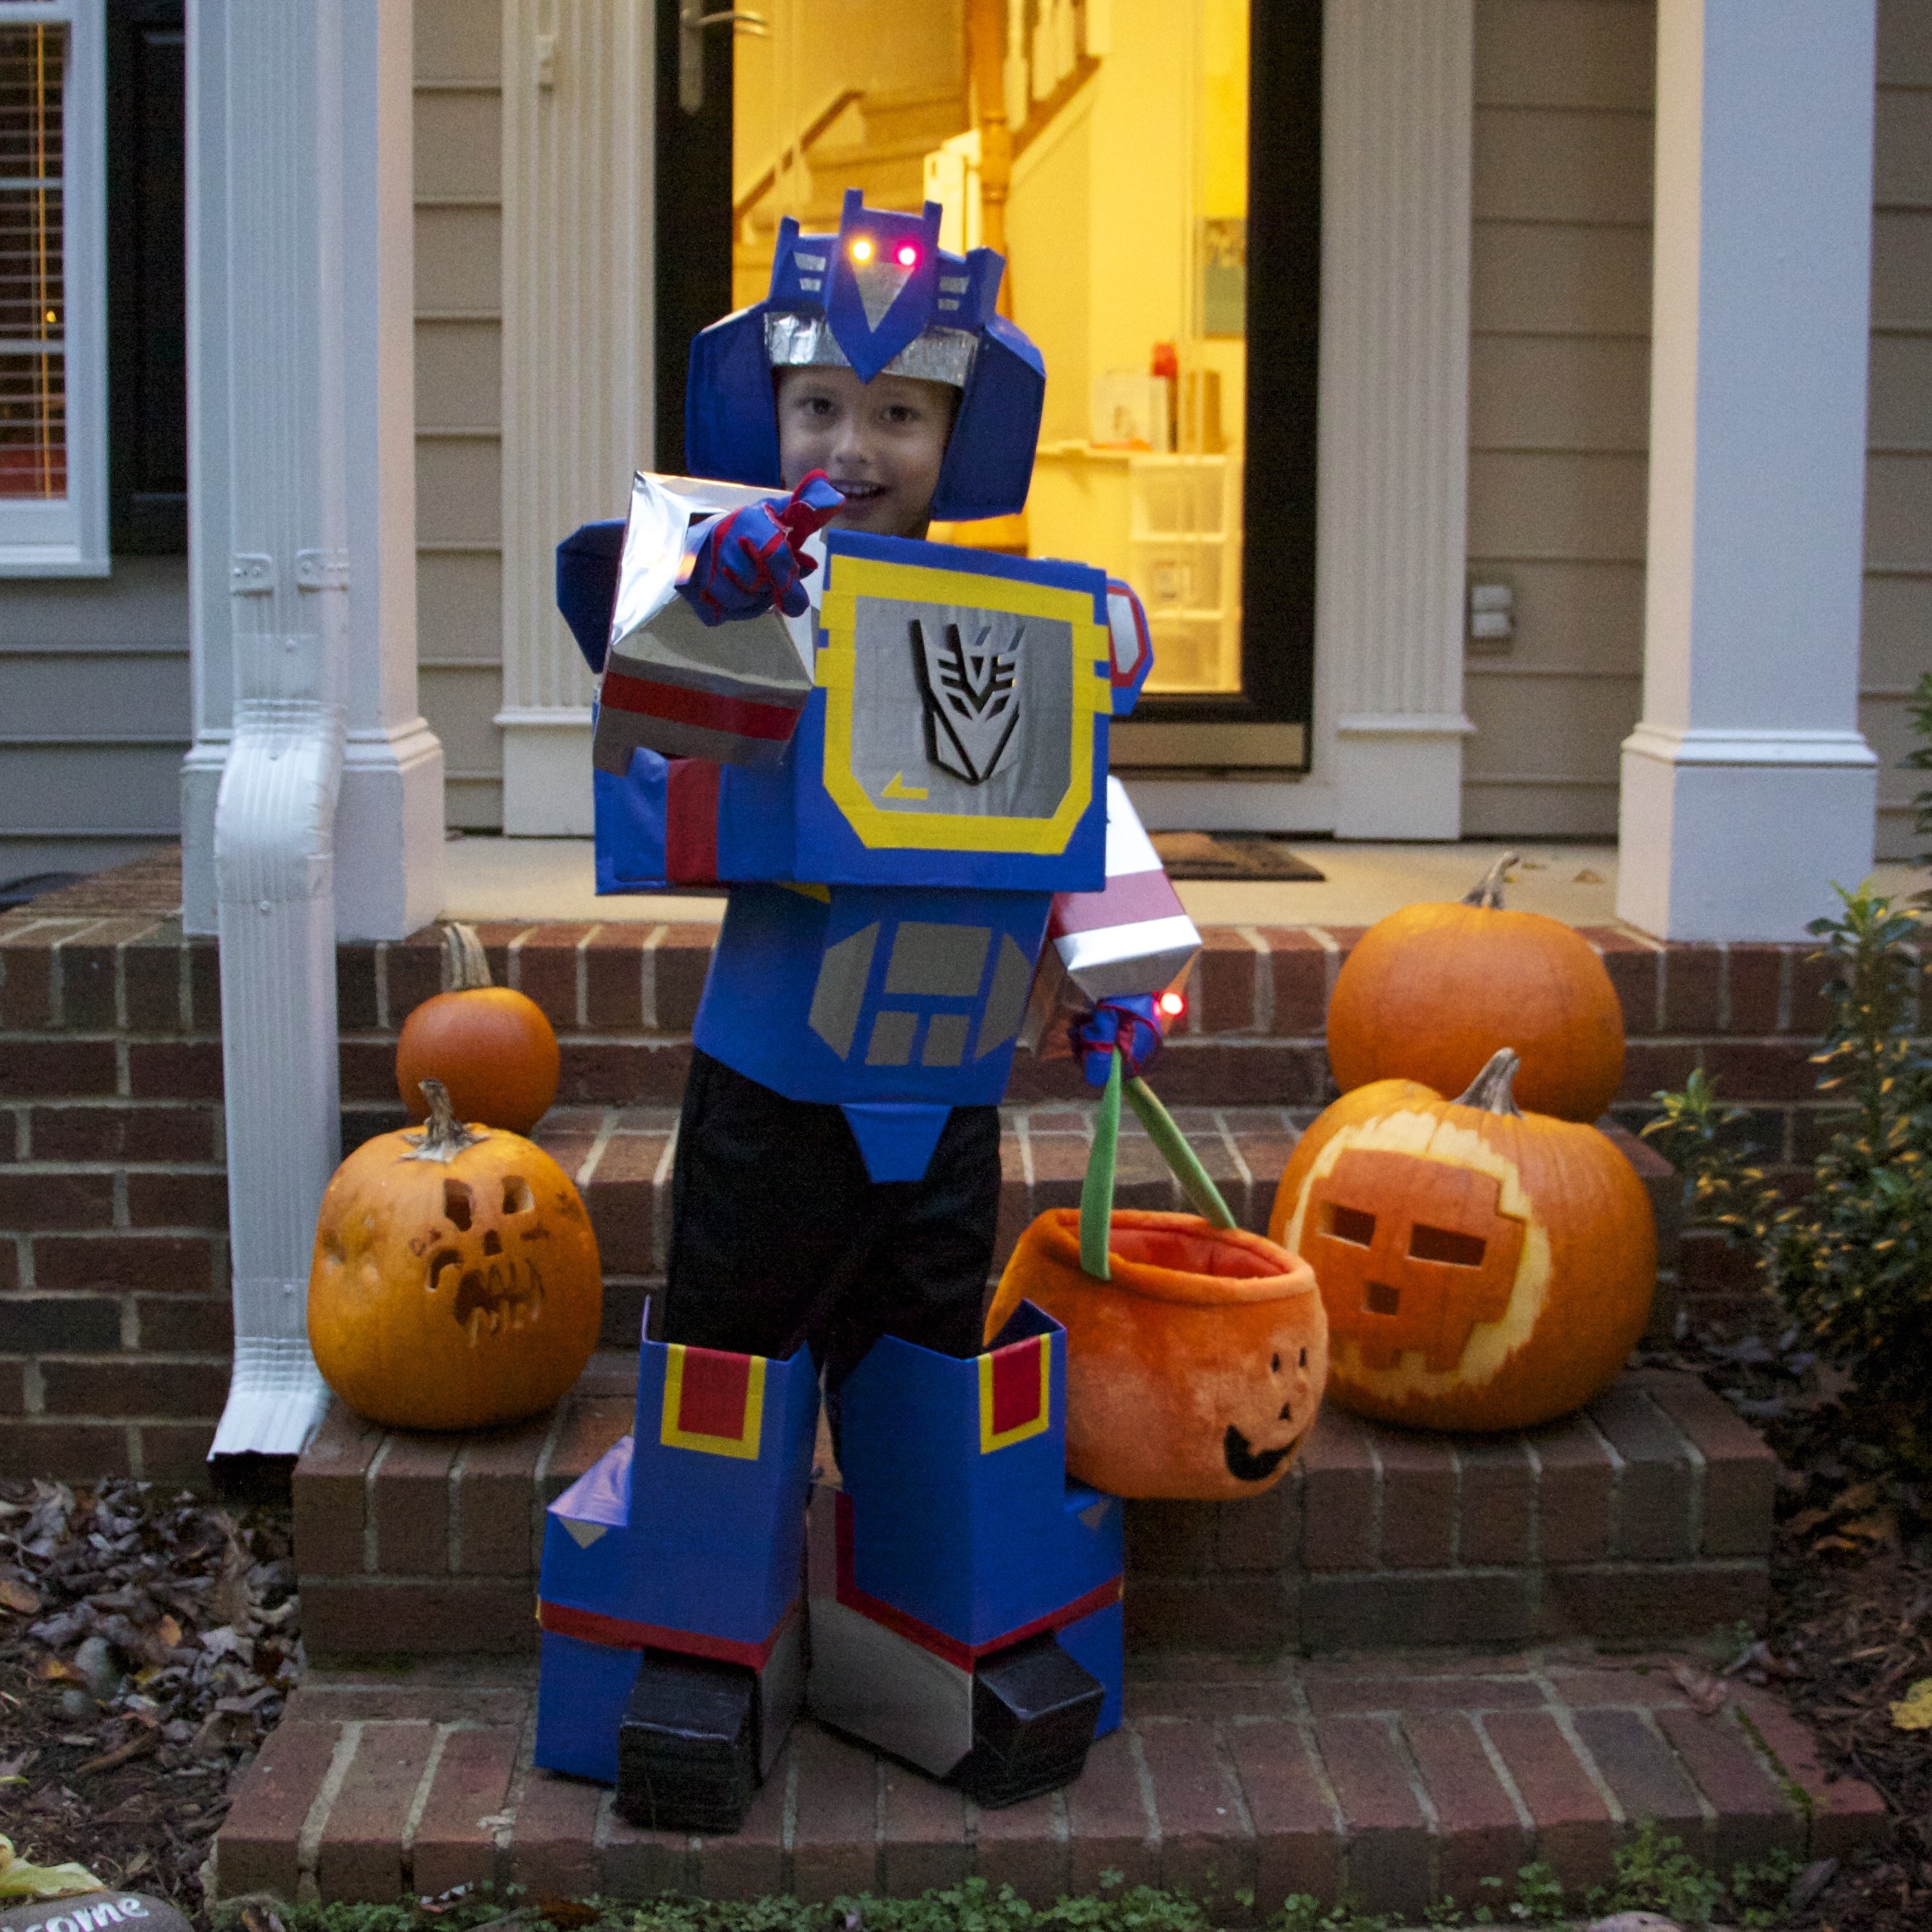
After giving Ben a crash course on Transformers: Generation 1, we looked online and found plenty of reference material for the original toy, other people’s costumes, and even 3D models. So I started to gather materials. Being a boxy robot from the ’80s, and not one of the ambling heaps of scrap metal of the more recent Michael Bay incarnation (not that I’m bitter), Soundwave could be composed mainly of cardboard.

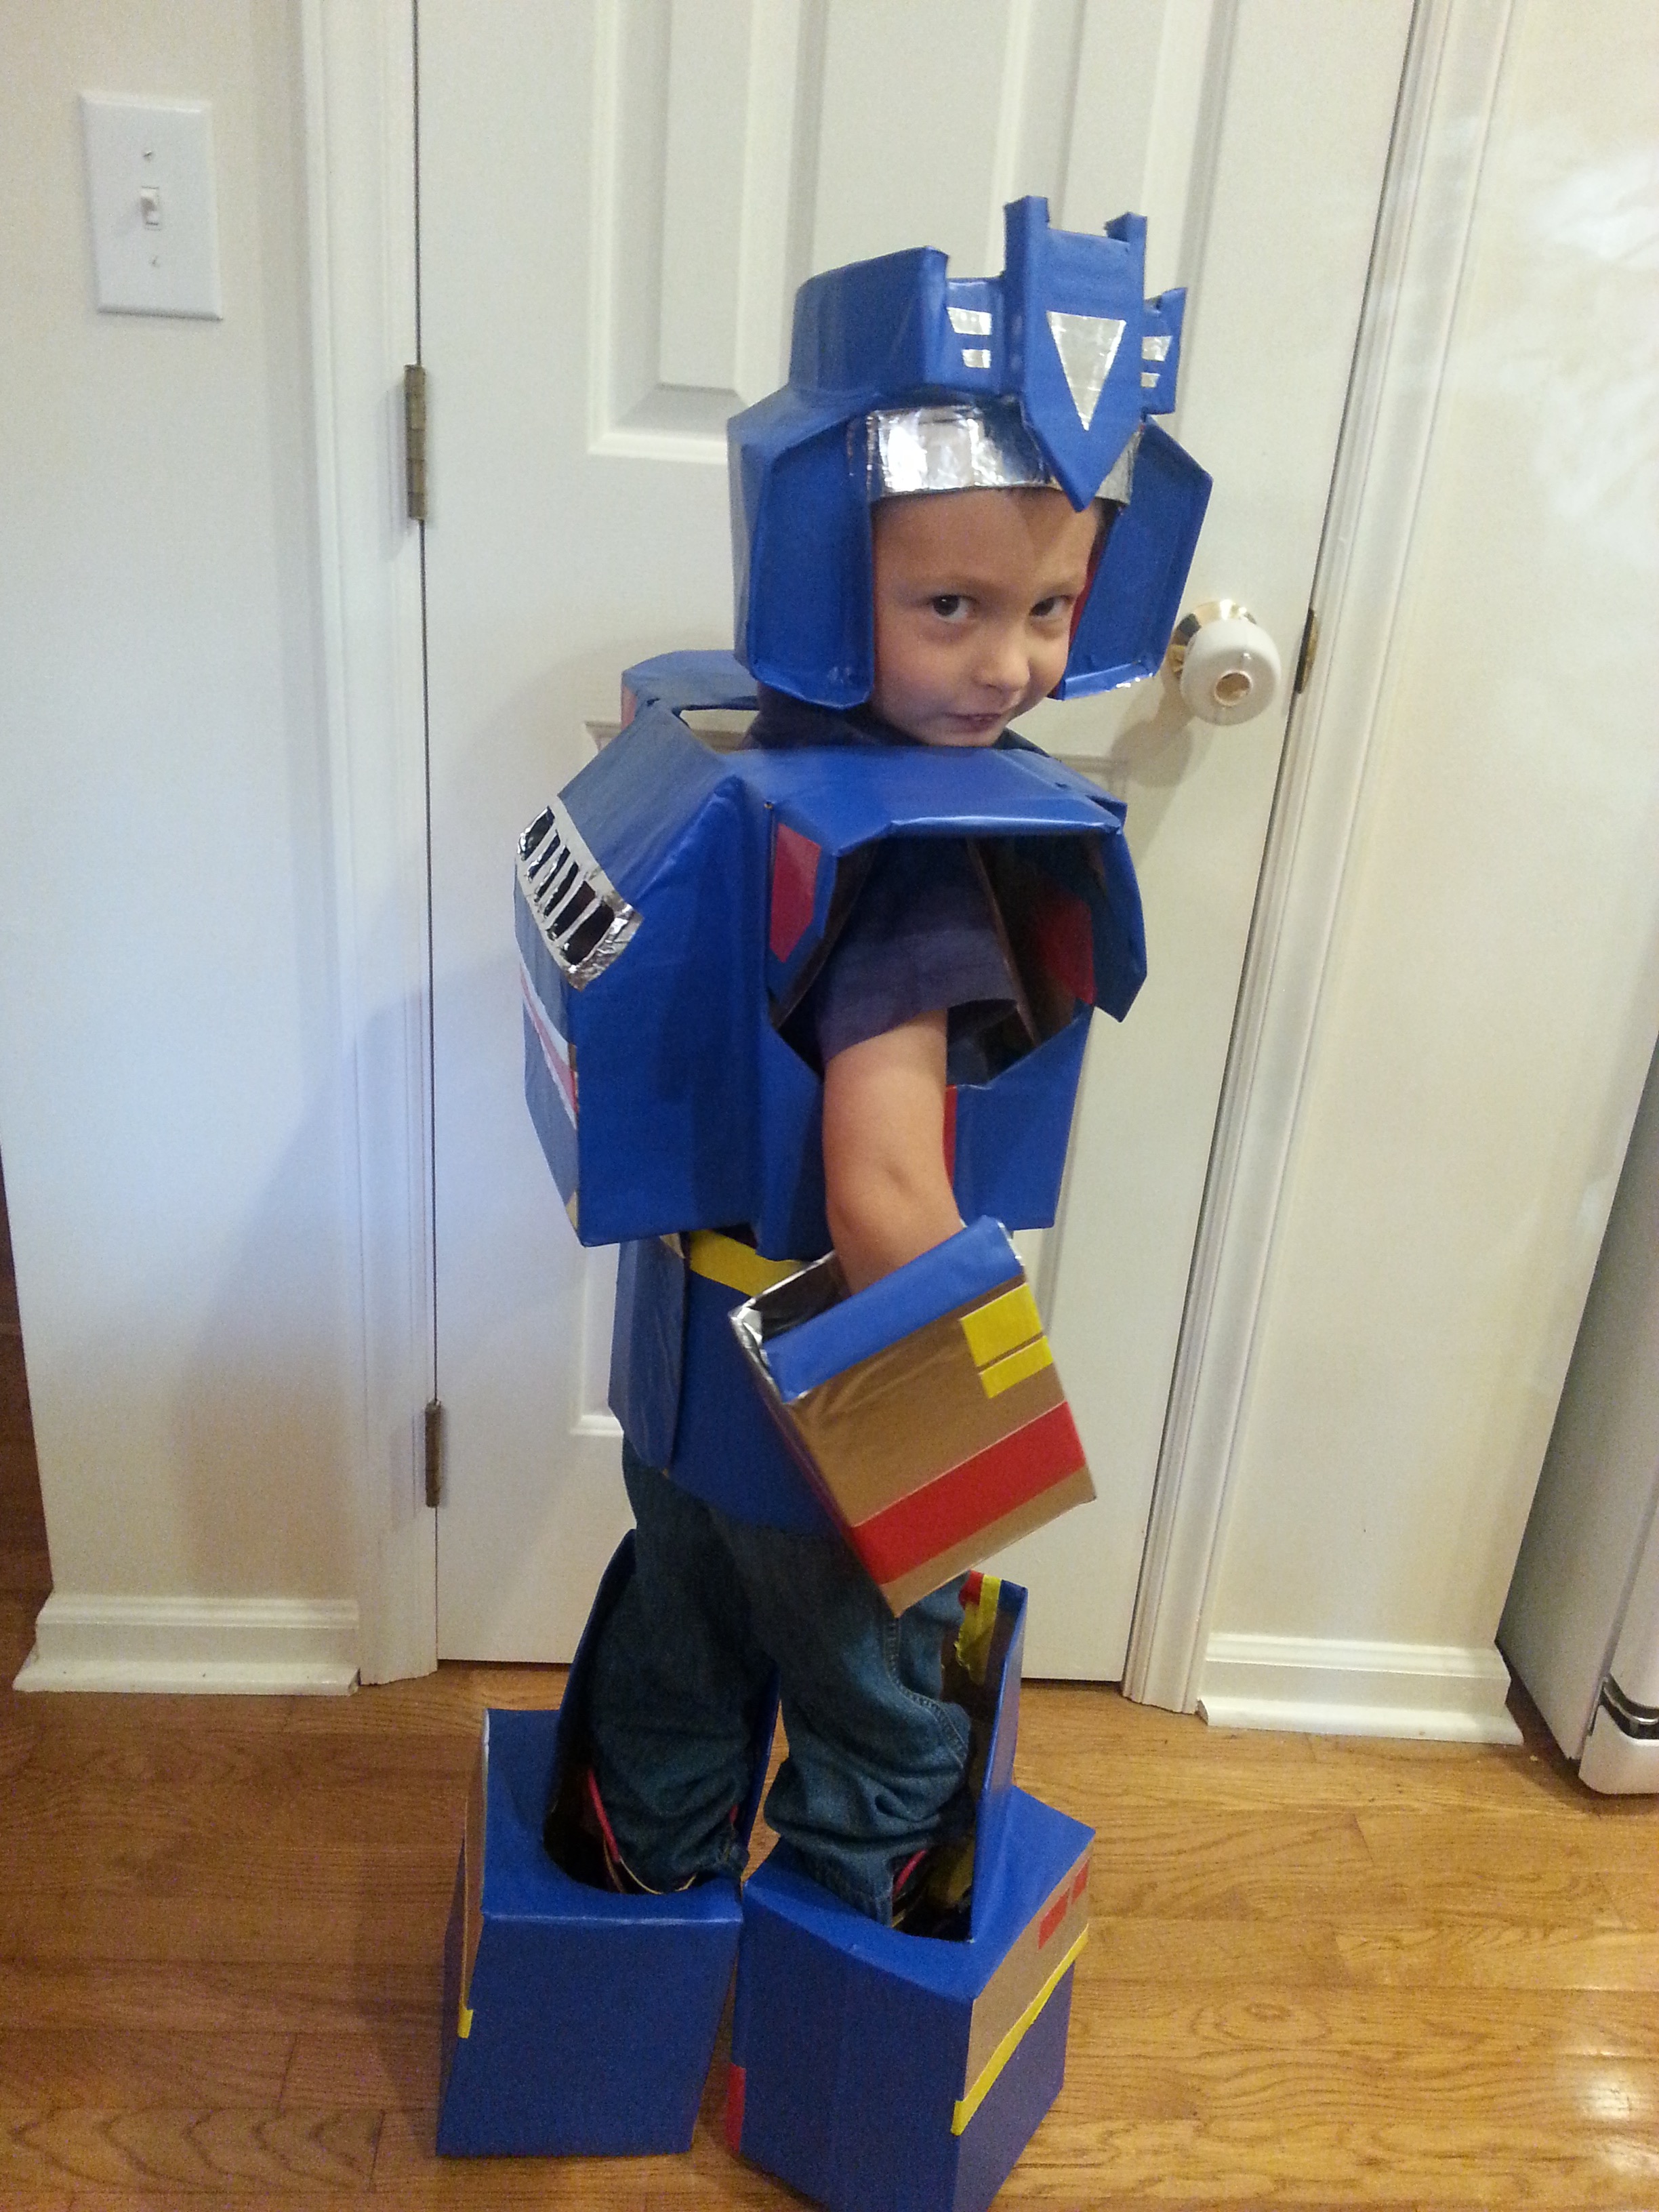
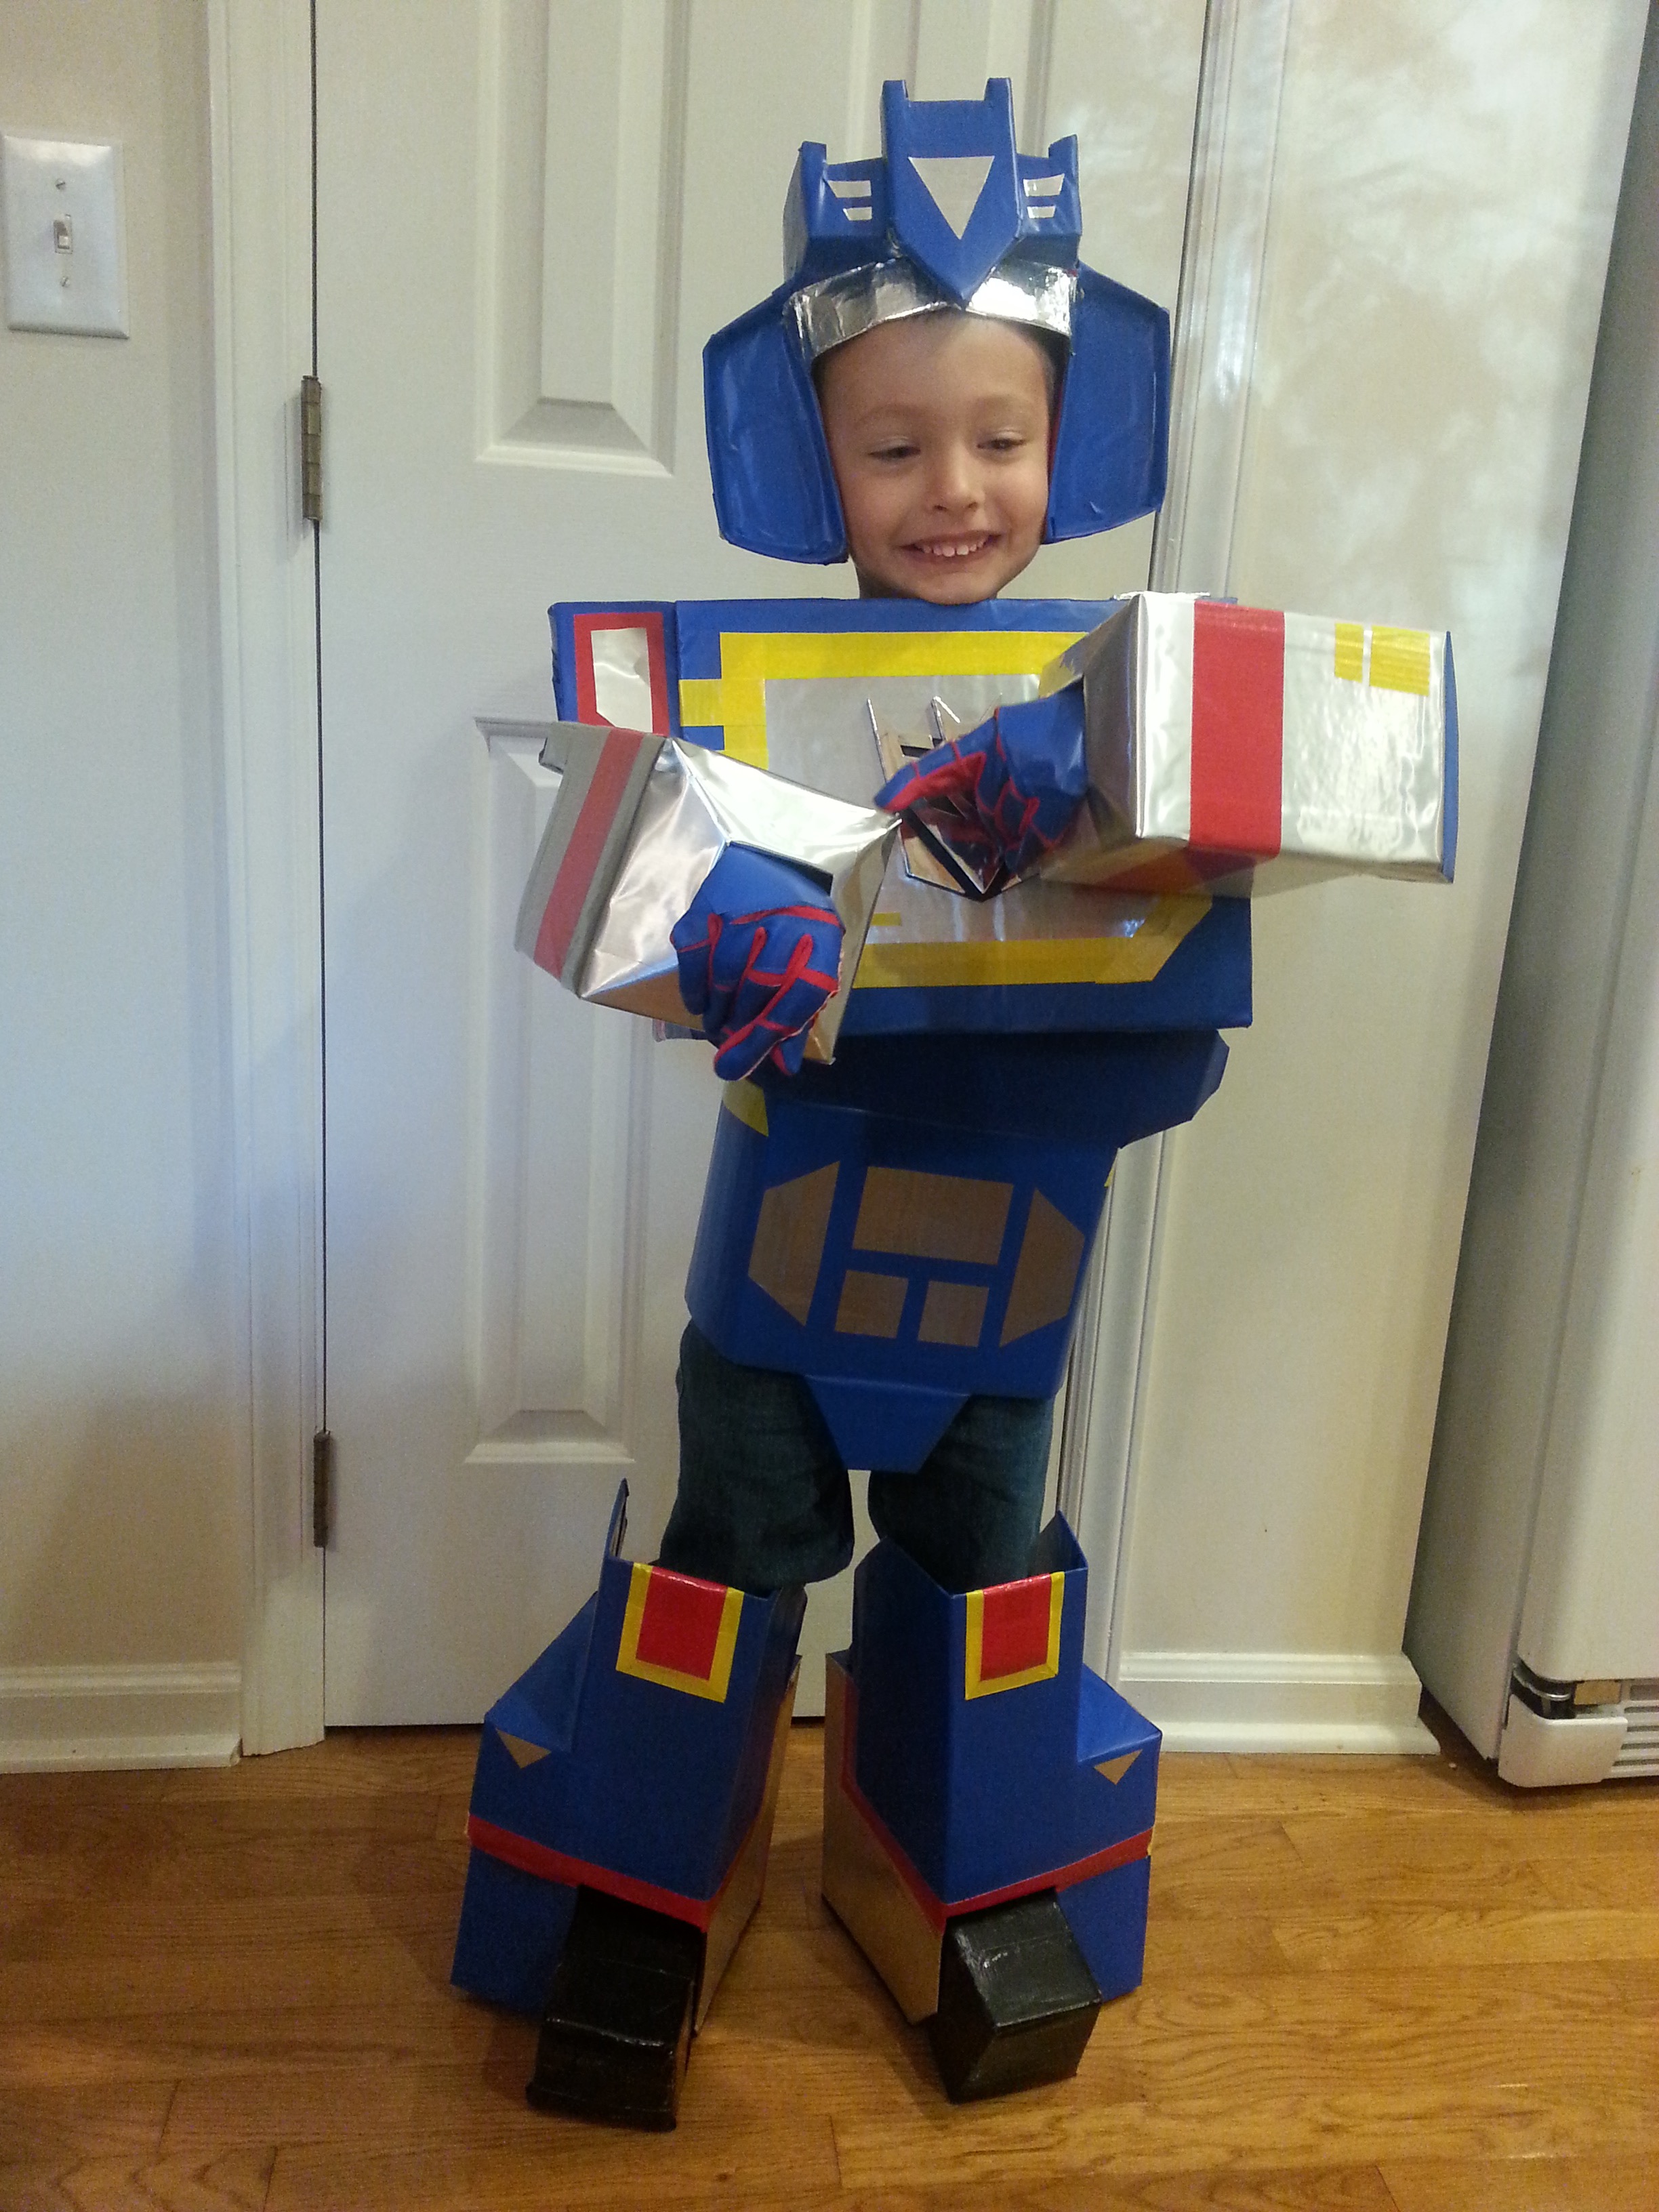
For his hands, Ben would wear a pair of padded gloves he already had for riding his bike and scooter. A few other detail pieces, like the Decepticon logo, would have to be purchased online. For the bulk of the costume’s blue, white, and red colors, rather than paint, we used self-adhesive shelf liner. Shelf liner even comes in a metallic faux stainless steel, which served perfectly for some of the more “robotic” details. Of course, no project would be complete without duct tape, which also comes in a variety of colors.

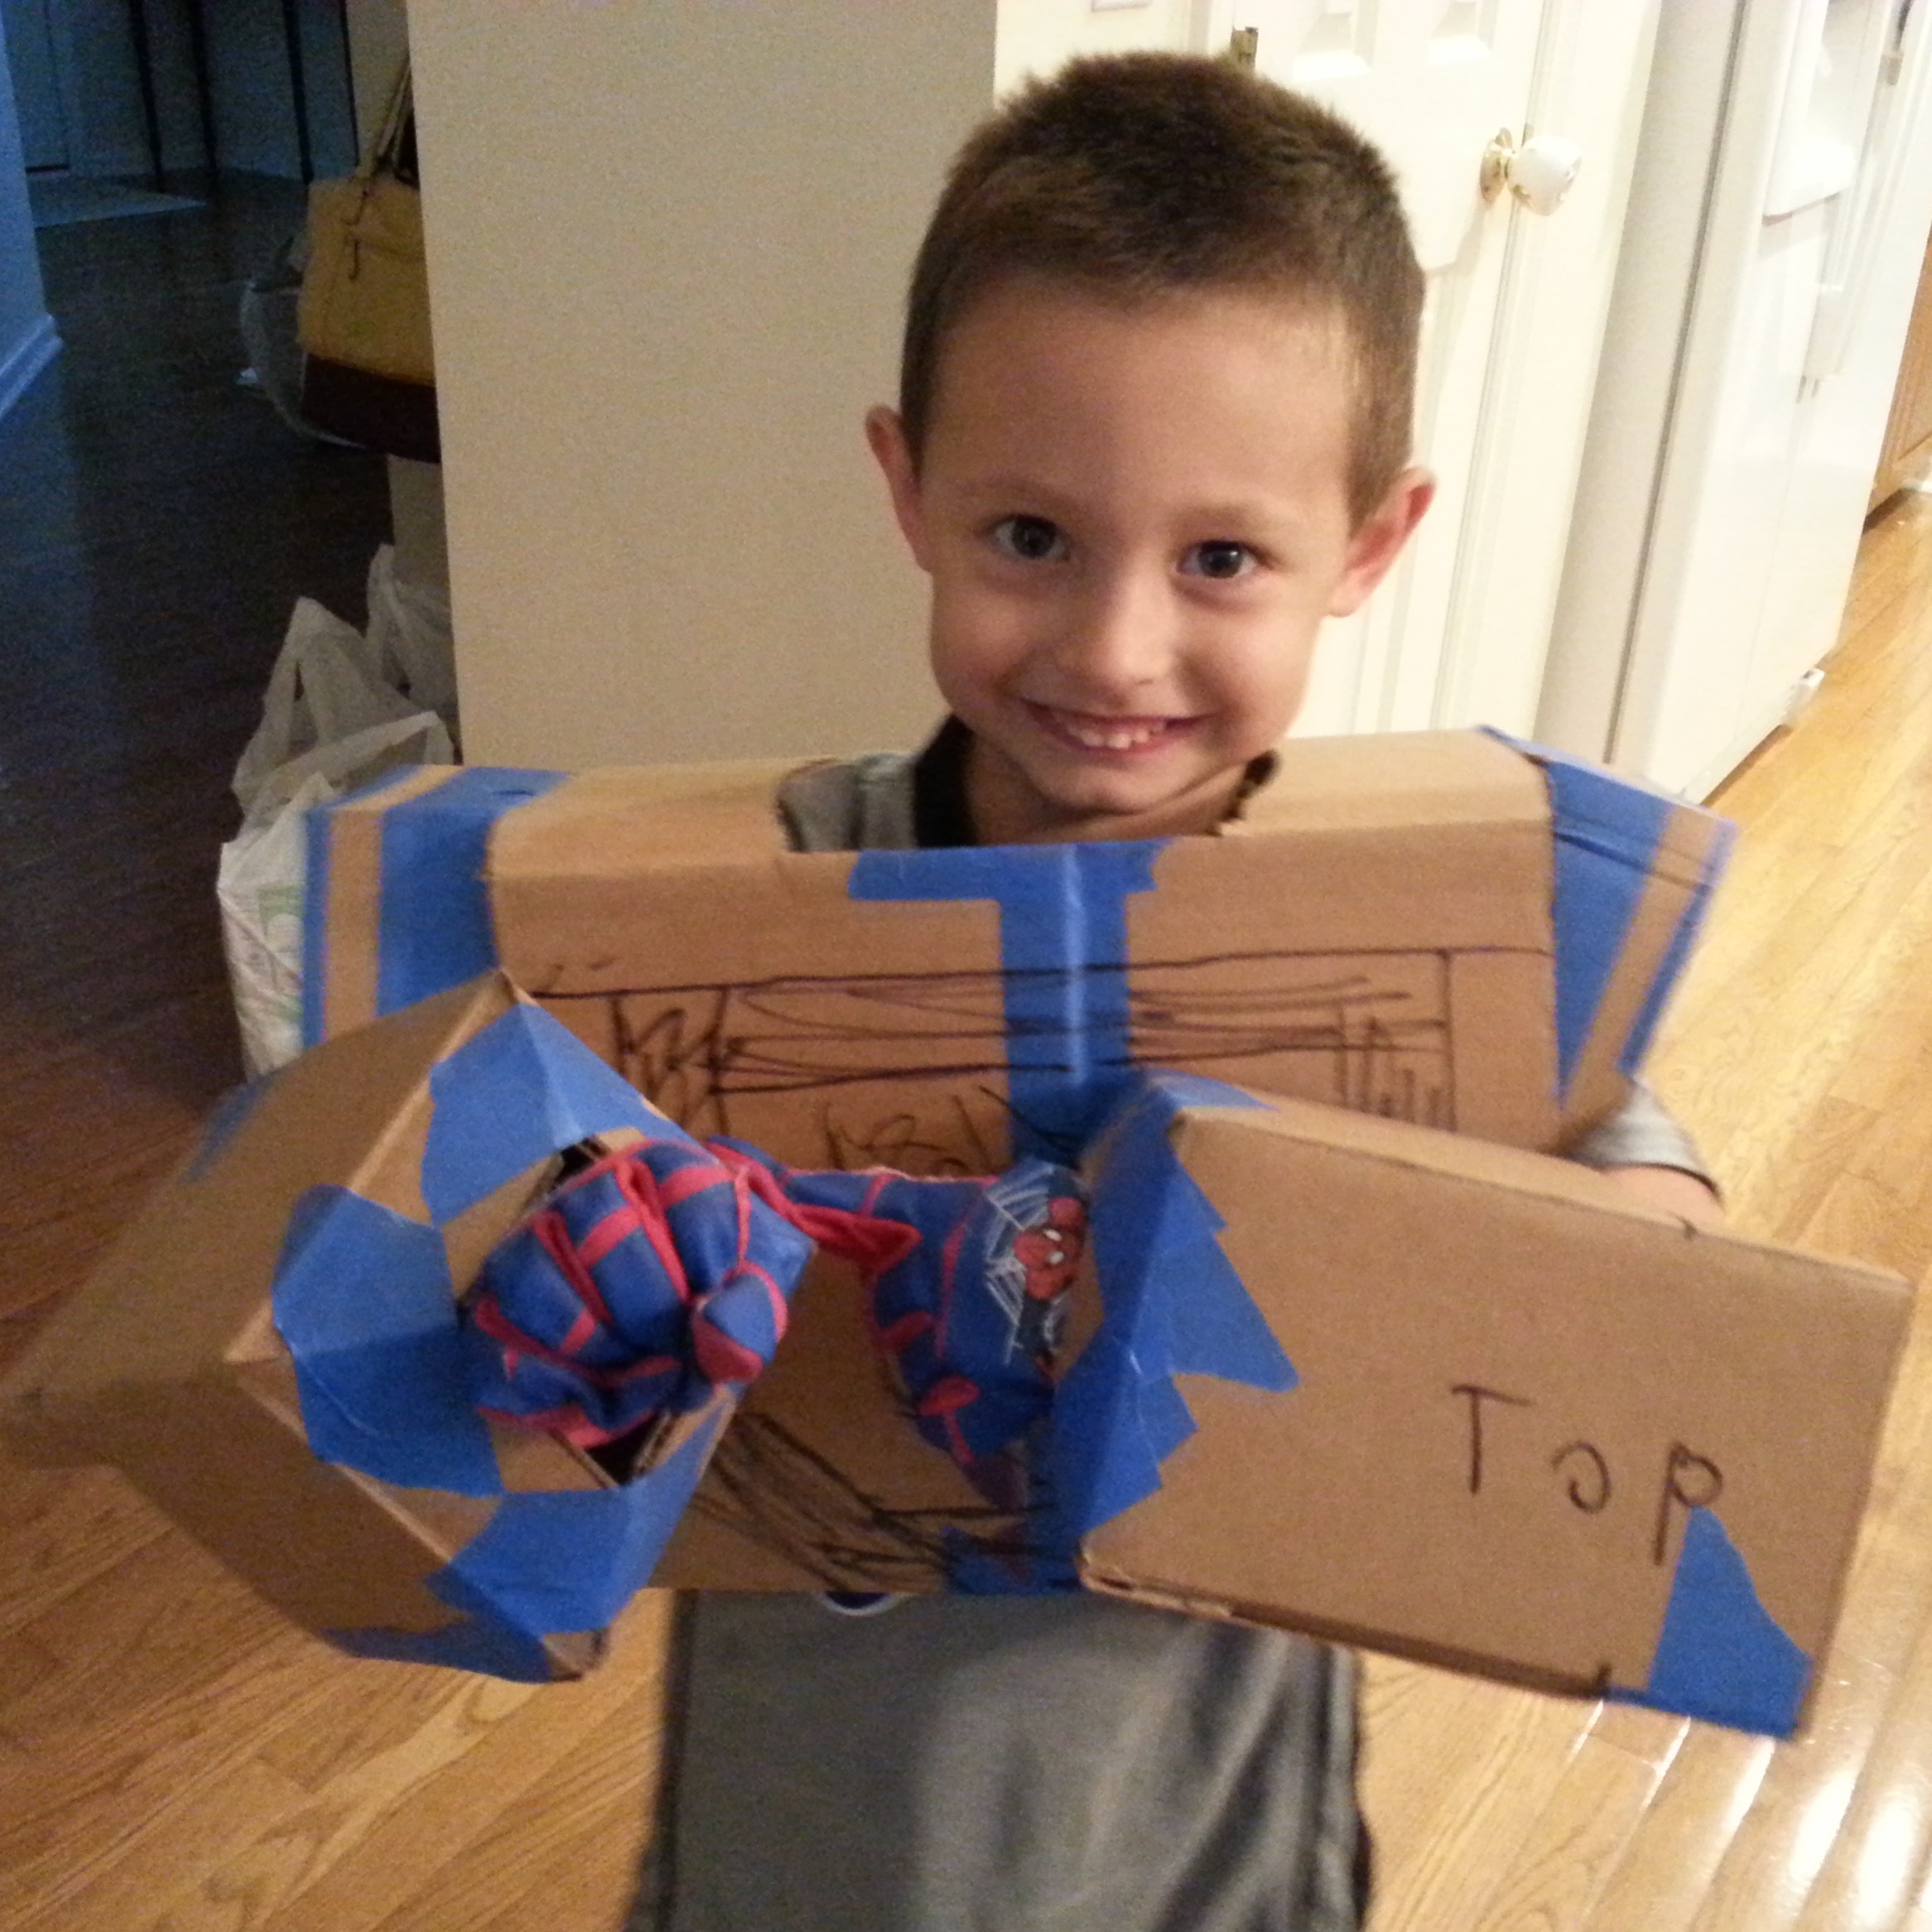
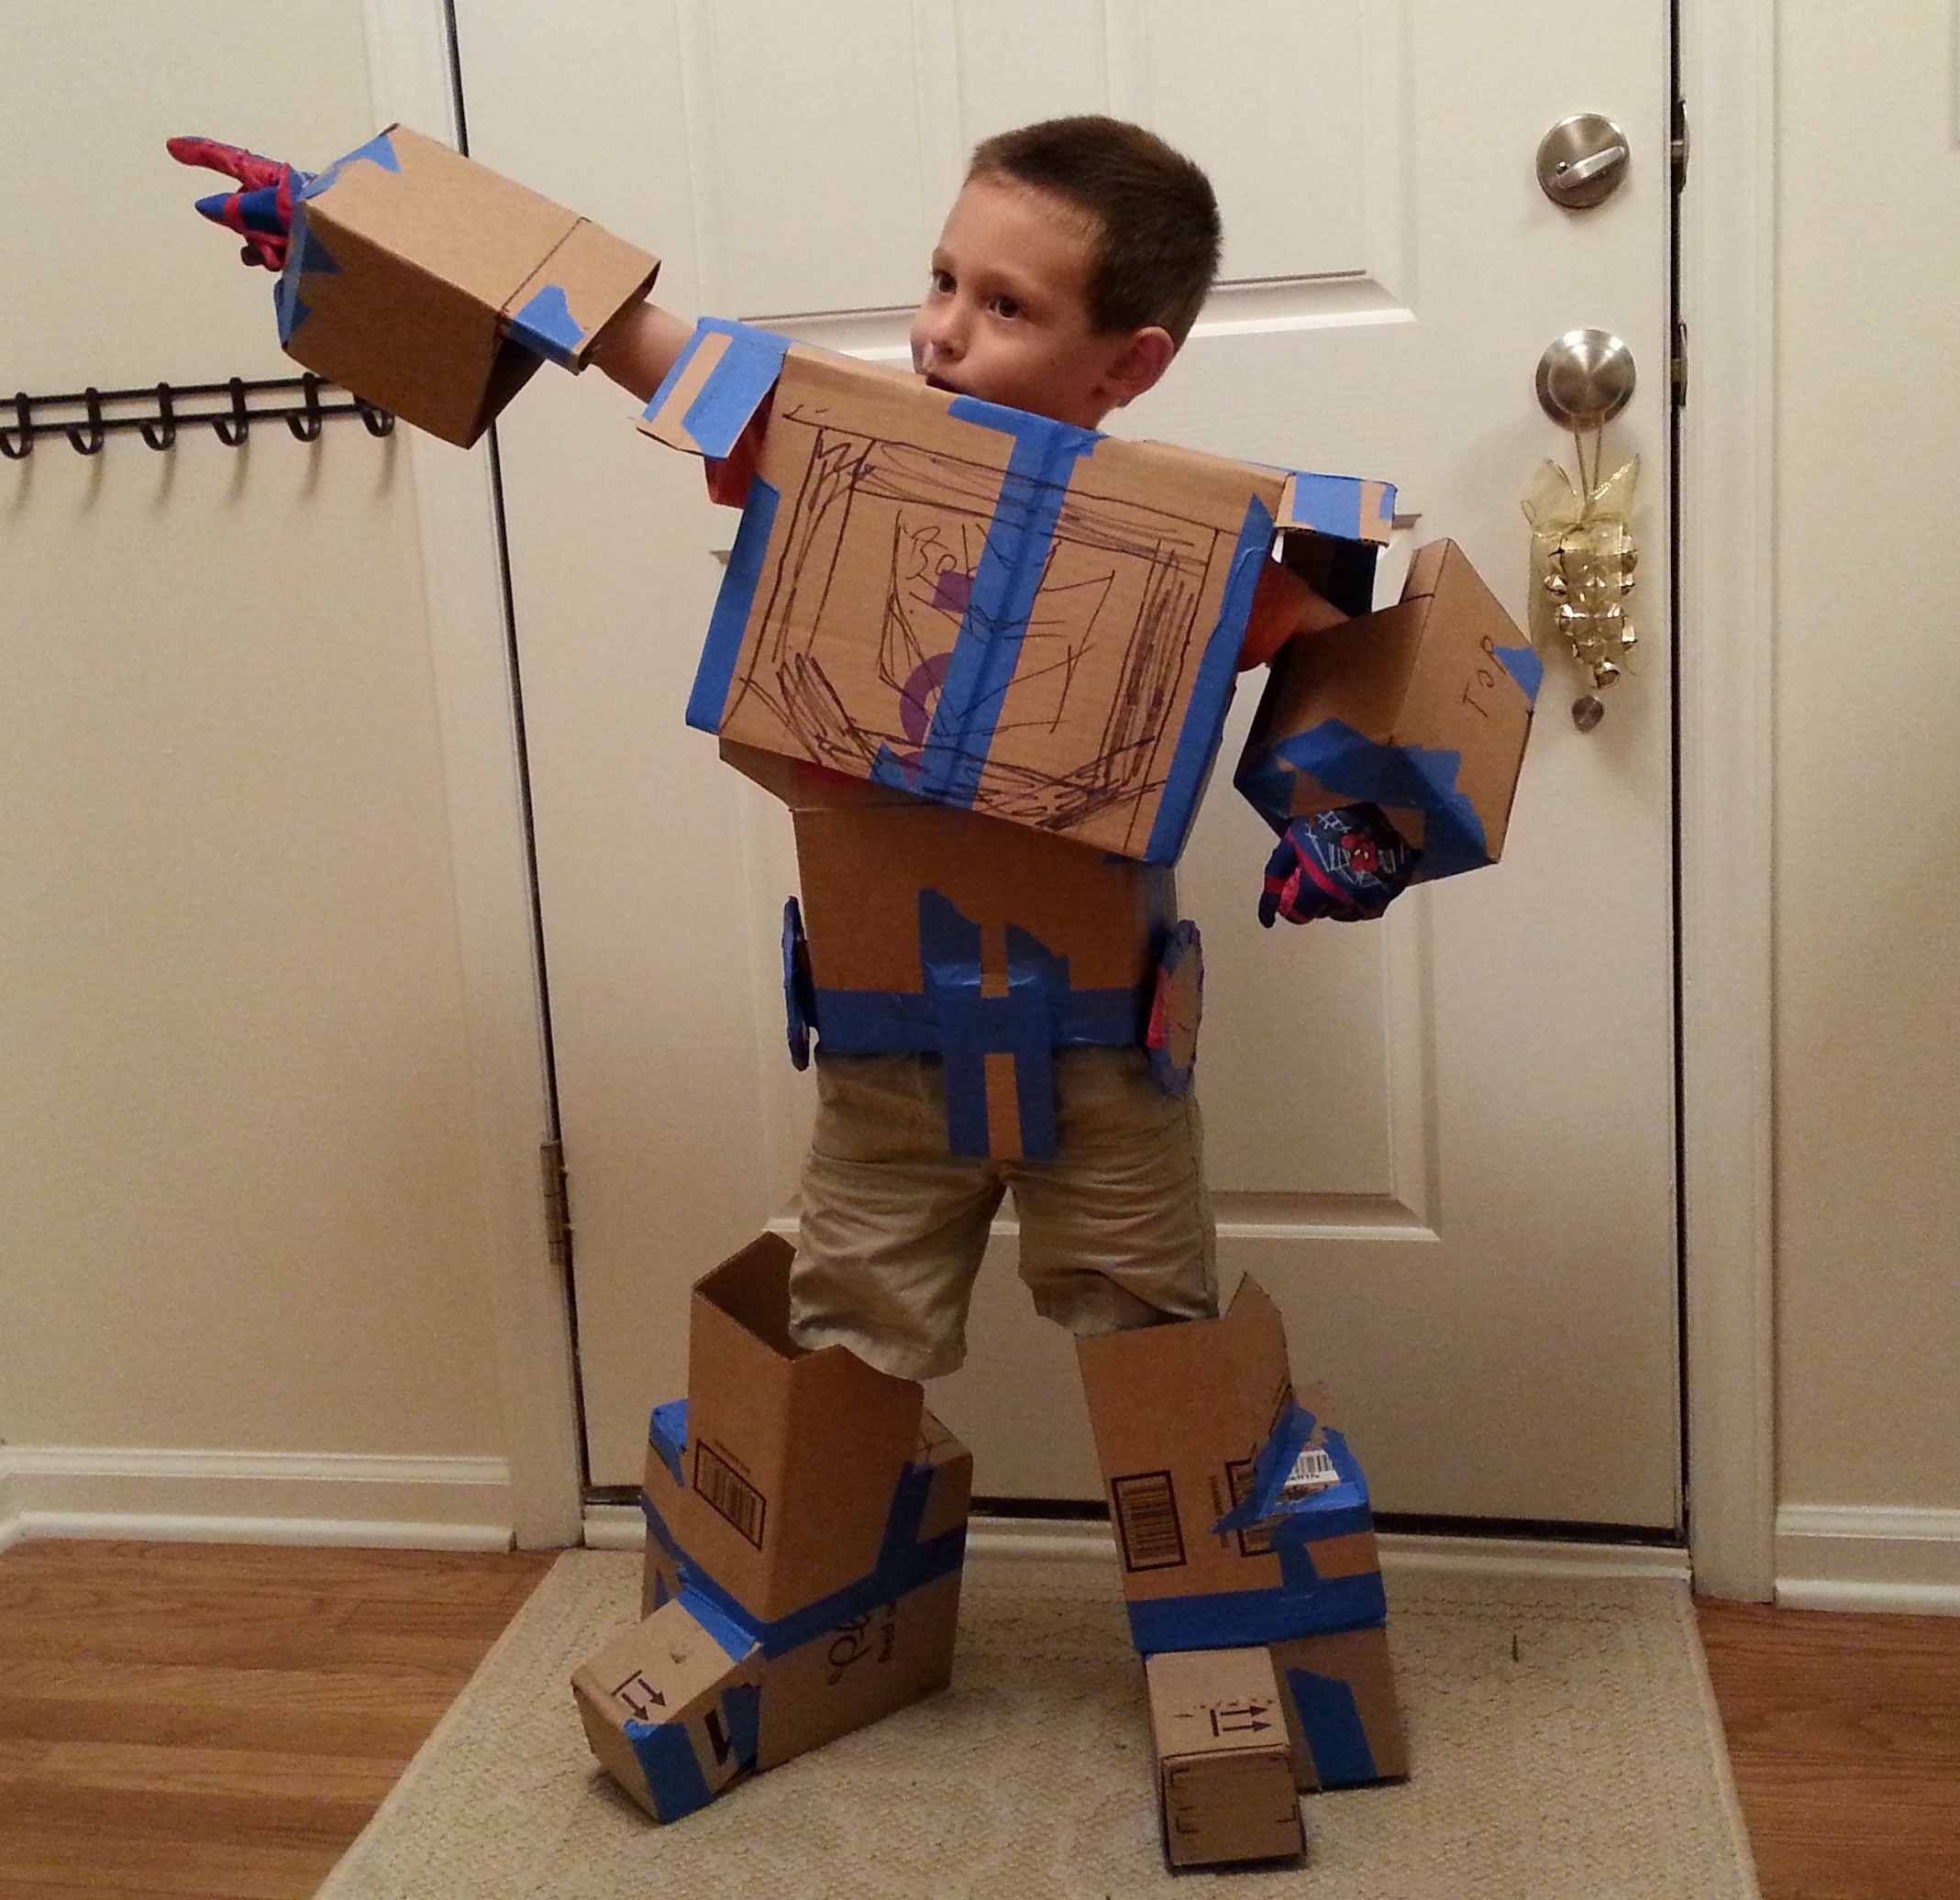
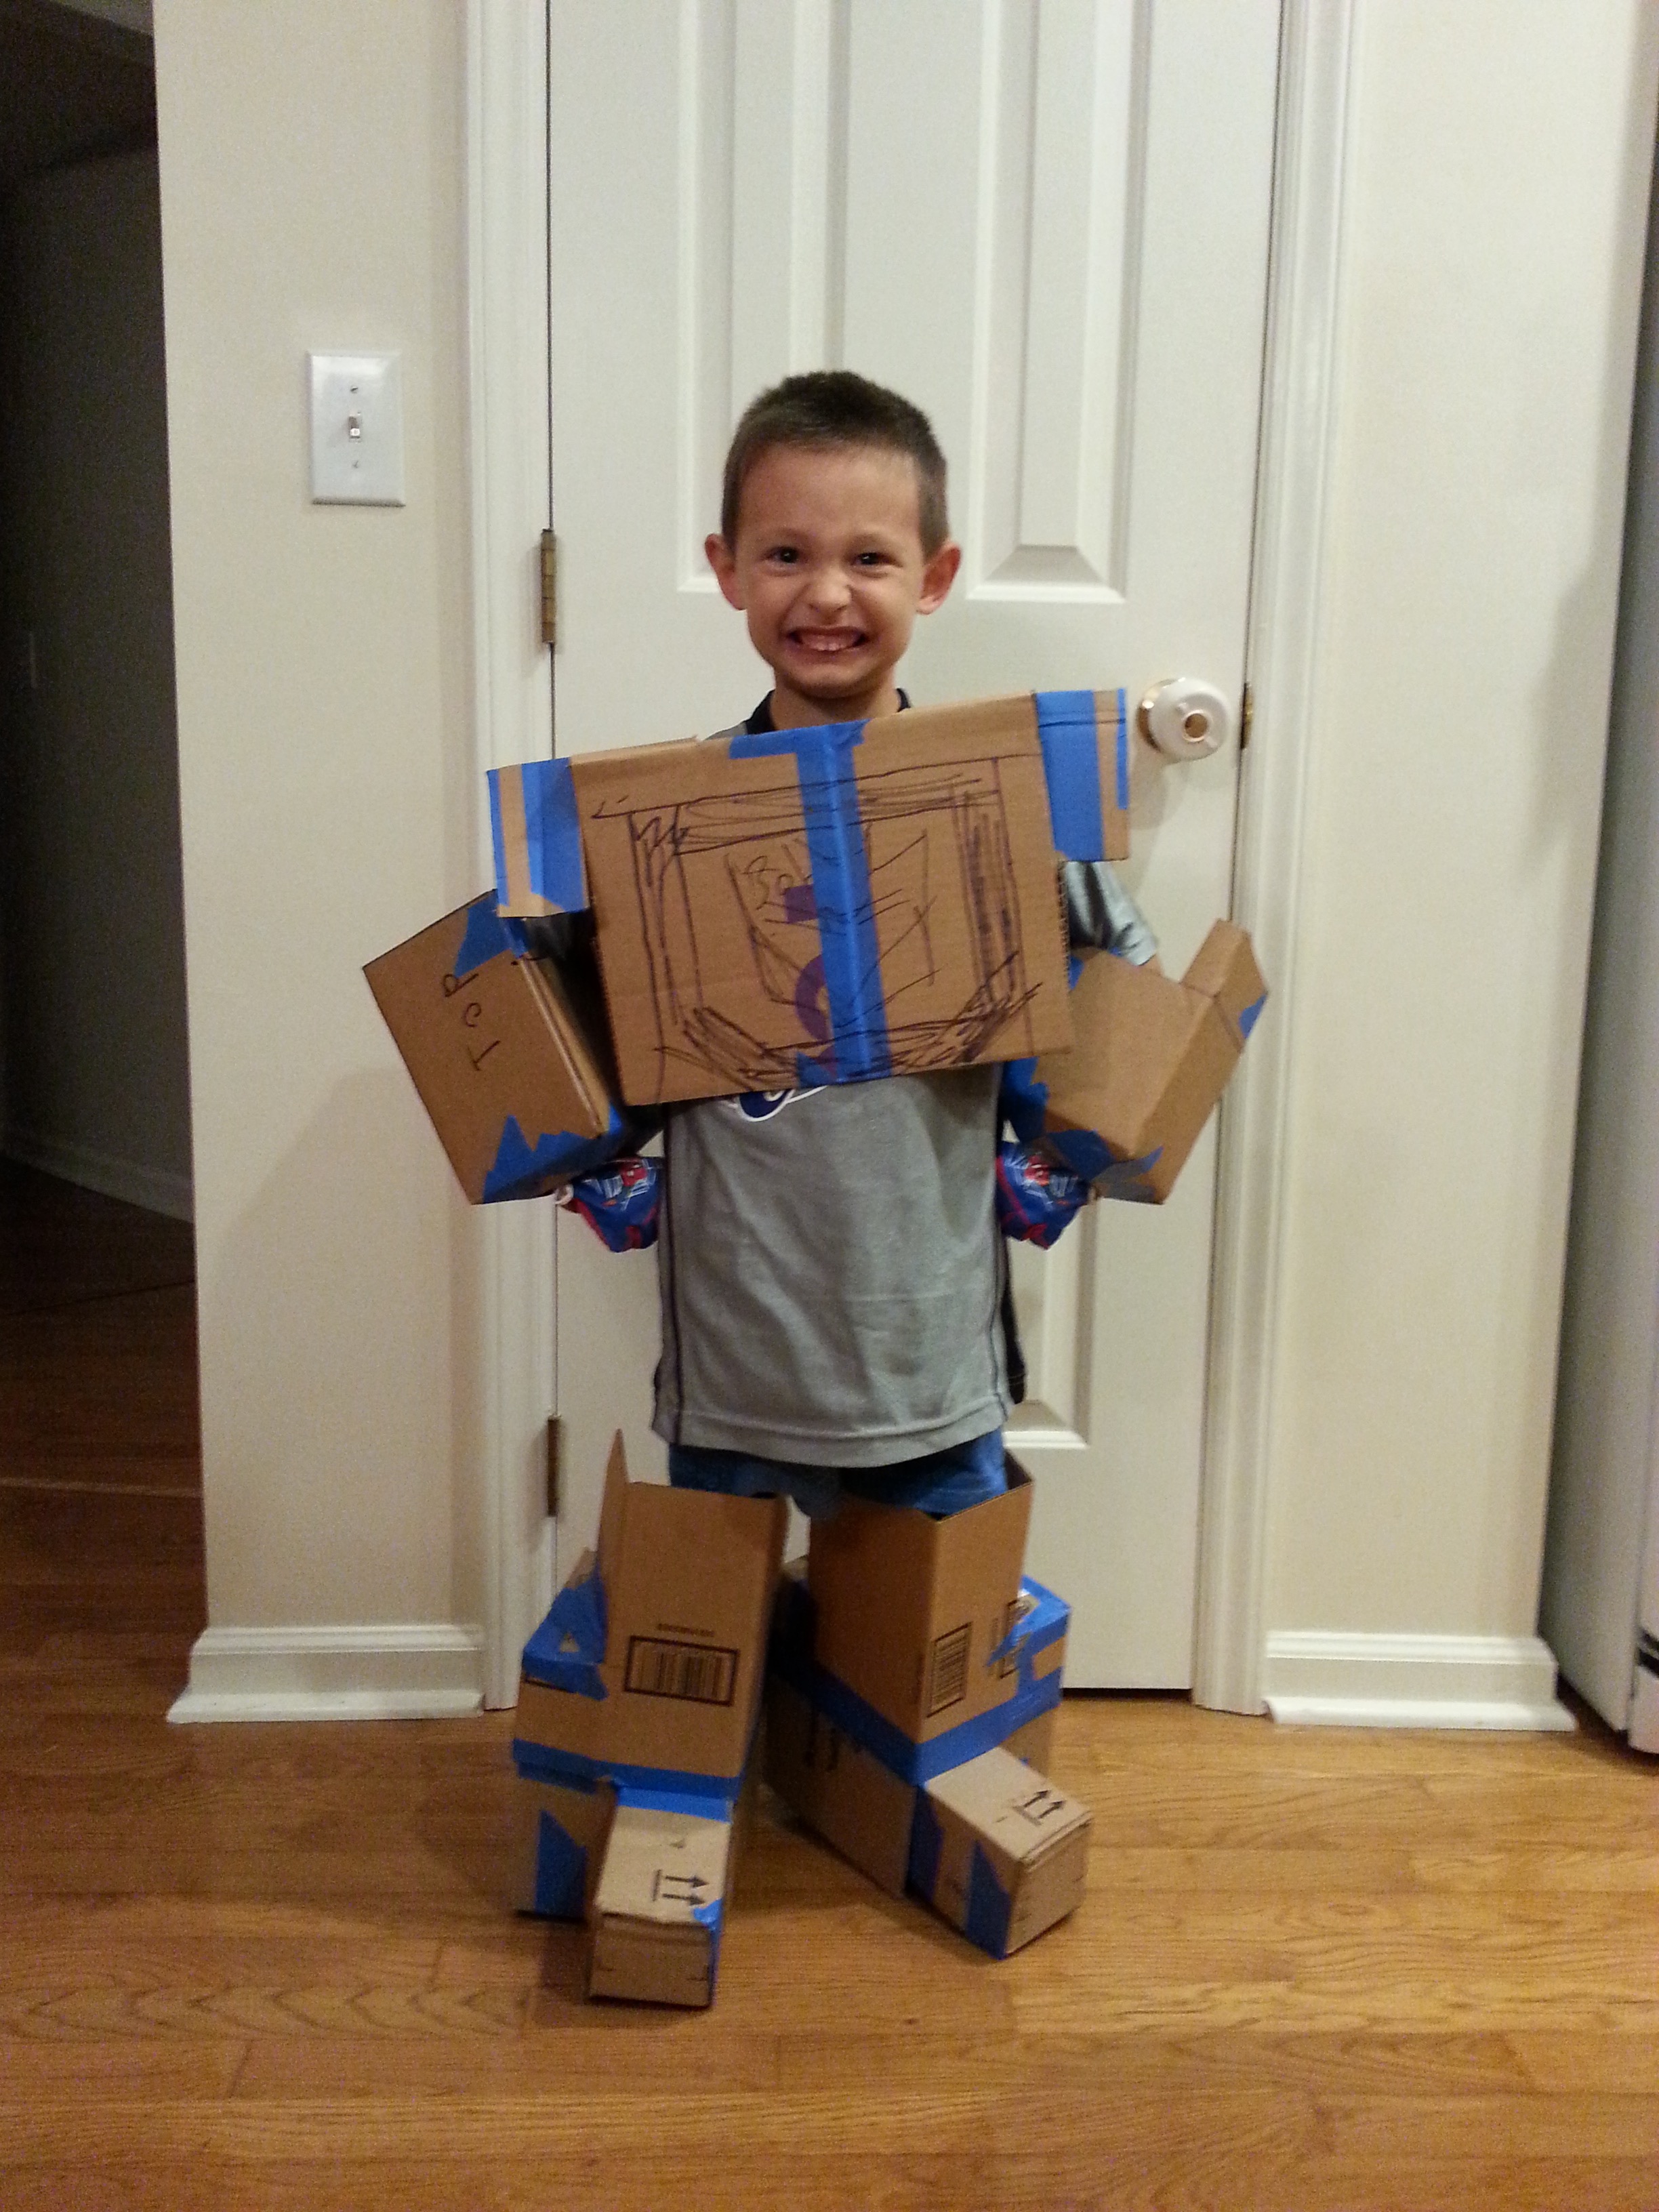
We started with a pretty basic shape for the chest and shoulders that I cut out freehand, quickly realizing it was much too big. To get a better sense of the scale, I took some photos of Ben with his arms out and used a photo editor to overlay measurements. This made sketching the costume’s pieces much easier, and kept everything to the proper scale.

Rough draft

The next pieces to come together were the lower arms. My process for these, which I applied to all of the arm and leg parts, was to fold a rough version of the part around Ben, marking on the cardboard where I thought it needed to cut and fold.

After modifying my rough part, cutting and taping until it fit, I took it apart and used it as a template for the final pieces. Ben helped me trace the outline onto two new pieces of cardboard, and even made some of the cuts (with help). The left side was a mirror of the right, which meant simply flipping the template piece over before tracing the second time. We proceeded this way for the arms and legs, building chunky Soundwave feet around Ben’s rain boots, so we knew they would fit and be easy to get on and off.

All the pieces come together

When it came to Soundwave’s head, I used the inside of Ben’s bike helmet as a guide. It wasn’t a perfect fit, but the helmet didn’t squirm when I tried to take measurements or tape strips of paper together to form a rough starting point. The head required several stages of fittings, adjustments and redesigns to both fit comfortably and allow an unobstructed view.

Cover it all with shelf paper

Through all of these phases, the cardboard pieces were held together with blue painter’s tape, which has just enough adhesive to keep things from falling apart, but can still be repositioned (unlike duct tape or glue). And in the end, I wasn’t worried about a rough or haphazard appearance, with bits of cardboard and blue tape, scribbled with my measurements and crossed-out cutlines. They were all covered up and smoothed over by the shelf liner.

Between the shelf liner’s adhesive and the strategic application of duct tape on stress points, the costume was sturdy enough to survive several showings, including Ben’s pre-school Halloween costume parade. I’m not sure how popular I am with the other dads after that day, since a good number of Ben’s classmates suddenly wanted to make cardboard robots, too.

Trick or treat!

For the actual trick-or-treating, I added a few details that would show up best once the sun went down. Some chunky 8mm LEDs, connected very simply to coin cell batteries and pushed through holes in the costume, were the finishing touches that brought Soundwave to life. I was, however, a little disappointed with some of the adults in our neighborhood. More of them than I care to mention kept referring to Ben’s costume as Optimus Prime. I blame Michael Bay.