YouTube player

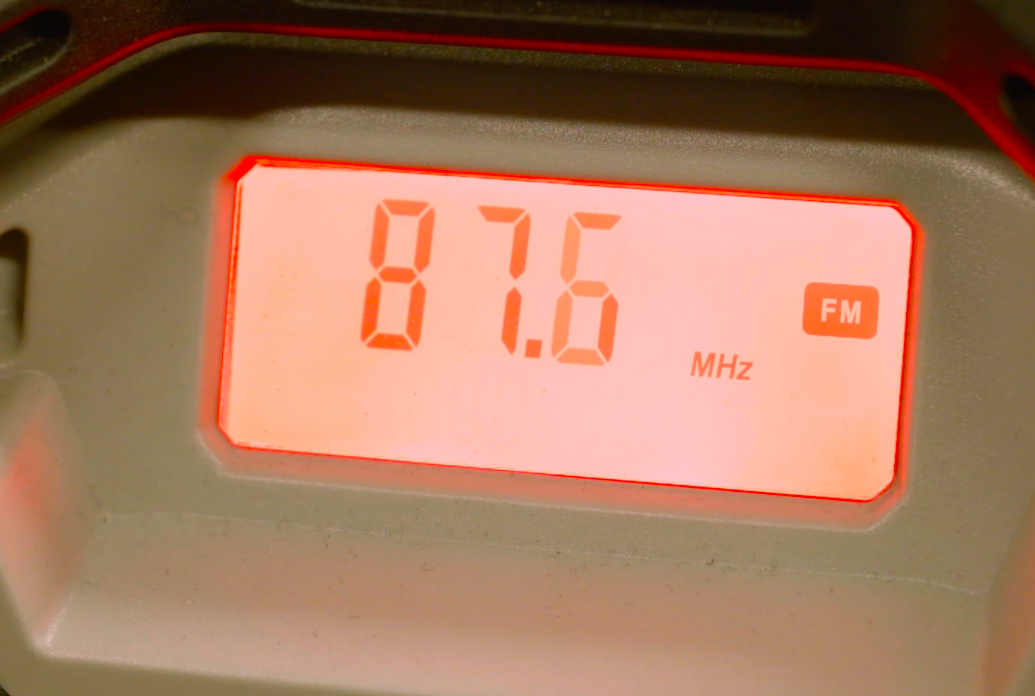
Editor’s note: The Raspberry Pi’s broadcast frequency can range between 1Mhz and 250Mhz, which may interfere with government bands. We advise that you limit your transmissions to the standard FM band of 87.5MHz–108.0MHz (see Step 5) and always choose a frequency that’s not already in use, to avoid interference with licensed broadcasters.

pirate radio
Illustration by Jacob Thomas

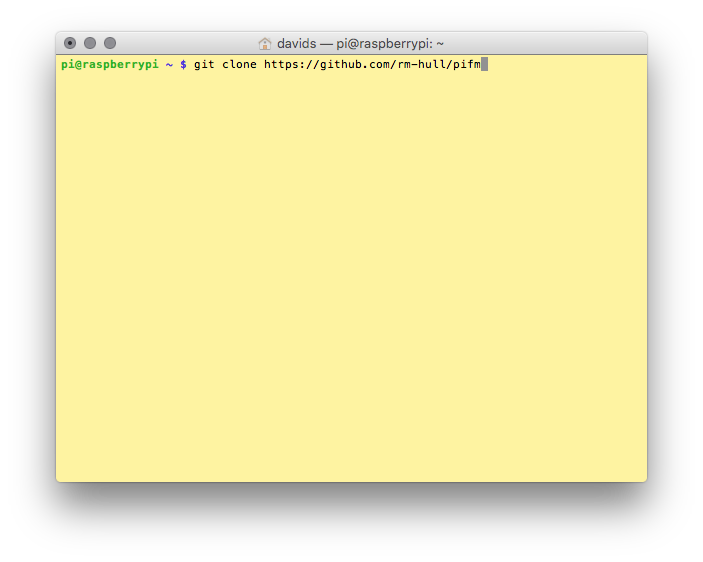
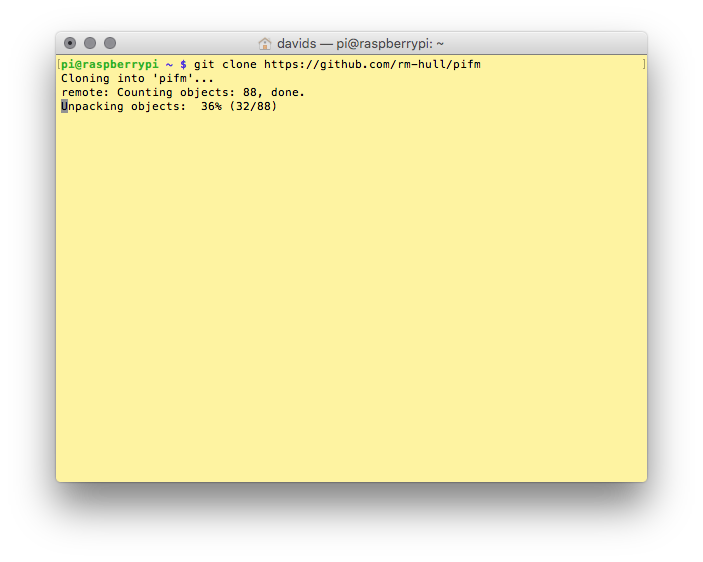
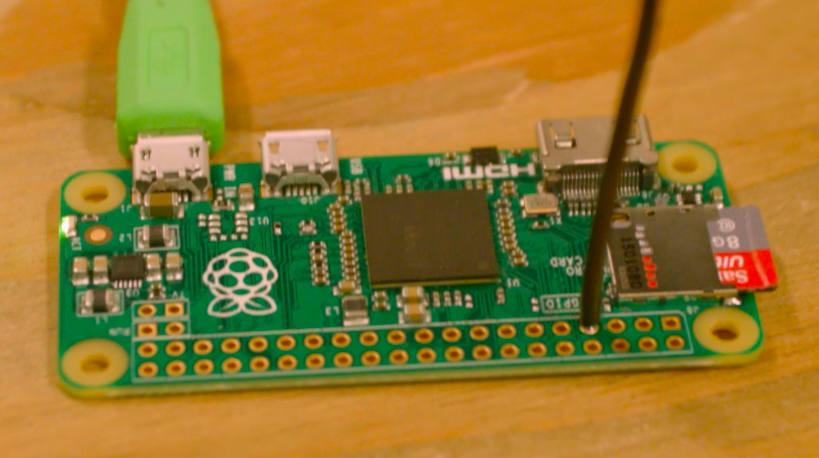
What better way to celebrate the launch of the tiny, $5 Raspberry Pi Zero than to build a project. The Raspberry Pi Pirate Radio is one of our favorite builds here at Make:, so it was an obvious pick to port to the new board. In case you missed our first crack at Pirate Radio, try it building it while you wait for your Pi Zero to arrive. PiFM was originally written by Oliver Mattos and Oskar Weigl, and revised by Ryan Grassel.

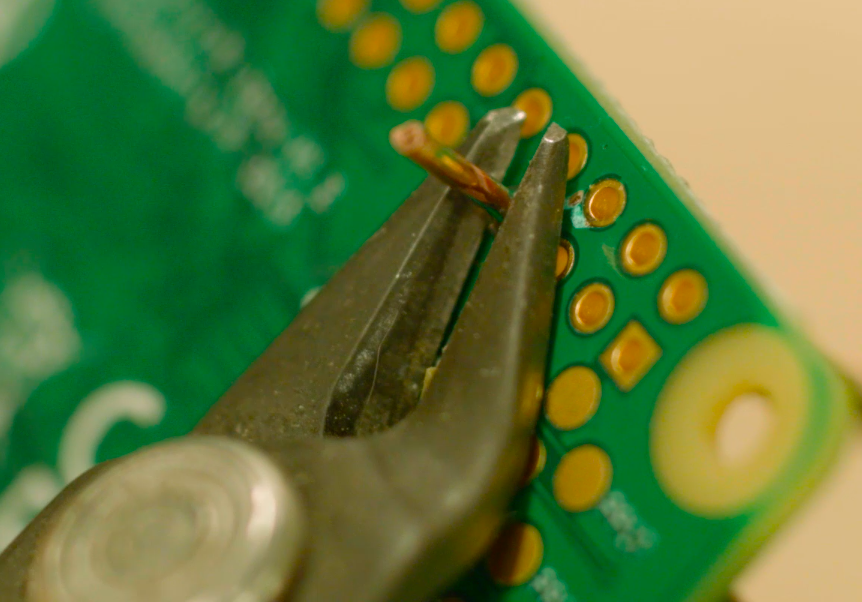
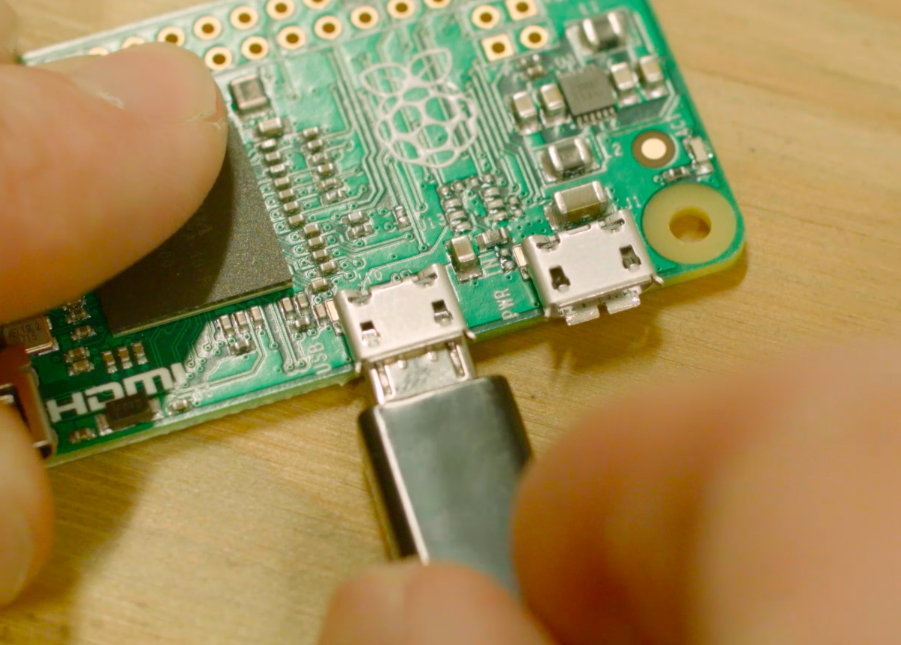
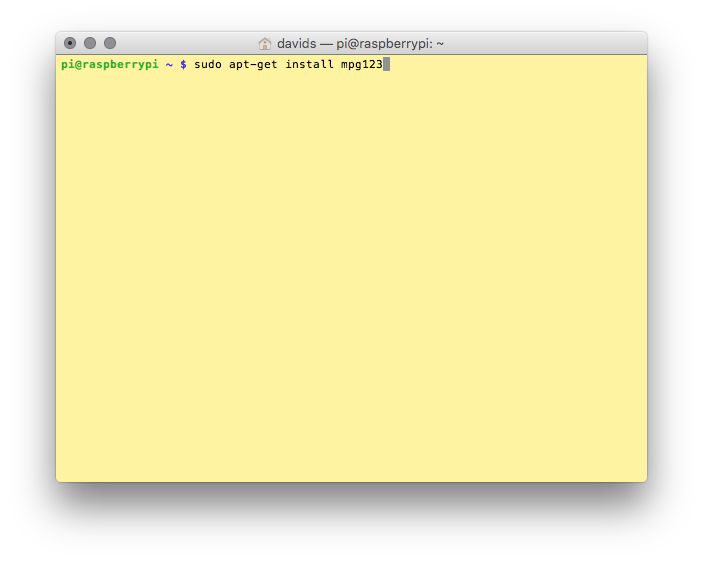
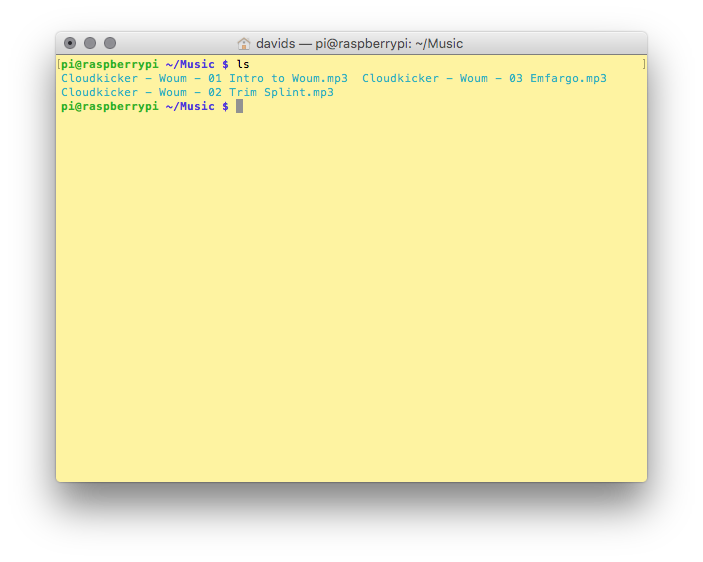
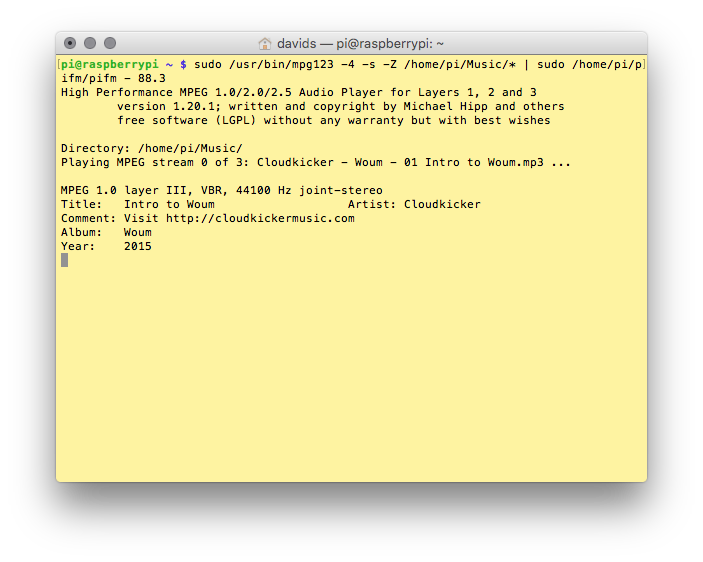
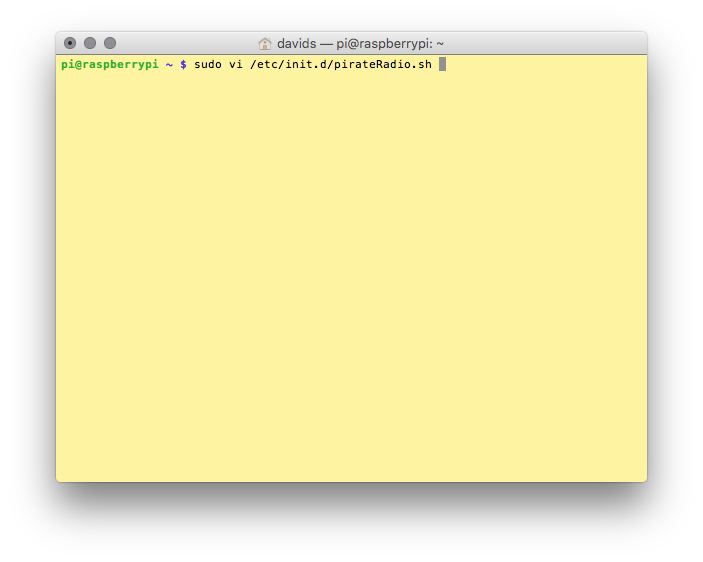
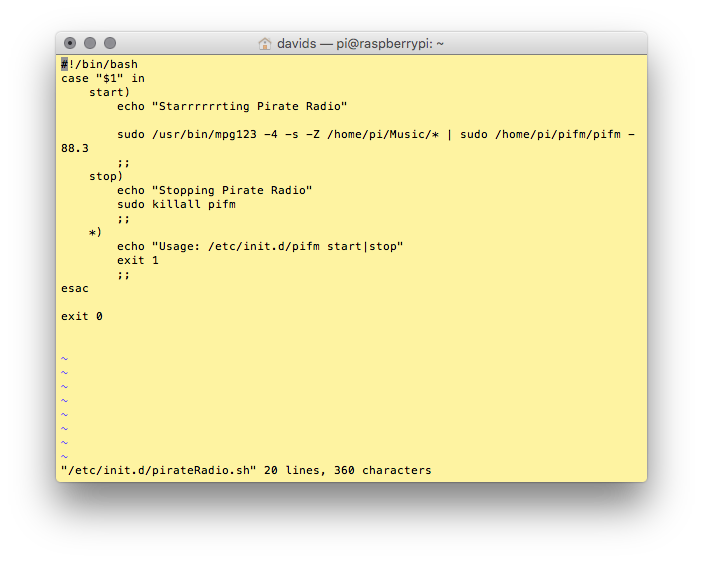
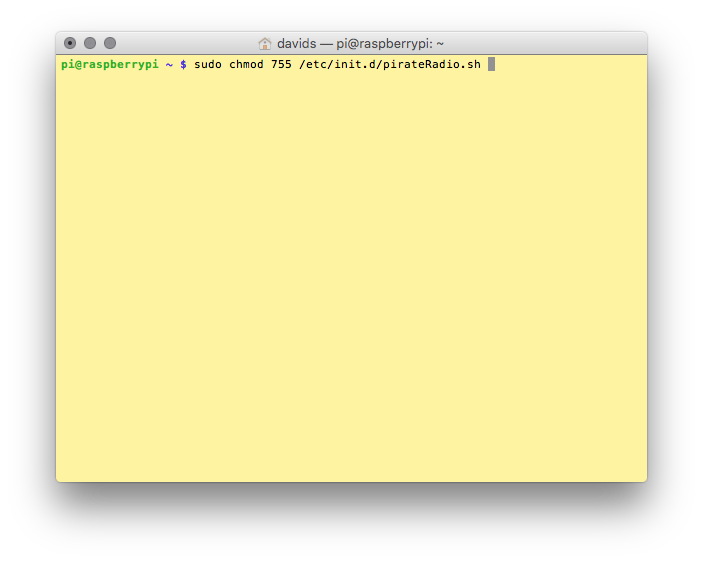
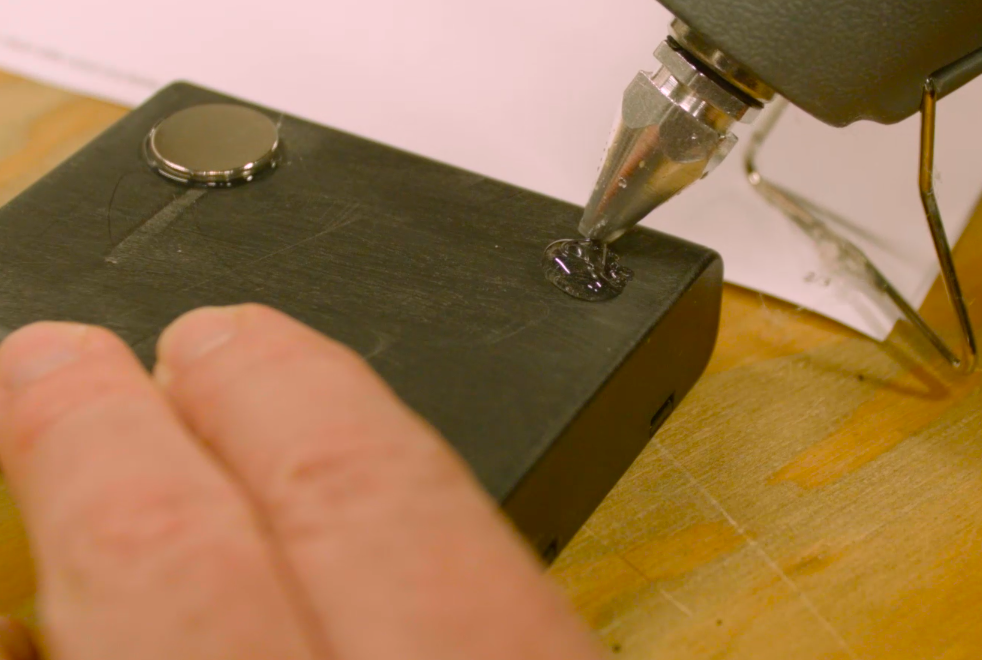
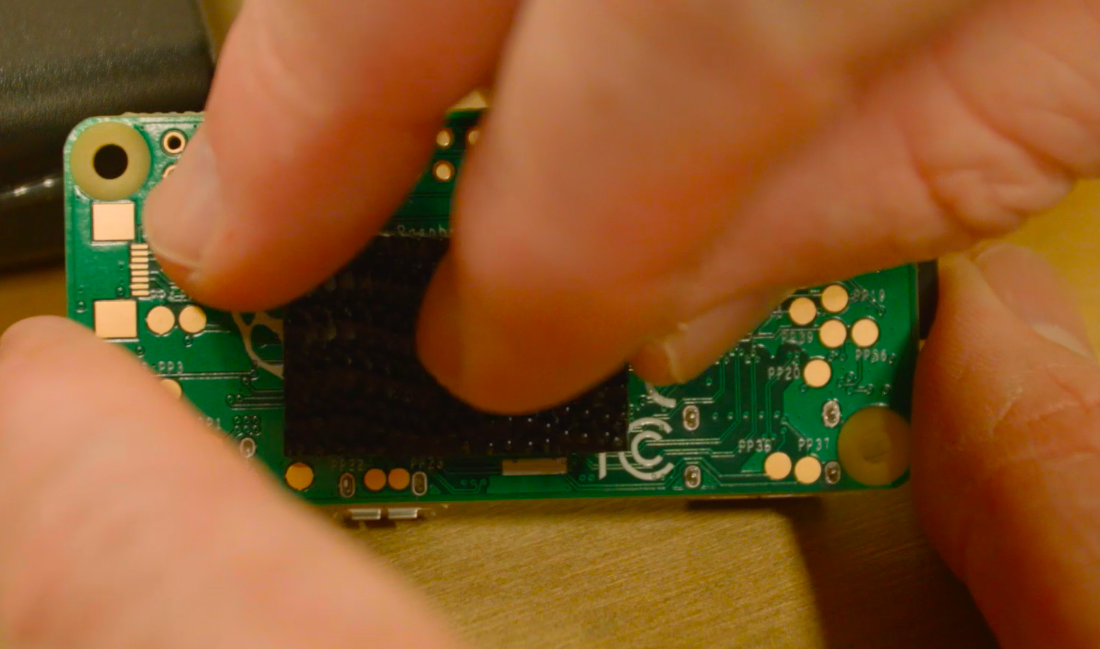
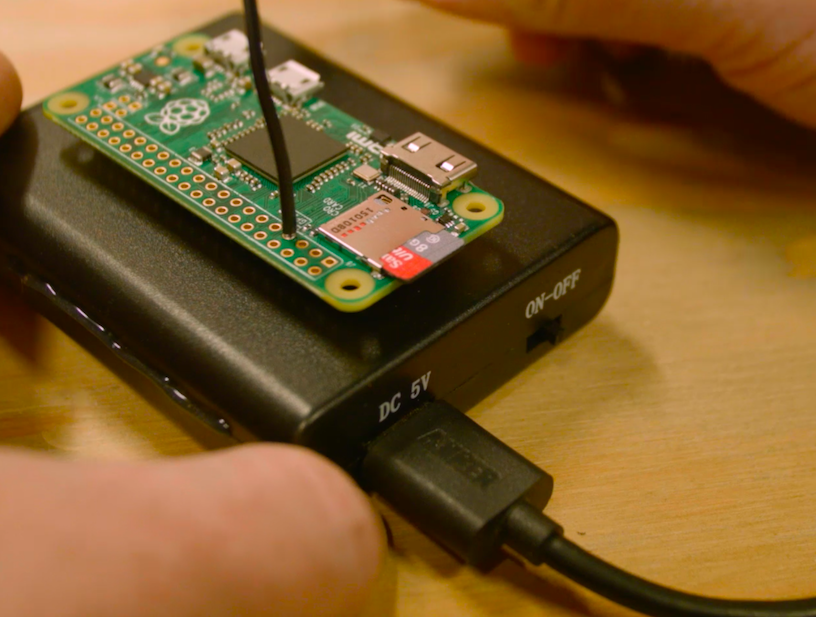
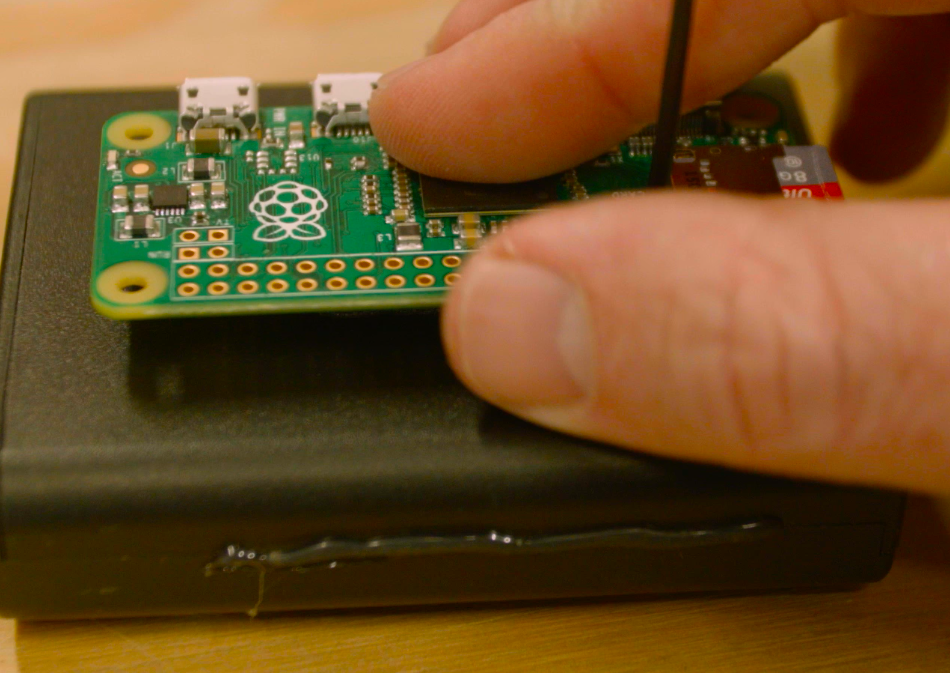
Pirate Radio is an extremely simple build: Cut and solder one wire to the Pi. The software installation and configuration doesn’t take too long either. Here is how we shrunk down the Pirate Radio into into a Pirate Radio throwie.

PiZeroGif

TIP: For a cleaner FM signal, and to reduce any accidental broadcasts outside the FM band, build a simple bandpass filter for your Pirate Radio using just a few components

YouTube player

Project Steps

Fashion an antenna

In order to get range out of your pirate radio you’ll need to add a single piece of wire to your Pi to act as an antenna. Cut a length of wire about 4″ long and strip the end bare.

Solder the bare end of the wire to pin 4 on the Pi.

Trim any excess wire so that it’s not protruding too much from the solder joint.

Download & install Raspbian

On your laptop or desktop computer, point your web browser to the Raspberry Pi Foundation website and download a copy of Raspbian Linux.

The download might take some time, so feel free to read the rest of the project while you wait.

Once the Rasbian Linux image is fully downloaded, you’ll need to flash the device onto a microSD card. Make sure the card is at least 4GB so you’ll have enough room for the audio files.

How you flash the microSD card will depend on the operating system running on the machine you are using to flash. Check out eLinux.com for exact steps for Windows, Mac OSX, or Linux.

Boot the Pi Zero

Now that the microSD card is burned, remove the card from your laptop and insert it into your Raspberry Pi Zero.

Connect the USB OTG cable to the micro USB port labeled USB on the Pi. Then connect the female end of the OTG cable to a USB hub. This will give you enough USB ports to attach a Wi-Fi dongle, keyboard, and mouse. Attach all of those peripherals now.

Attach the mini-HDMI cable to the HDMI port on the Pi and the other end of the cable in your monitor.

NOTE: Why buy a USB OTG cable when you can make one. Check out our step-by-step guide.

TIP: Wi-Fi cards on the Pi can be easily setup using the graphical user interface. Look for the network logo on your desktop and enter in your SSID and password.

Install PiFM and MPG123

Open a terminal and type in the command below to duplicate the files in the remote code repository to your home directory on the Pi. git clone https://github.com/rm-hull/pifm

Change directories to the pifm.

cd pifm

Now compile the pifm application by typing the following command, then hitting return.
sudo make

Next update the package repositories for Raspbian to ensure the next command downloads the latest software. Simply enter in this command: sudo apt-get update

Still in the terminal install the command line audio player mpg123 by typing: sudo apt-get install mpg123

Run PiFM from the terminal

Download a few of your favorite mp3 files to the Pi, or you can scp them. Make sure to put them in the /home/pi/Music directory.

From the command line, type in the following command. The number 88.3 is the frequency the Pi will broadcast at. sudo /usr/bin/mpg123 -4 -s -Z /home/pi/Music/* | sudo /home/pi/pifm/pifm - 88.3

Note: If you want to stash your mp3 files in a different directory, simply change the directory path that’s underlined in the command above.

Caution: Commands and filenames are case sensitive in Linux, so make sure you duplicate the exact capitalization of the previous commands.

Test the FM output

Grab a radio and tune your dial to 88.3 to listen to the audio output of your Pi Zero.

TIP: For a cleaner FM signal, and to reduce any accidental broadcasts outside the FM band, build a simple bandpass filter for your Pirate Radio using just a few components, at makezine.com/go/pirate-bandpass.

Run PiFM at system startup

In order to have PiFM run at boot time, you’ll need to create a simple shell script and add it into the init system. This is how Raspbian Linux starts applications at boot.

Using your favorite command line text editing program, create a file called pirateRadio.sh in the /etc/init.d/ directory.

Cut and paste the following code into your /etc/init.d/pirateRadio.sh file.

#!/bin/bash
# /etc/init.d/pirateRadio.sh

case "$1" in
start)
echo "StARRRRRRRting Pirate Radio"
sudo /usr/bin/mpg123 -4 -s -Z /home/pi/Music/* | sudo /home/pi/pifm/pifm - 88.3
;;
stop)
echo "Stopping Pirate Radio"
killall pifm
;;
*)
echo "Usage: /etc/init.d/pirateRadio.sh start|stop"
exit 1
;;
esac

exit 0

Change the permission on the pirateRadio.sh script by typing the following command:
sudo chmod 755 /etc/init.d/pirateRadio.sh

Finally add the pirateRadio.sh script into the startup scripts default profile.

sudo update-rc.d pirateRadio.sh defaults

Assemble the case

Trim the belt clip of the battery pack off and sand it flat.

Use hot glue to attach some strong magnets to one side of the battery pack, and hook and loop fasteners to attach the Pi to the other.

Connect the batteries

Use a short USB Micro cable to power the Pi from the battery pack, and you’re ready to broadcast.

Now all you have to do is switch the Pi on, give it a toss towards a metal structure.