
Read articles from the magazine right here on Make:. Don’t have a subscription yet? Get one today.
For years I’ve wanted to set up a weather station in my backyard, but I’ve balked at the cost of those expensive kits. When the folks at Astro Pi released the Sense HAT sensor board for the Raspberry Pi computer, I knew I had an easy way to build my own Pi-based weather station using off-the-shelf parts.
The Sense HAT was designed to be sent into space, and schoolchildren in England were engaged to create (and code, of course) experiments for it that would be executed by an astronaut on the International Space Station. The HAT stacks right on top of the Raspberry Pi computer and has the following hardware capabilities:
- Temperature, humidity, and pressure sensors
- Accelerator, gyroscope, and magnetometer
- 8×8 full-color RGB LED display
- 5-button joystick
For this project, I use the Sense HAT to measure temperature, humidity, and barometric pressure. Once I started collecting the data, I needed to do something with it, so I coded the application to upload the measurements to Weather Underground, creating my own online weather station. Weather Underground (WU) lets you set up your own station and upload your data for others to use; your data becomes part of the aggregate weather data, and you (and your neighbors) can view your station’s data separately as well.
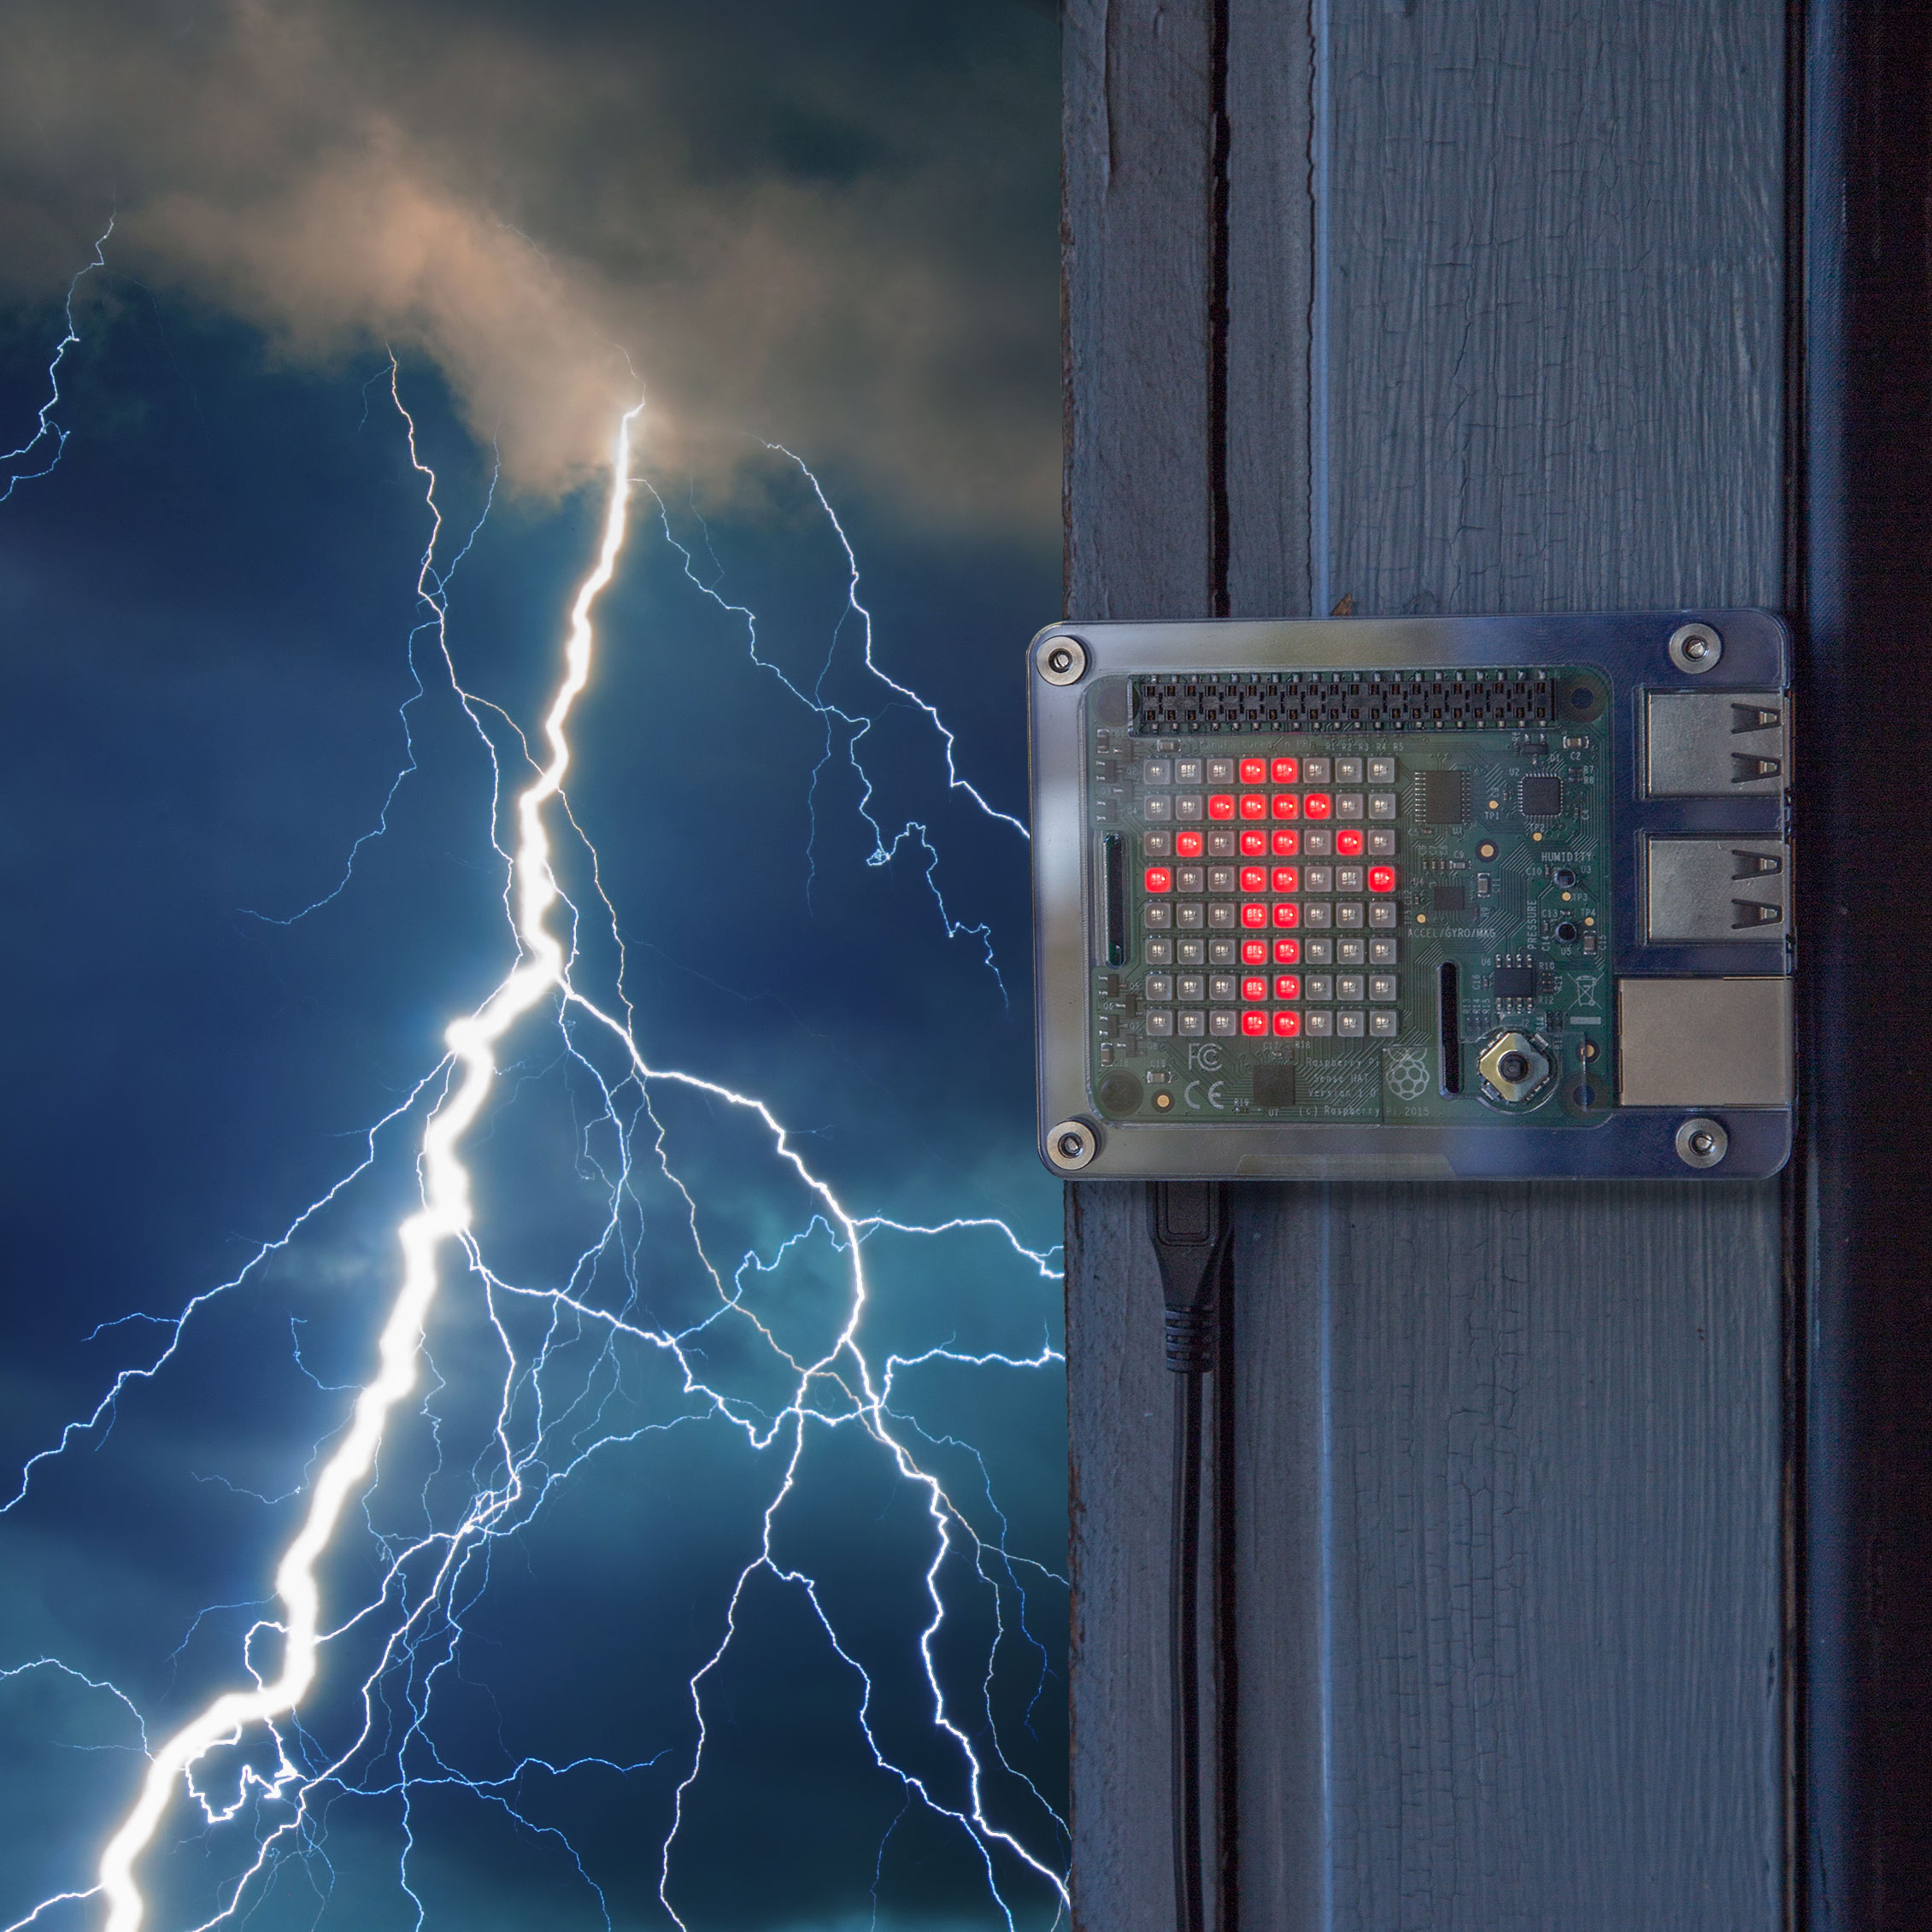
Since the HAT also has an LED display, I decided to use it to display information about the weather data. You could use it to display numbers (1 or 2 digits at a time), but I decided to display a red arrow pointing up when the temperature increased over the last reading, a blue arrow pointing down when the temperature decreased, and blue and red bars (like a strange equal sign) when the temperature stays the same between measurements.
The project’s really easy to complete. Just assemble the hardware (which takes about 5 minutes), install some Python libraries, download and configure the project’s code, and you’re all set. Overall, the whole project should take you no more than an hour. The complete source code is available on Github.
You’ll also want to mount the project in a container that protects it from the elements while at the same time enabling the HAT’s sensors to accurately measure current conditions. I’m going to use mine on my covered back porch, but I also improvised a rain shield for exposed locations.
Weather Underground Weather Station Setup
Weather Underground (WU) is a public weather service, now owned by the Weather Channel, that lets you upload local weather data into the WU database for public consumption. Setting up a WU weather station is free and easy to do. Point your browser of choice to the Weather Underground Personal Weather Station Network (PWSN) home page and click the Join button in the upper-right corner.
On the page that appears, you’ll be prompted to enter your email address, a user name, and password to create a new account. Then go back to the PWSN home page and click the My PWS button at the upper right. On the page that appears, populate the form to create your new personal weather station.
Once you complete the setup, WU will generate a station ID and an access key you’ll need to access the service. Be sure to capture those values, you’ll need them to configure the project application later.
Assemble the Hardware
Assembly is really easy. Just mount the Sense HAT on top of the Raspberry Pi, put it all in the case, and power it up.
The C4 Labs Zebra Case comes with 2 heat sinks, one for the top of the Pi and one for the bottom. Mount these before assembling the case; they’ll help dissipate heat from the processor and should help reduce the effect of the Pi’s processor on readings (see Calculating Ambient Temperature further down).
The Zebra Case is built in layers, so you have to stack multiple parts around the Pi to assemble it. Build the case, following the included instructions, but leave the final piece off as shown in Figure C.
The Sense HAT Upgrade replaces the top layer of the case with several parts, including a set of longer screws. In Figure C, the original case top is sitting to the left of the Pi, with the extra Upgrade parts behind the device.
Mount the Sense HAT on the Raspberry Pi. The Sense HAT will sit flush against the top of the colored part of the case as shown in the photo below.
Note: The Raspberry Pi Foundation recommends that you install standoffs between the Pi and the HAT for stability, but you can’t use these standoffs with the C4Labs Zebra case; the HAT won’t fit correctly if you do.
Next comes a clear piece that fits flush around the outline of the Sense HAT as shown below.
Finally, add the remaining 2 pieces: one covers the Sense HAT around the joystick area, and the top plate covers the rest, while still exposing the Sense HAT’s sensors. You can see the assembled case below.
Before you tighten the case using the longer screws provided with the Sense HAT Upgrade, be sure to look around all sides to make sure everything fits snugly. If you see any big gaps or bent parts, then you may not have the case assembled correctly.
Set Up the Raspberry Pi
The Raspberry PI needs an OS to boot, so grab your microSD card, then follow the instructions here to download and install the OS on the SD card. Once that’s completed, insert the SD card into the Pi. Turn on your monitor, then plug the Pi’s power supply into a power outlet and the Micro-USB port on the Pi.
Now you’ll configure some system-wide settings on the Raspberry Pi. Open the Raspberry menu in the upper left corner of the Pi screen, then select Preferences→Raspberry Pi Configuration (see the photo below).
By default, the Raspbian image only utilizes a part of the SD card’s storage (3GB); if the card you used for your Raspbian installation is larger than 3GB, you’ll need to expand the file system to use the whole disk, to make sure you’ll have room for the additional software used in this project.
In the Raspberry Pi Configuration utility shown in the photo below, click the Expand Filesystem button to enable the Pi to use the whole SD card for storage. Making this change will require rebooting your Pi, so don’t be surprised.
If you want, use this opportunity to change the host name for the Pi device, so you can easily find it on the network later. You can see I’ve named mine pi_weather
. If you’re a U.K.-based reader, you’re done; click the OK button and let the Pi reboot.
If you’re outside the U.K., switch to the Localisation tab and make sure the settings are properly configured for your locale, time zone, and keyboard. Click OK and reboot.
Next you’ll need to update the Pi’s core software. Open a terminal window and execute the command:
sudo apt-get update
This command updates the Pi’s indexes of available software packages. Next, execute:
sudo apt-get upgrade
This command fetches and installs the latest and greatest versions of the Raspbian OS and other software packages installed on the Pi. It will take quite a while.
Install ProjecT Software
The Sense HAT uses its own Python libraries. To install them, go to the terminal window and execute the command:
sudo apt-get install sense-hat
Next, create a directory for the project files:
cd ~
mkdir pi_weather_station
cd pi_weather_station
Then copy the project’s Python source code to the new directory with this command:
wget https://github.com/johnwargo/pi_weather_station/archive/master.zip
and extract the files with this command:
unzip -j master.zip
ConfigurE Project Software
In order to upload data to the Weather Underground service, our Python app needs access to the station ID and station access key you created earlier in the setup process. Open the project’s config.py file in your text editor of choice then populate the STATION_ID
and STATION_KEY
fields with the appropriate values from your Weather Underground Personal Weather Station:
class Config:
# Weather Underground
STATION_ID = “YOUR_STATION_ID”
STATION_KEY = “YOUR_STATION_KEY”
The project’s main Python app, weather_station.py, has two configuration settings that control how it works. To change these values, open the file in your text editor and look for these lines near the top:
# specifies how often to upload values from the Sense HAT (in minutes)
UPLOAD_INTERVAL = 10 # minutes
The app reads the temperature sensor on the Sense HAT every 10 seconds, for use in calculating ambient temperature. But we don’t want to upload data to Weather Underground that frequently. So, the UPLOAD_INTERVAL
variable controls how often the app sends measurements to WU. To change this interval, just change the value to the right of the equal sign.
If you’re testing the app and don’t want your data uploaded to WU until you’re ready, change the value for WEATHER_UPLOAD
to False
(in Python, case matters, so it has to be False
, not false
):
# Set to False when testing the code and/or hardware
# Set to True to enable upload of weather data to Weather Underground
WEATHER_UPLOAD = False
Test the Project’s Python App
To run your weather station Python application, open a terminal window, navigate to the folder where you copied the project files and execute the following:
python ./weather_station.py
The terminal window should quickly sprout the following output:
##################################
# Pi Weather Station #
# By John M. Wargo (www.johnwargo.com) #
##################################
Initializing Weather Underground configuration
Successfully read Weather Underground configuration values
Station ID: YOUR_STATION_ID
Initializing the Sense HAT client
Initialization complete!
If you see something like that, you’re golden. If not, figure out what any error messages mean, fix things, then try again. At this point, the application will start collecting data every 10 seconds and uploading it to the Weather Underground every 10 minutes (unless you changed the app’s configuration to change the upload interval).
Start the App Automatically
Finally, you must configure the Raspberry Pi so it executes the Python app on startup. In a terminal window, navigate to the folder where you extracted the project files. Then make the project’s Bash script file executable by executing the following command:
chmod +x start-station.sh
Next, open the Pi user’s session autostart file using the following command:
sudo nano ~/.config/lxsession/LXDE-pi/autostart
Add the following line to the end (bottom) of the file:
@lxterminal -e /home/pi/pi_weather_station/start-station.sh
To save your changes, press Ctrl-O then press the Enter key. Next, press Ctrl-X to exit the nano application. Reboot the Raspberry Pi. When it restarts, the weather station’s Python process should execute in a terminal window.
USE IT
You’re now running a personal weather station! You can share your Weather Underground page with friends and neighbors, or just enjoy knowing that you’re contributing to one of the world’s biggest weather databases powered by citizen science.
Calculating Ambient Temperature
One of the frustrating parts of building this project was that I ran into a problem with faulty temperature readings. It turns out the Sense HAT has a design flaw, in that the humidity and pressure sensors (each of which can be used to measure temperature) are not thermally isolated from the Pi’s CPU, and therefore can’t measure ambient temperature accurately. Ugh! Anyway, the Pi community has figured out ways to read the CPU temperature, then use that value to guesstimate ambient temperature to within 1°C — pretty good. I implemented one of these solutions in the code so you can grab near-accurate temperature readings. This is especially important if you’re using a Raspberry Pi 3, which generates more heat than older Pi boards.
You can also connect a standalone temp/humidity sensor to the Pi’s GPIO pins, and edit the code to read that sensor too! I’ve built a version using an off-the-shelf sensor (Adafruit #385) and the Adafruit libraries. My revised code for this version lives on Github.
Mounting Your Weather Station Outdoors
The Zebra case is not waterproof, so you’ll want to install it in a sheltered spot like a porch, or make an enclosure that protects it while letting the sensors breathe.
For exposed locations, I improvised a simple rain shield using a plastic food container and a Chinese takeout lid. It’s open at the bottom, with vents at the top, so the temperature should equalize easily with the surroundings (Newton’s law of cooling applies). I didn’t want to drill holes in the sides, as that would let water in, so I mounted the Pi on a piece of ¼” plywood and velcroed it to the inside of the container. To see how I made it, read on — and I’d love to see your ideas too!
At first I wasn’t sure how to design an enclosure that still exposed the temperature and humidity sensors, but then I found this helpful forum post that discussed issues with mounting hardware outdoors. I knew that if I provided enough ventilation while at the same time protecting the Pi from direct contact with water, I’d be OK. So, I gathered the following parts and got to work:
• Plastic Storage Container
• Lid from a fast food container
• 2″×6″ piece of ¼ plywood
• 2″×3″ piece of ¾ plywood
• External grade Velcro®
• Mounting screws
• Spacers
I didn’t want to drill any holes in the container as that would let water in. So, I mounted the Pi on a piece of ¼” plywood then used velcro to attach it to the inside of the container. Cut the plywood so it’s just a little wider than the Pi and it’s long enough to reach the lip of your plastic container. Position the Pi close to one end of the board then trace the mounting holes on the Pi on the plywood.
You’ll need longer screws in order to mount the Pi to the board.
Add spacers to the board. You’ll need a specific size to fit the separation between the Pi and the Sense HAT. The ones on the bottom of the Pi can be as long as you want
Mount the Sense HAT on the Pi.
Attach the Pi to the plywood.
Next, cut a small piece of ¾” plywood to act as a standoff between the ¼” plywood and the inside wall of the container. Mount the board on the back of the ¼” plywood as shown in Figure 8 and Figure 9. In my implementation, I used ¾” pan head screws. Waterproof glue could work as well.
Next, cut a piece of Velcro to fit the plywood extension. For my implementation, I used the harder side of the Velcro pair.
Cut the other half of the Velcro, in my case, the softer side, remove the backing and mount it inside the container positioned to it holds the Pi up toward the top of the container.
Next, cut some holes in the top of the container as close to the actual top of the container as possible . You want the holes to be above the lower edge of the lid when attached.
Then, attach the food container lid on top of the container, making sure to cover the holes .
Finally, mount the Pi inside the container, power it up and you’re ready to go.
After 5 yrs I finally left my last job and it changed my life… I started working online, for this company I found on-line, for several hrs each day, and I profit now much more than i did on my office job… My payment for last month was for 9000 bucks… Superb thing about this is that i have more time to spend with my family… http://korta.nu/MDe
Anemometer possible for an add on? I have an Ambient Weather setup, but it’s not the best setup for me. How will a RP3 run in the heat when it goes over 100F in my area? I would think it would throttle down, but enough for it to be an issue?
Rpi3 was able to reach 100 degrees Celsius.There was a kid who thermal tested it, and showed the result. (reference: somewhere in YouTube)
Sweet…ideally, I like to get the next unit off the chimney, except for the wind meter…
1 year ago I quit my previous work and I never felt this good… I started freelancing over internet, over a website I stumbled upon online, for a few hrs daily, and I earn much more than i did on my last job… Last check i got was for $9k… Amazing thing about it is the more free time i got with my kids…
http://secure52.com
John, Thanks so much for this. Although I am not going to use the sensor hat, I will use your code as the basis for my PWS.
I tend to be more of a hardware guy and less of a coder. I call myself a hobby hacker at best.
I will be using a Teensy 3.2 to gather all the sensor data for my system. It will allow me to gather very accurate data.
@owenfuridgeiii:disqus I will be adding an Anemometer on mine as well as a wind vane with 1 deg accuracy by having the Teensy do the sensor data acquisition.
All the sensor data will be sent over USB to the Pi for processing and uploading to WU.
Looking forward to it. Good luck (Followed)
1 yr ago I resigned from my office job and it was a best decision i made in my life… I started working from comfort of my home, for a company I discovered over internet, for a few hours every day, and I earn much more than i did on my office work… My last month check was for 9 thousand bucks… Superb thing about this gig is the more free time i got for my loved ones… http://korta.nu/MDe
IMPORTANT: Sense HAT will not give you accurate temperature readings (the temperature will be influenced by the RaspberryPI board itself) if you don’t use a GPIO cable.
Here are a few articles on the matter:
https://www.raspberrypi.org/forums/viewtopic.php?f=104&t=111457
In case anyone is interested, I’ve created a library to send the readings from the Sense HAT through socket.io and persist them in MongoDB so they can be read from a client:
https://github.com/rbartoli/nodeimu-server
Considering that I started with my business online, I bring home $25 for each and every 15-20 mins. It sounds unbelievable however you won’t forgive yourself in case you do not glance through it. Read more about it here>> https://disqus.com/by/adriennevarney/
So we know the Pi’s can get pretty toasty and survive just fine – but what about the cold? Specifically down in the -40C area.
One year ago,after i discontinue my office job , i’ve been fortunate to learn about following superb website that was a life-changer for me… They hire people to work from home. My previous check doing this job for them for four months was 10000 dollars… Great fact about the job is that the only thing required is simple typing skills and connection to the internet… https://www.facebook.com/Internet-Jobs-for-US-UK-Australia-Canada-and-New-Zealand-1585996635048445/app/190322544333196/
I’ve earned $84 ,000 to date sometime this year working on the internet and consequently I am only a full time college student . I’m benefiting from an internet business opportunity I heard about and consequently I’ve earned such type of decent cash . It is actually extremely user-friendly so I’m just very glad that I discovered out about that . The possibility of success using this is unlimited . Here’s everything that I do>>> http://www.facebook.com/NZ-US-UK-Australia-and-canada-home-jobs-employment-1690613054524478/app/190322544333196/
I’ve earned $84 ,000 at this point soon working on line while I am only a full time university student . I’m by making use of a web based business money making opportunity I found out about and in addition I’ve generated such great money . It is actually extremely so easy to use not to mention I am just very thankful that I discovered out regarding it . The possibility using this is limitless . Here’s exactly what I do>>> http://secure11.weebly.com
I’ve generated $84 ,000 at present these days working on the internet however I am only a full time student . I’m taking advantage of a web based business project I heard about and after that I’ve made such great money . It is seriously user-friendly and uncomplicated so I’m just so thankful that I found out regarding it . The capability using this is never-ending . Here’s what exactly I do>>>
http://disq.us/url?url=http%3A%2F%2Fsecure60.weebly.com%3A9PwzMi4DpLLpQz0MnrJh3KUnBlY&cuid=424372
It becomes a superconductor and runs like a beast ;) I’ll put mine in the -80C freezer at work and get back to you…
okay, I’ve tried this twice now and at every point I get the same error message when I run the command, python ./weather_station.py I end up with the error, Initializing the Sense HAT client
Unable to initialize the Sense HAT library: . Maybe I’m missing something obvious, help please. I’m using current version Debian Jessie with a PI zero
Didn’t see this covered anywhere. How are you powering the pi?
It is a fun idea but you clearly state the major flaw in this project: the sensehat is too close to the Pi board and since the board gives off varying heat depending on CPU load all of your measurements are totally pointless. What I did was use a ribbon cable to separate the “hat” from the Pi. Of course it’s way more versatile to simply connect a Adruino to your Pi and run whatever sensors you want at a fraction of the cost but most Pi enthusiasts would close their ears right now because for some reason people think they are directly comparable. The druino and the Pi are completely different and they are beautifully synergistic. I do recommend the sense hat ( a great intro to collecting data) if you want to get a cluster of sensors that seamlessly work with the Pi but it’s really more of a learning tool than a practical weather station. Since the Pi is not tiny and needs power the gyroscopes are pretty much pointless but it is a cool product.
John, I built my weather station with the RPi entirely inside a case and an extended stacking header so the SenseHat is outside. So now the temperature is much lower than what everything else shows and I’m guessing this is because of that massaging of the temperature to remove CPU temp from the equation. I’m wondering how to remove that and just use what the SenseHat actually reads as temperature. Thanks.
Is There a Way To Add A Webcam To This?
SOMETHING TO REMEMBER:
Hello everyone! On my first attempt at this I wasted at least an hour downloading Noobs and then connected my Raspberry Pi to the monitor and then realizing that I would have to wipe my Raspberry Pi’s memory and wait 45 minutes for it to download a different software. So, since it doesn’t say this in the article, just remember that when you are downloading software to your SD card and are wondering whether to download Noobs or Rasbian after you click on all the links, just download Rasbian directly to your SD card so you don’t have to download Noobs and then download Rasbian once you connect your Raspberry Pi to a monitor.
How do you remove the autorun? I’m drawing a blank on this. I don’t want to have to reset my device.
ConfigureACCEPT
Privacy Overview
Necessary cookies are absolutely essential for the website to function properly. This category only includes cookies that ensures basic functionalities and security features of the website. These cookies do not store any personal information.
Any cookies that may not be particularly necessary for the website to function and is used specifically to collect user personal data via analytics, ads, other embedded contents are termed as non-necessary cookies. It is mandatory to procure user consent prior to running these cookies on your website.