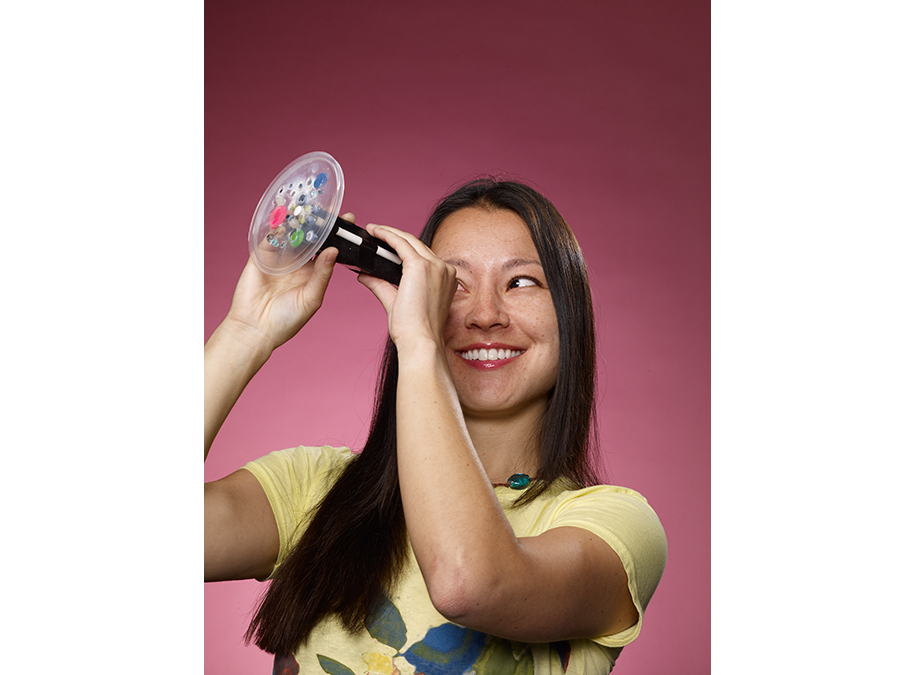
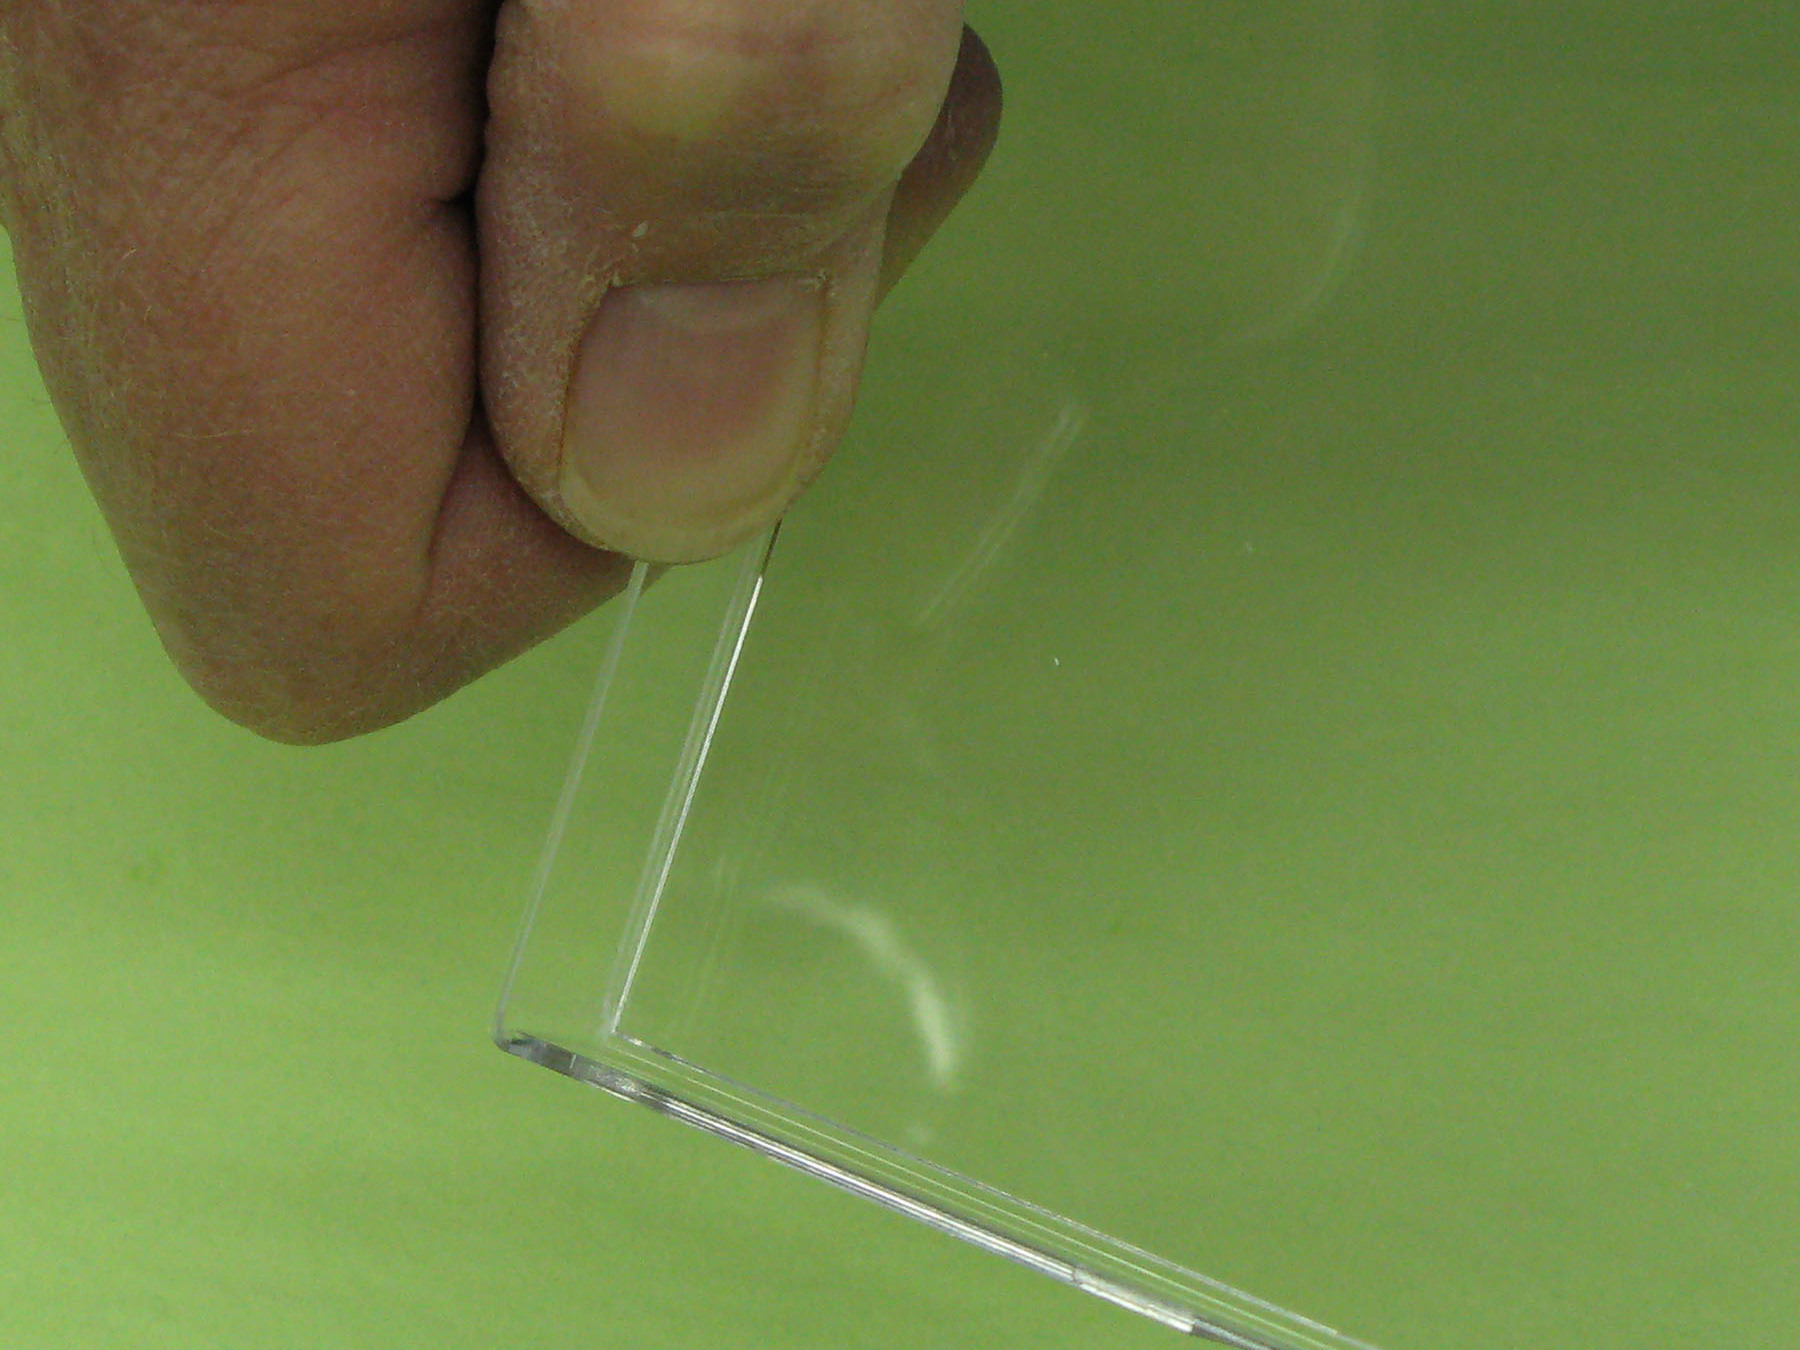
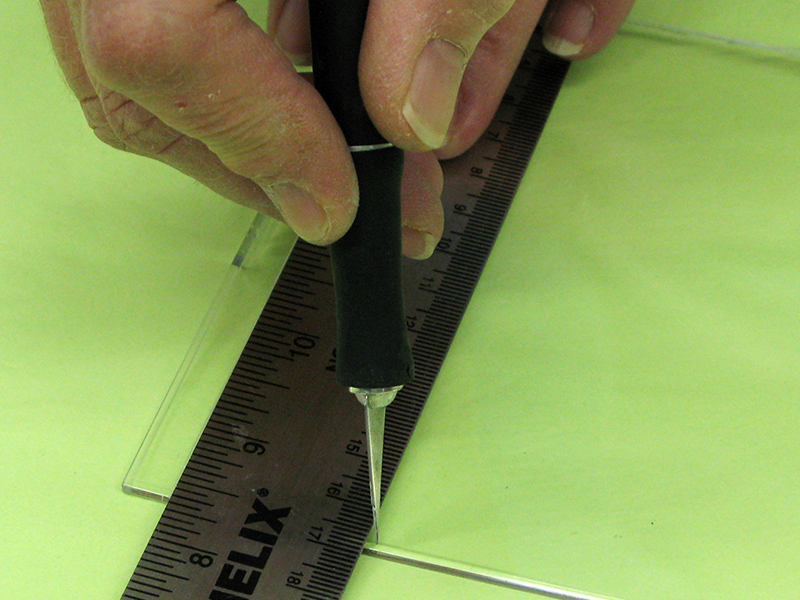
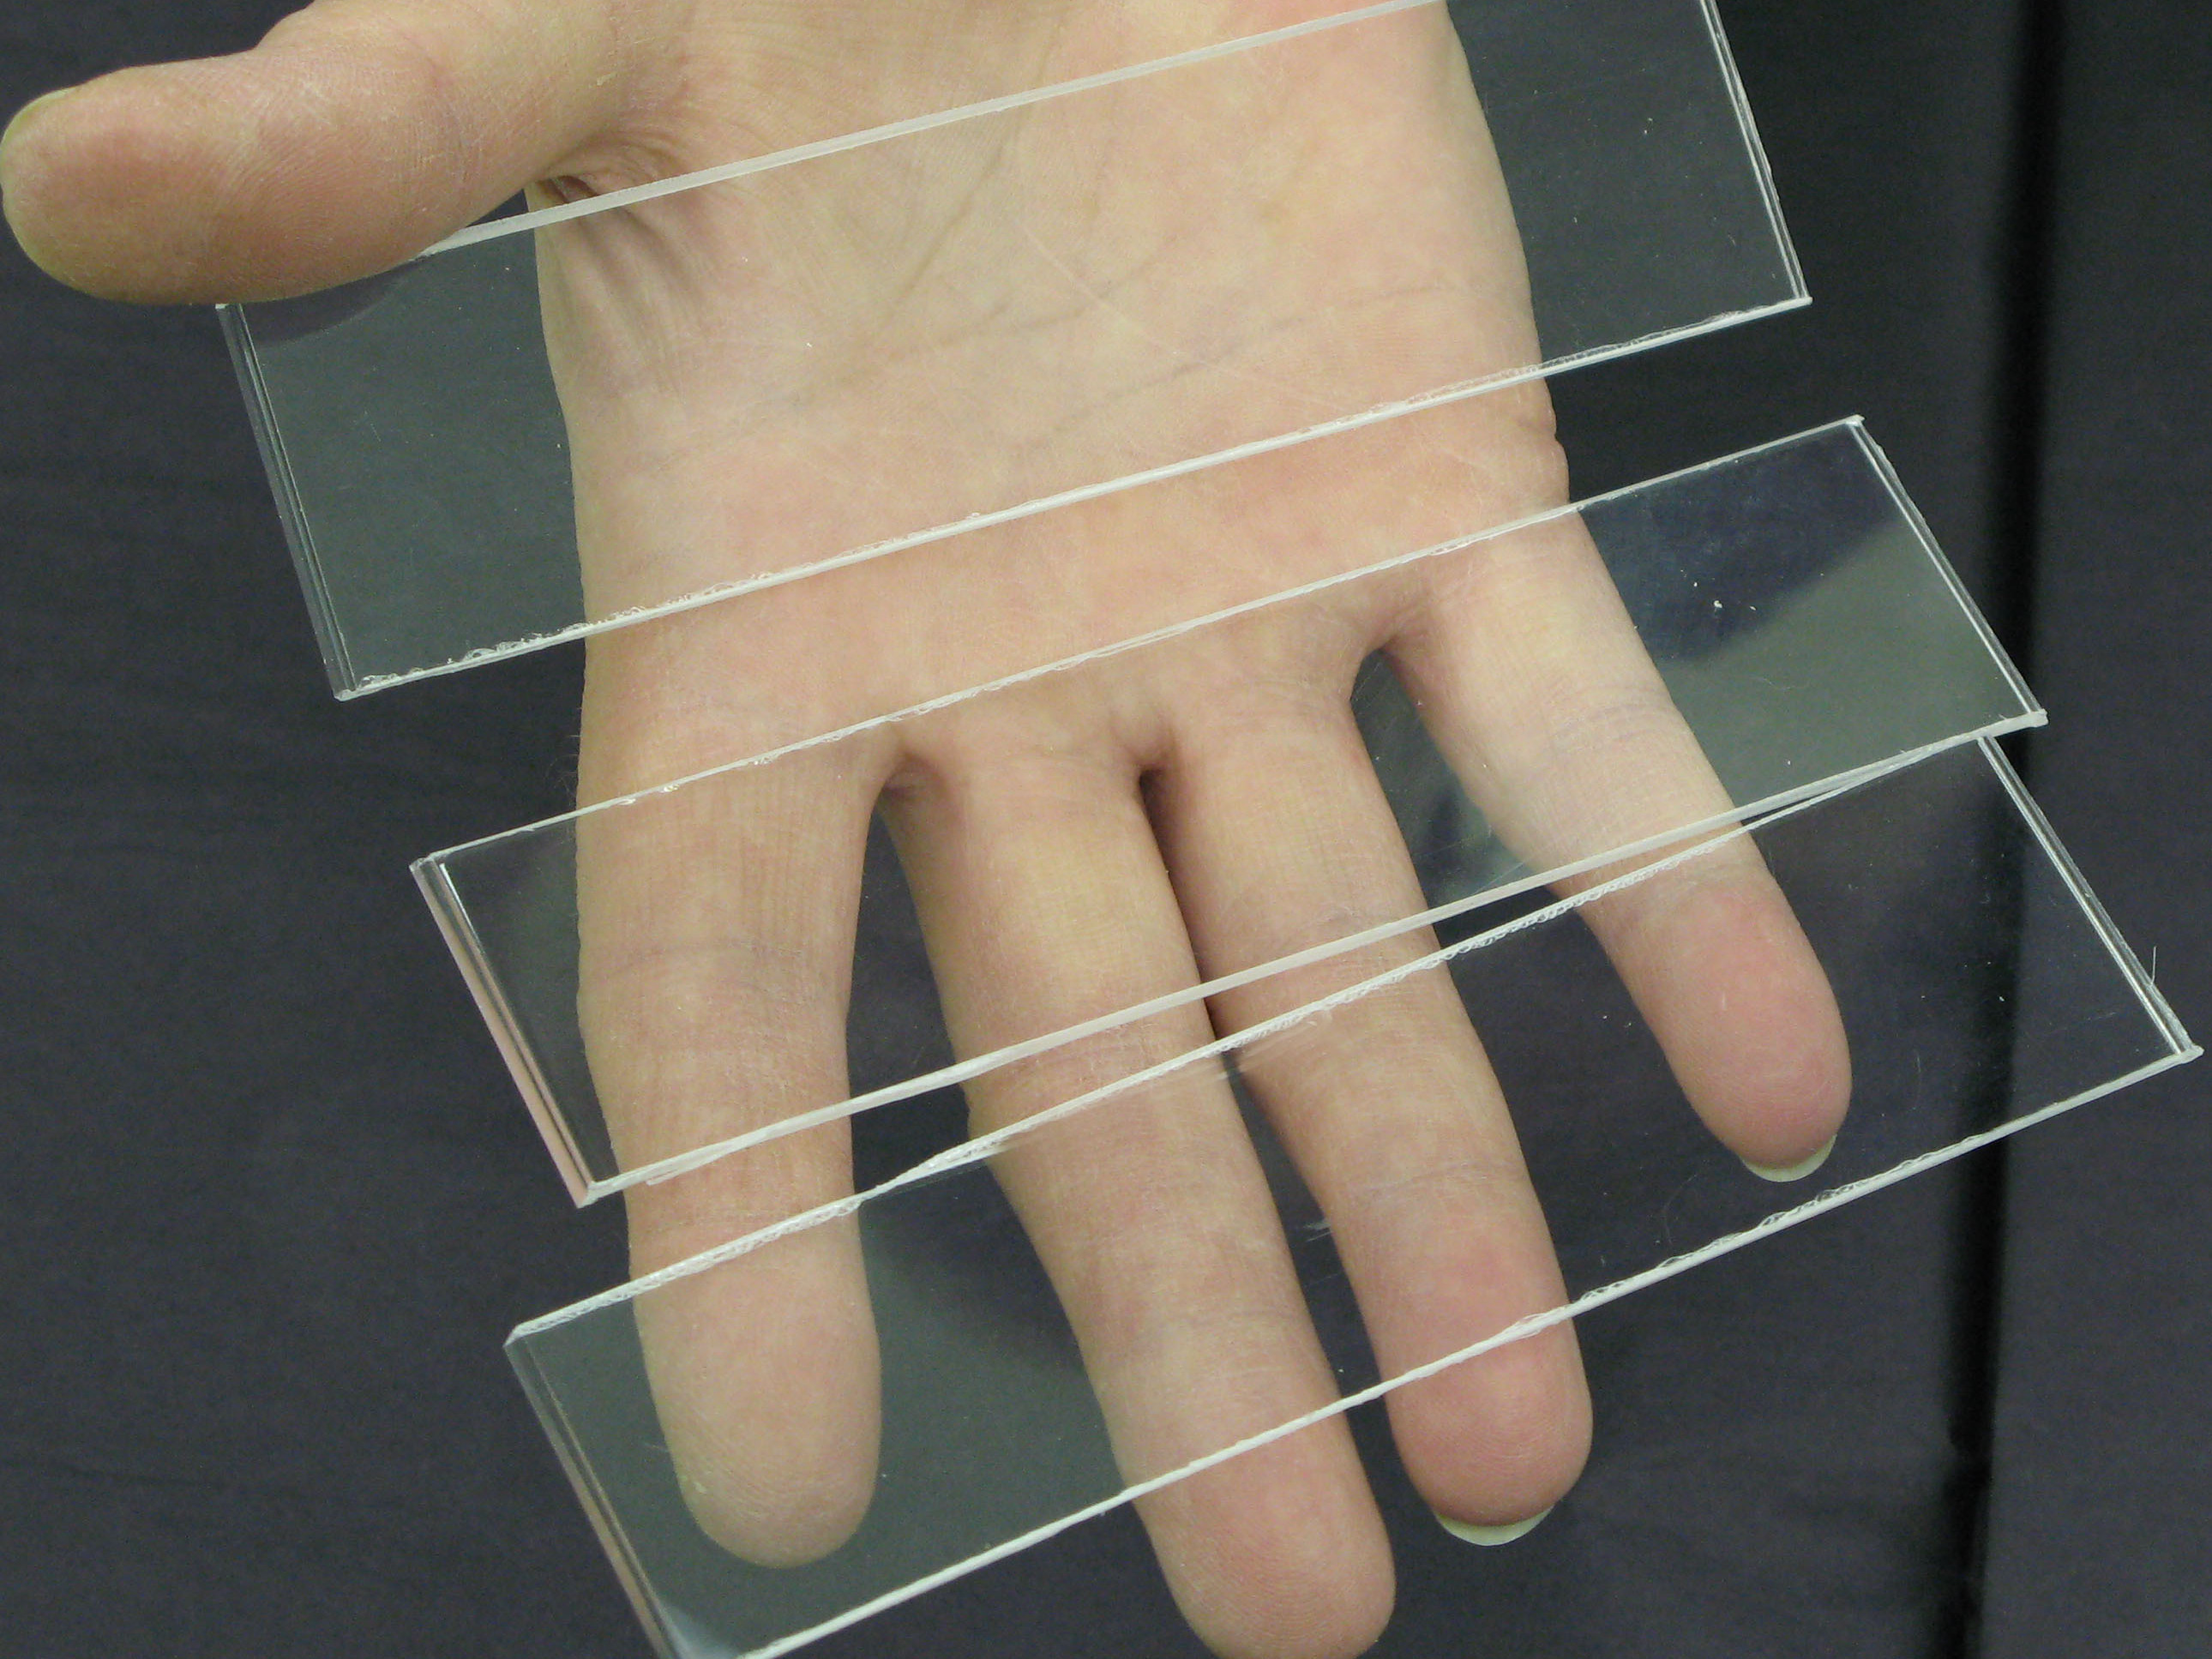
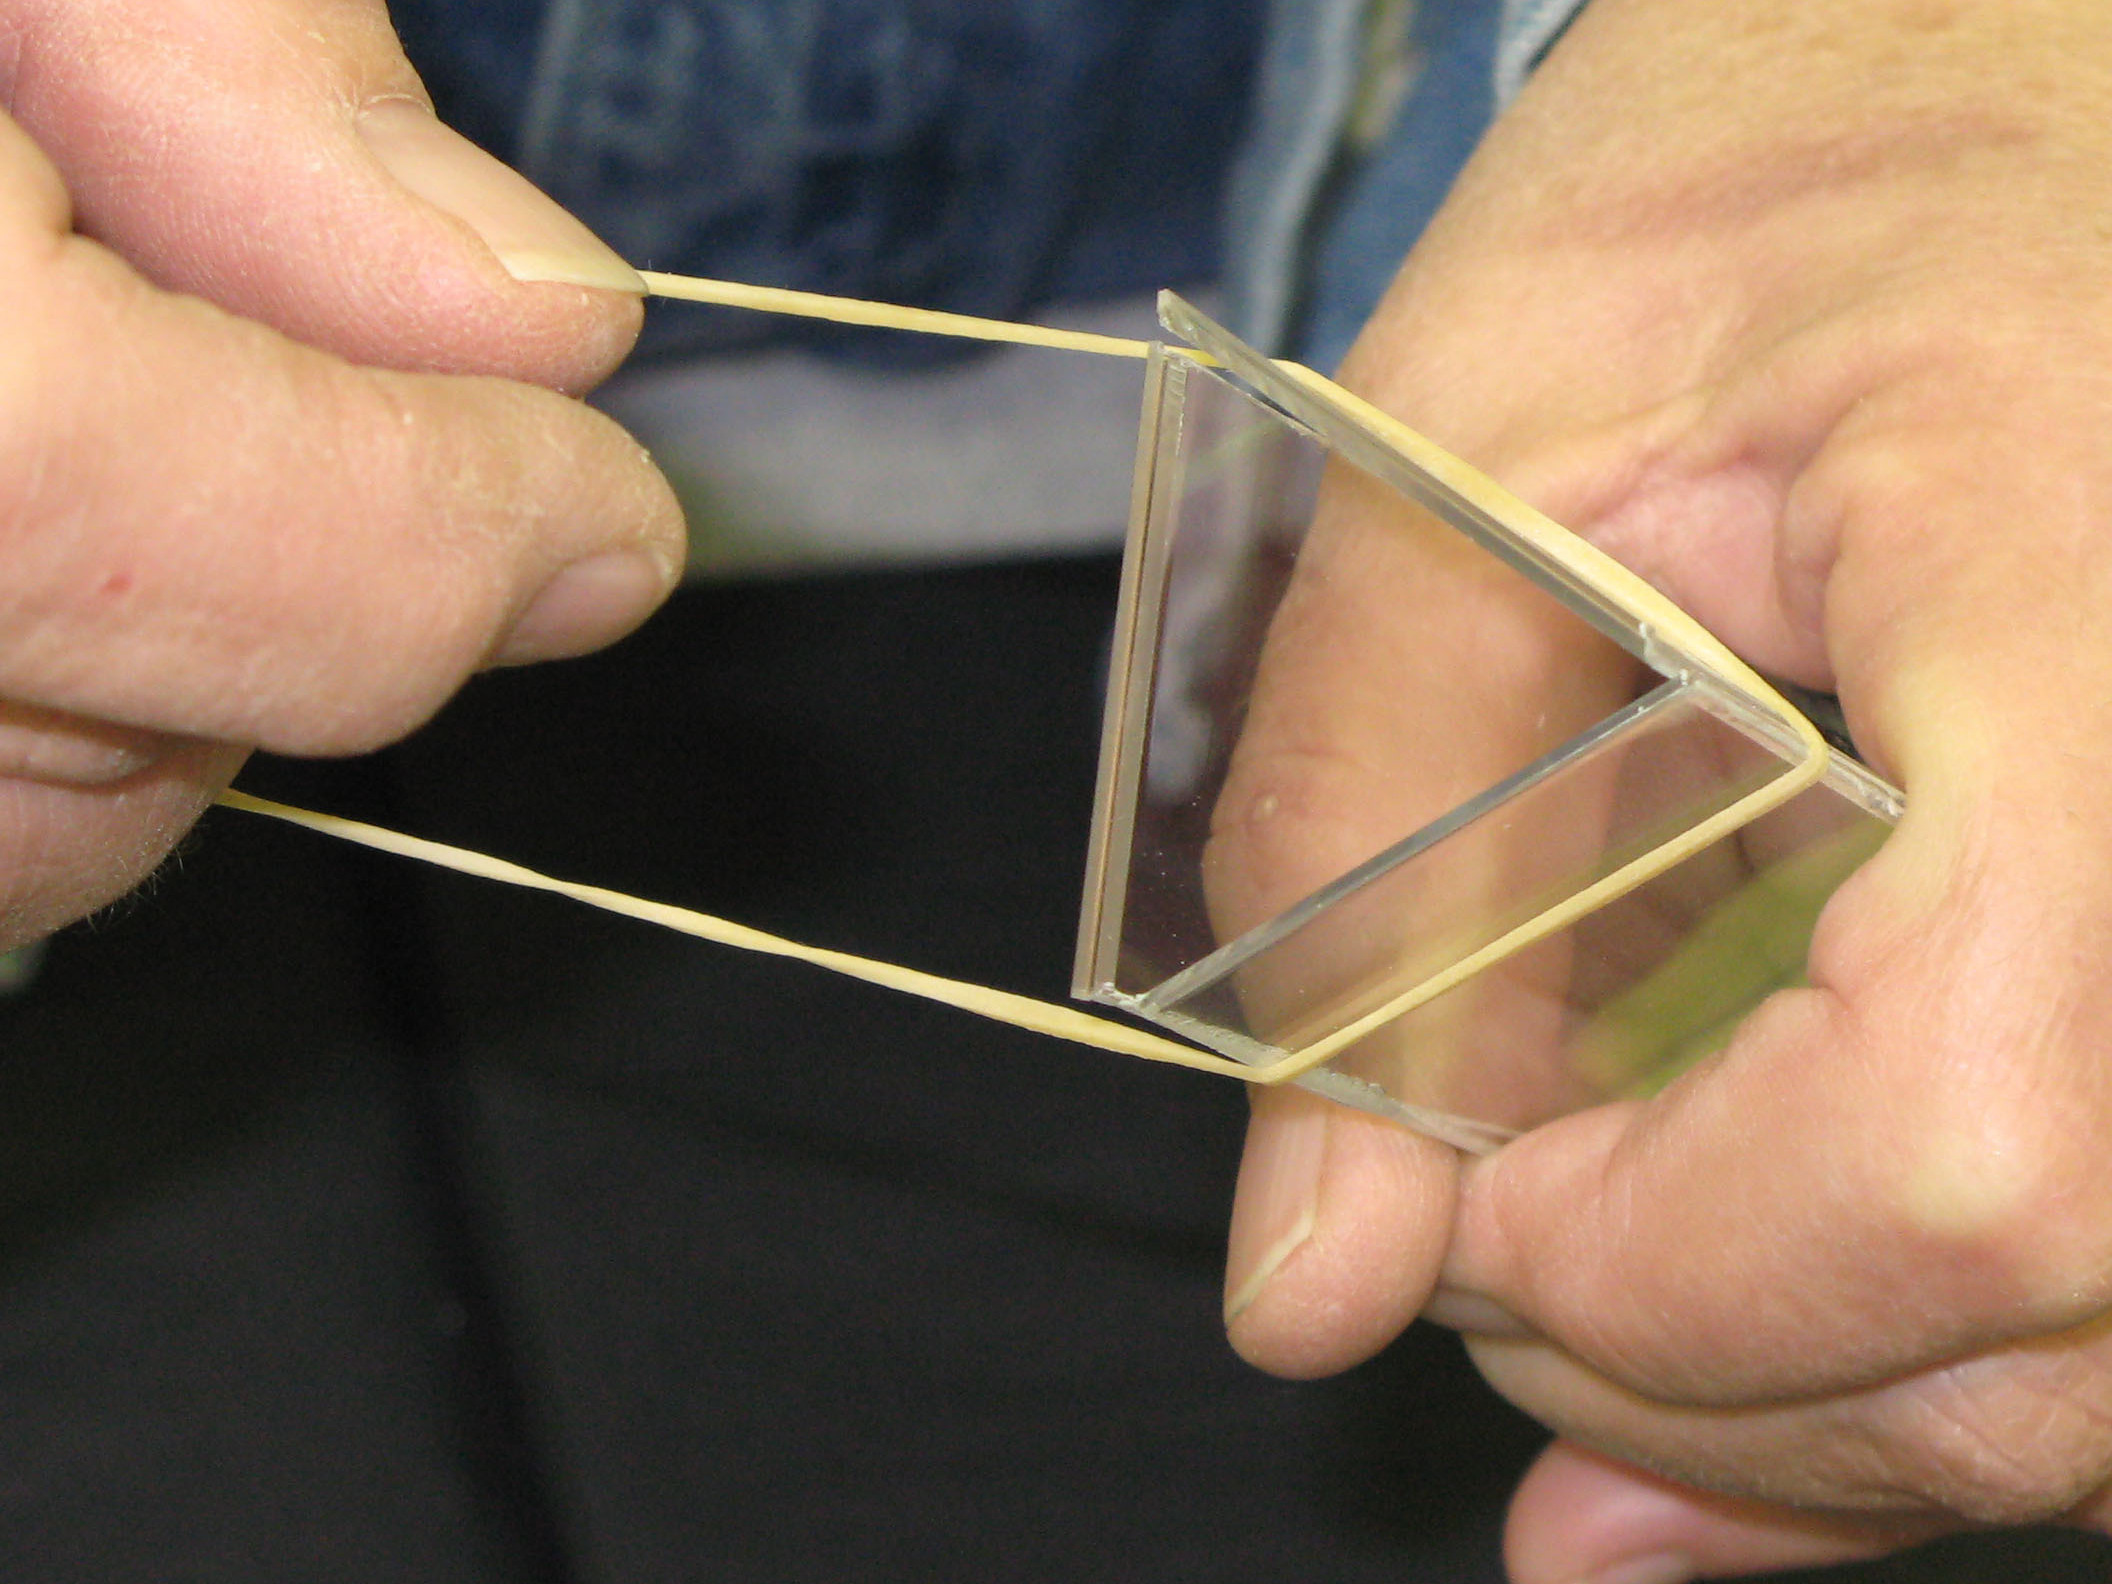
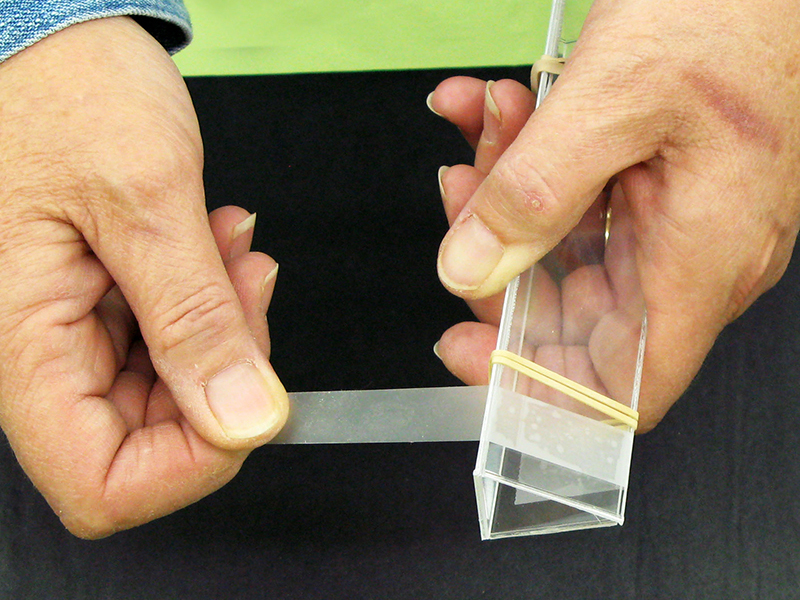
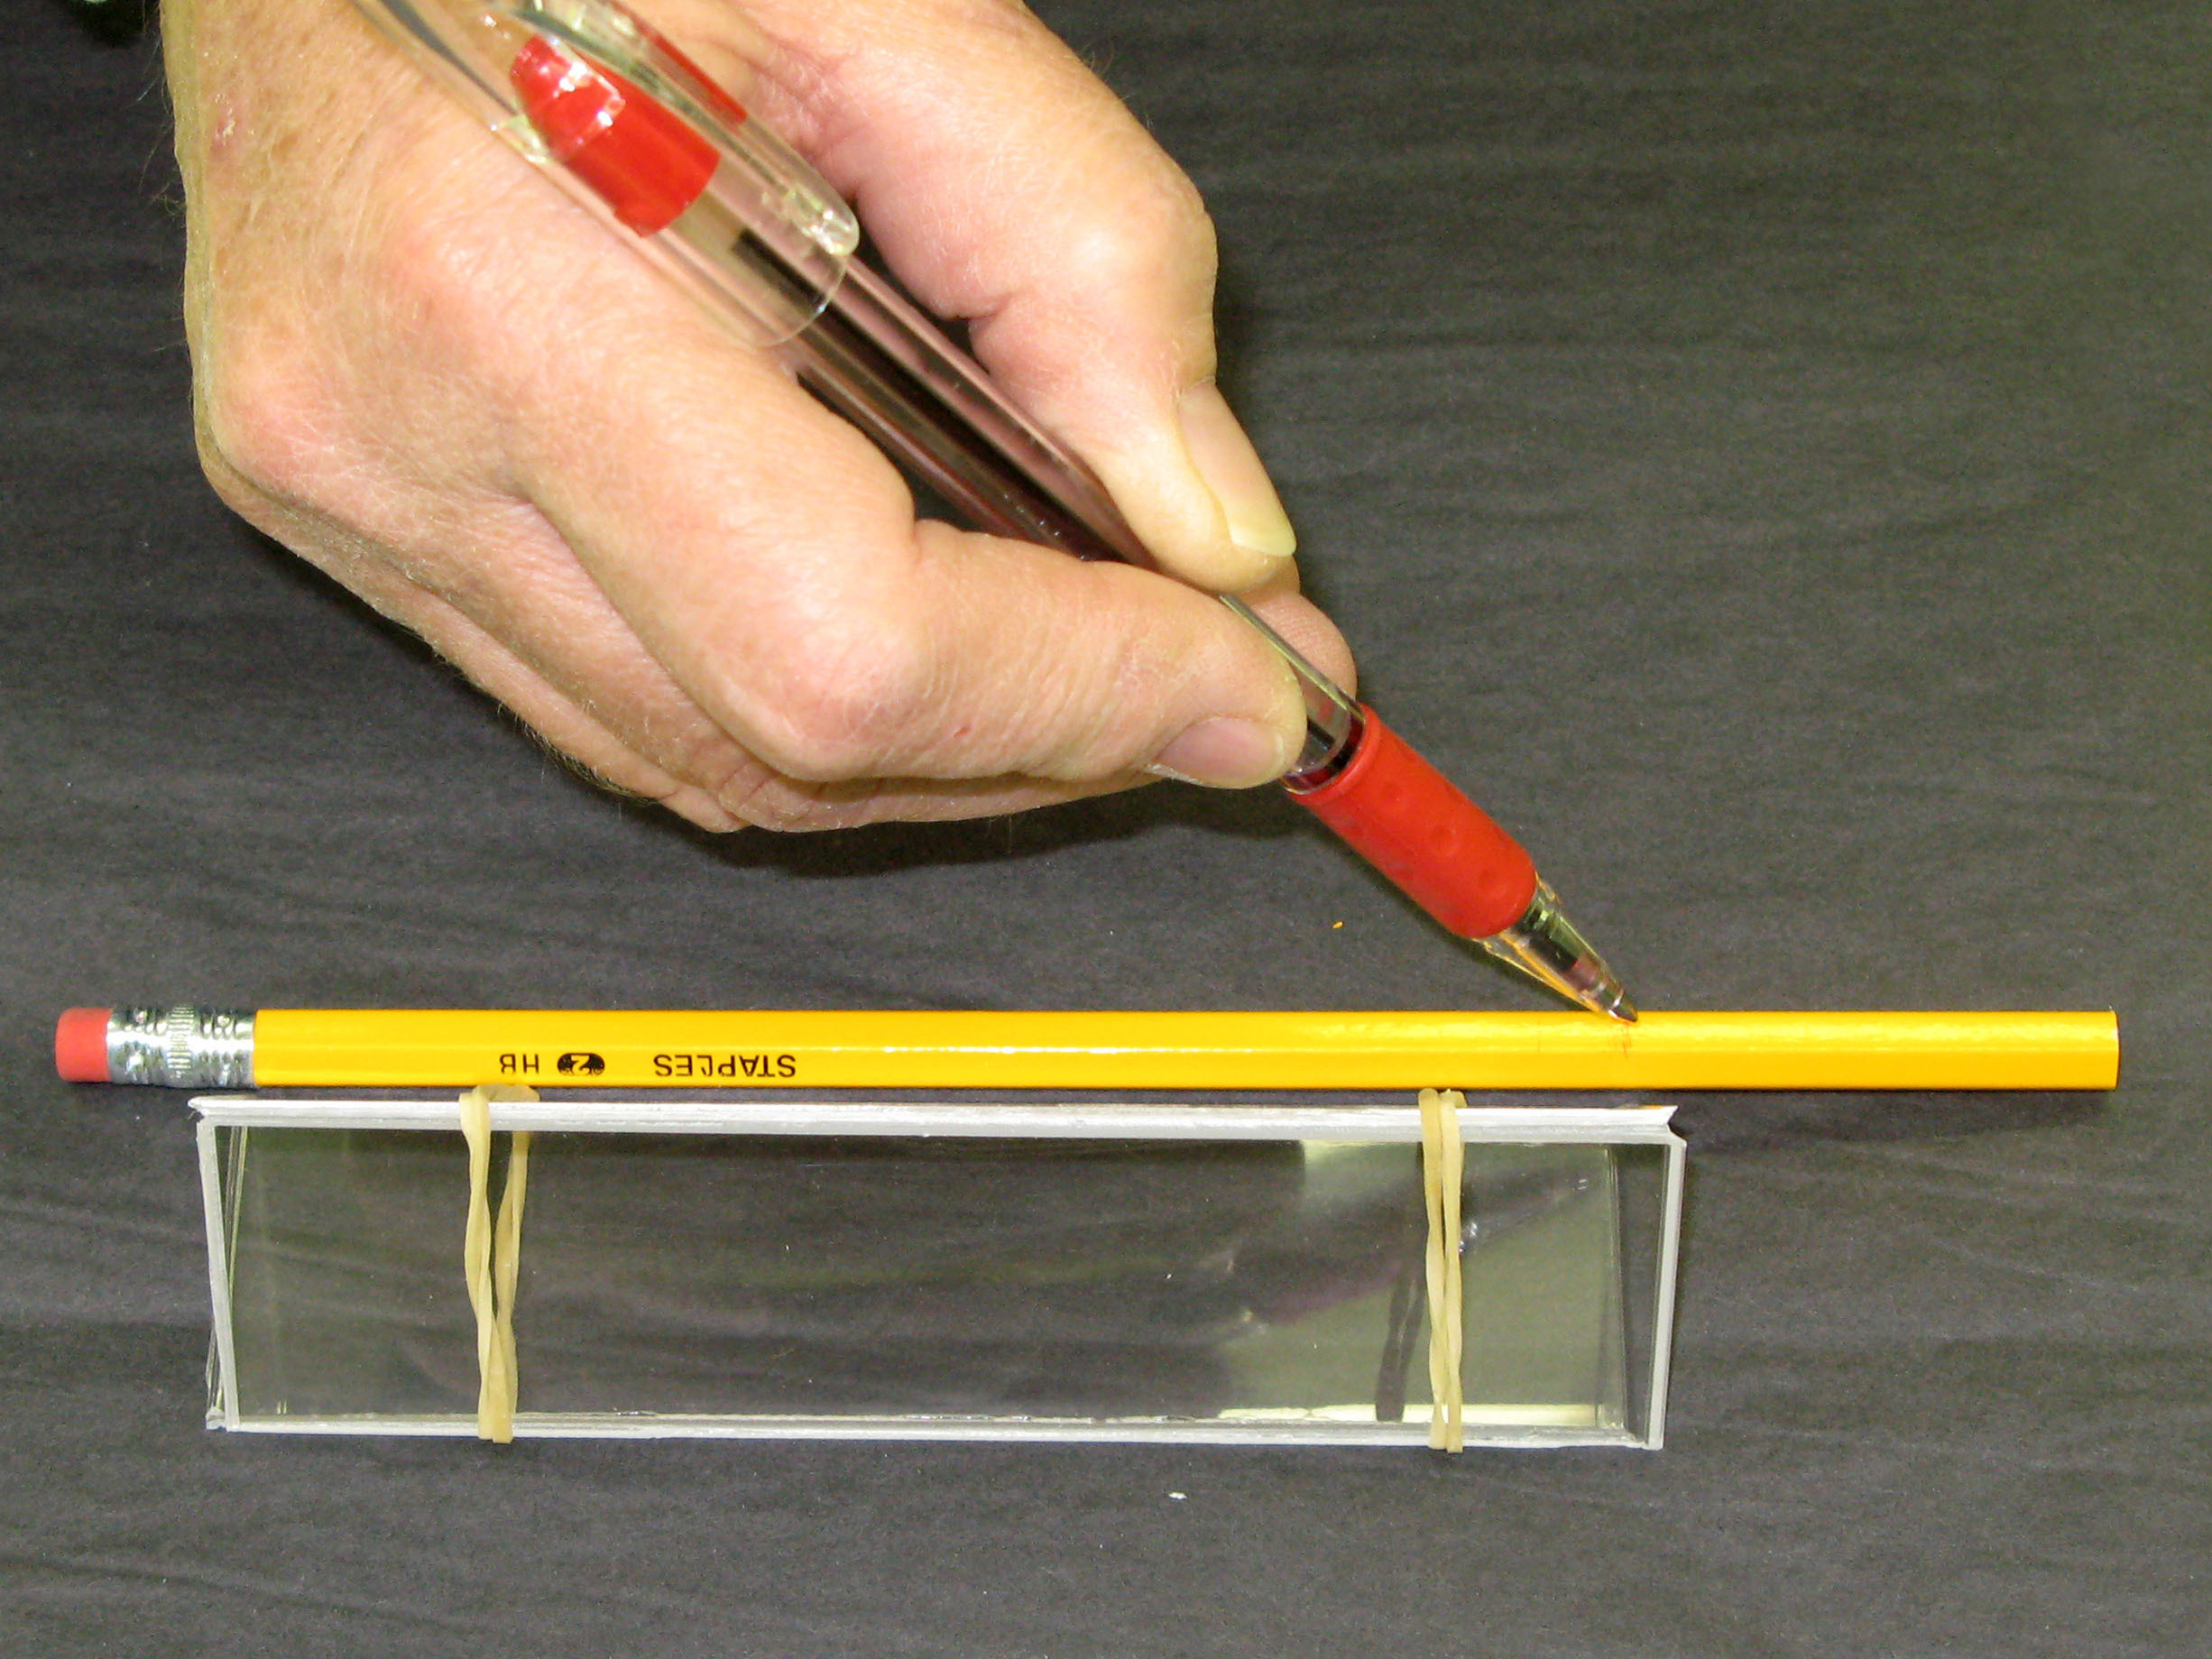
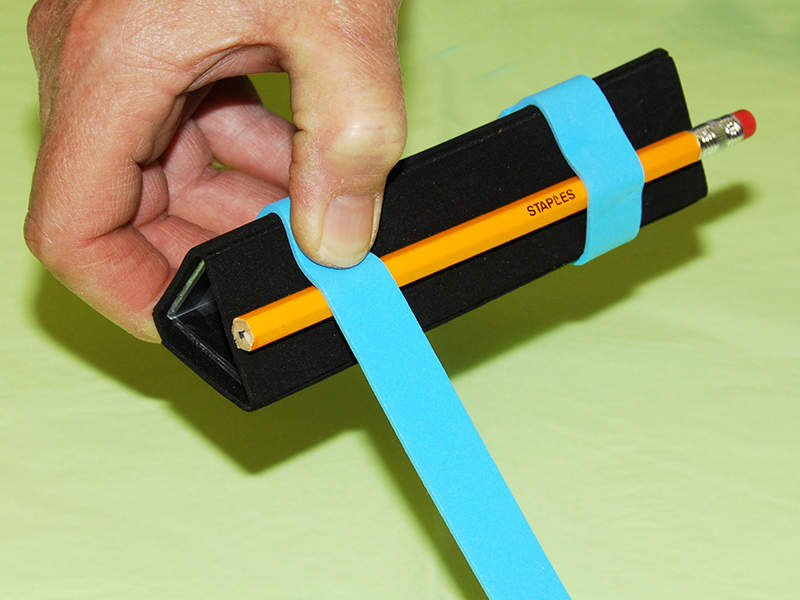
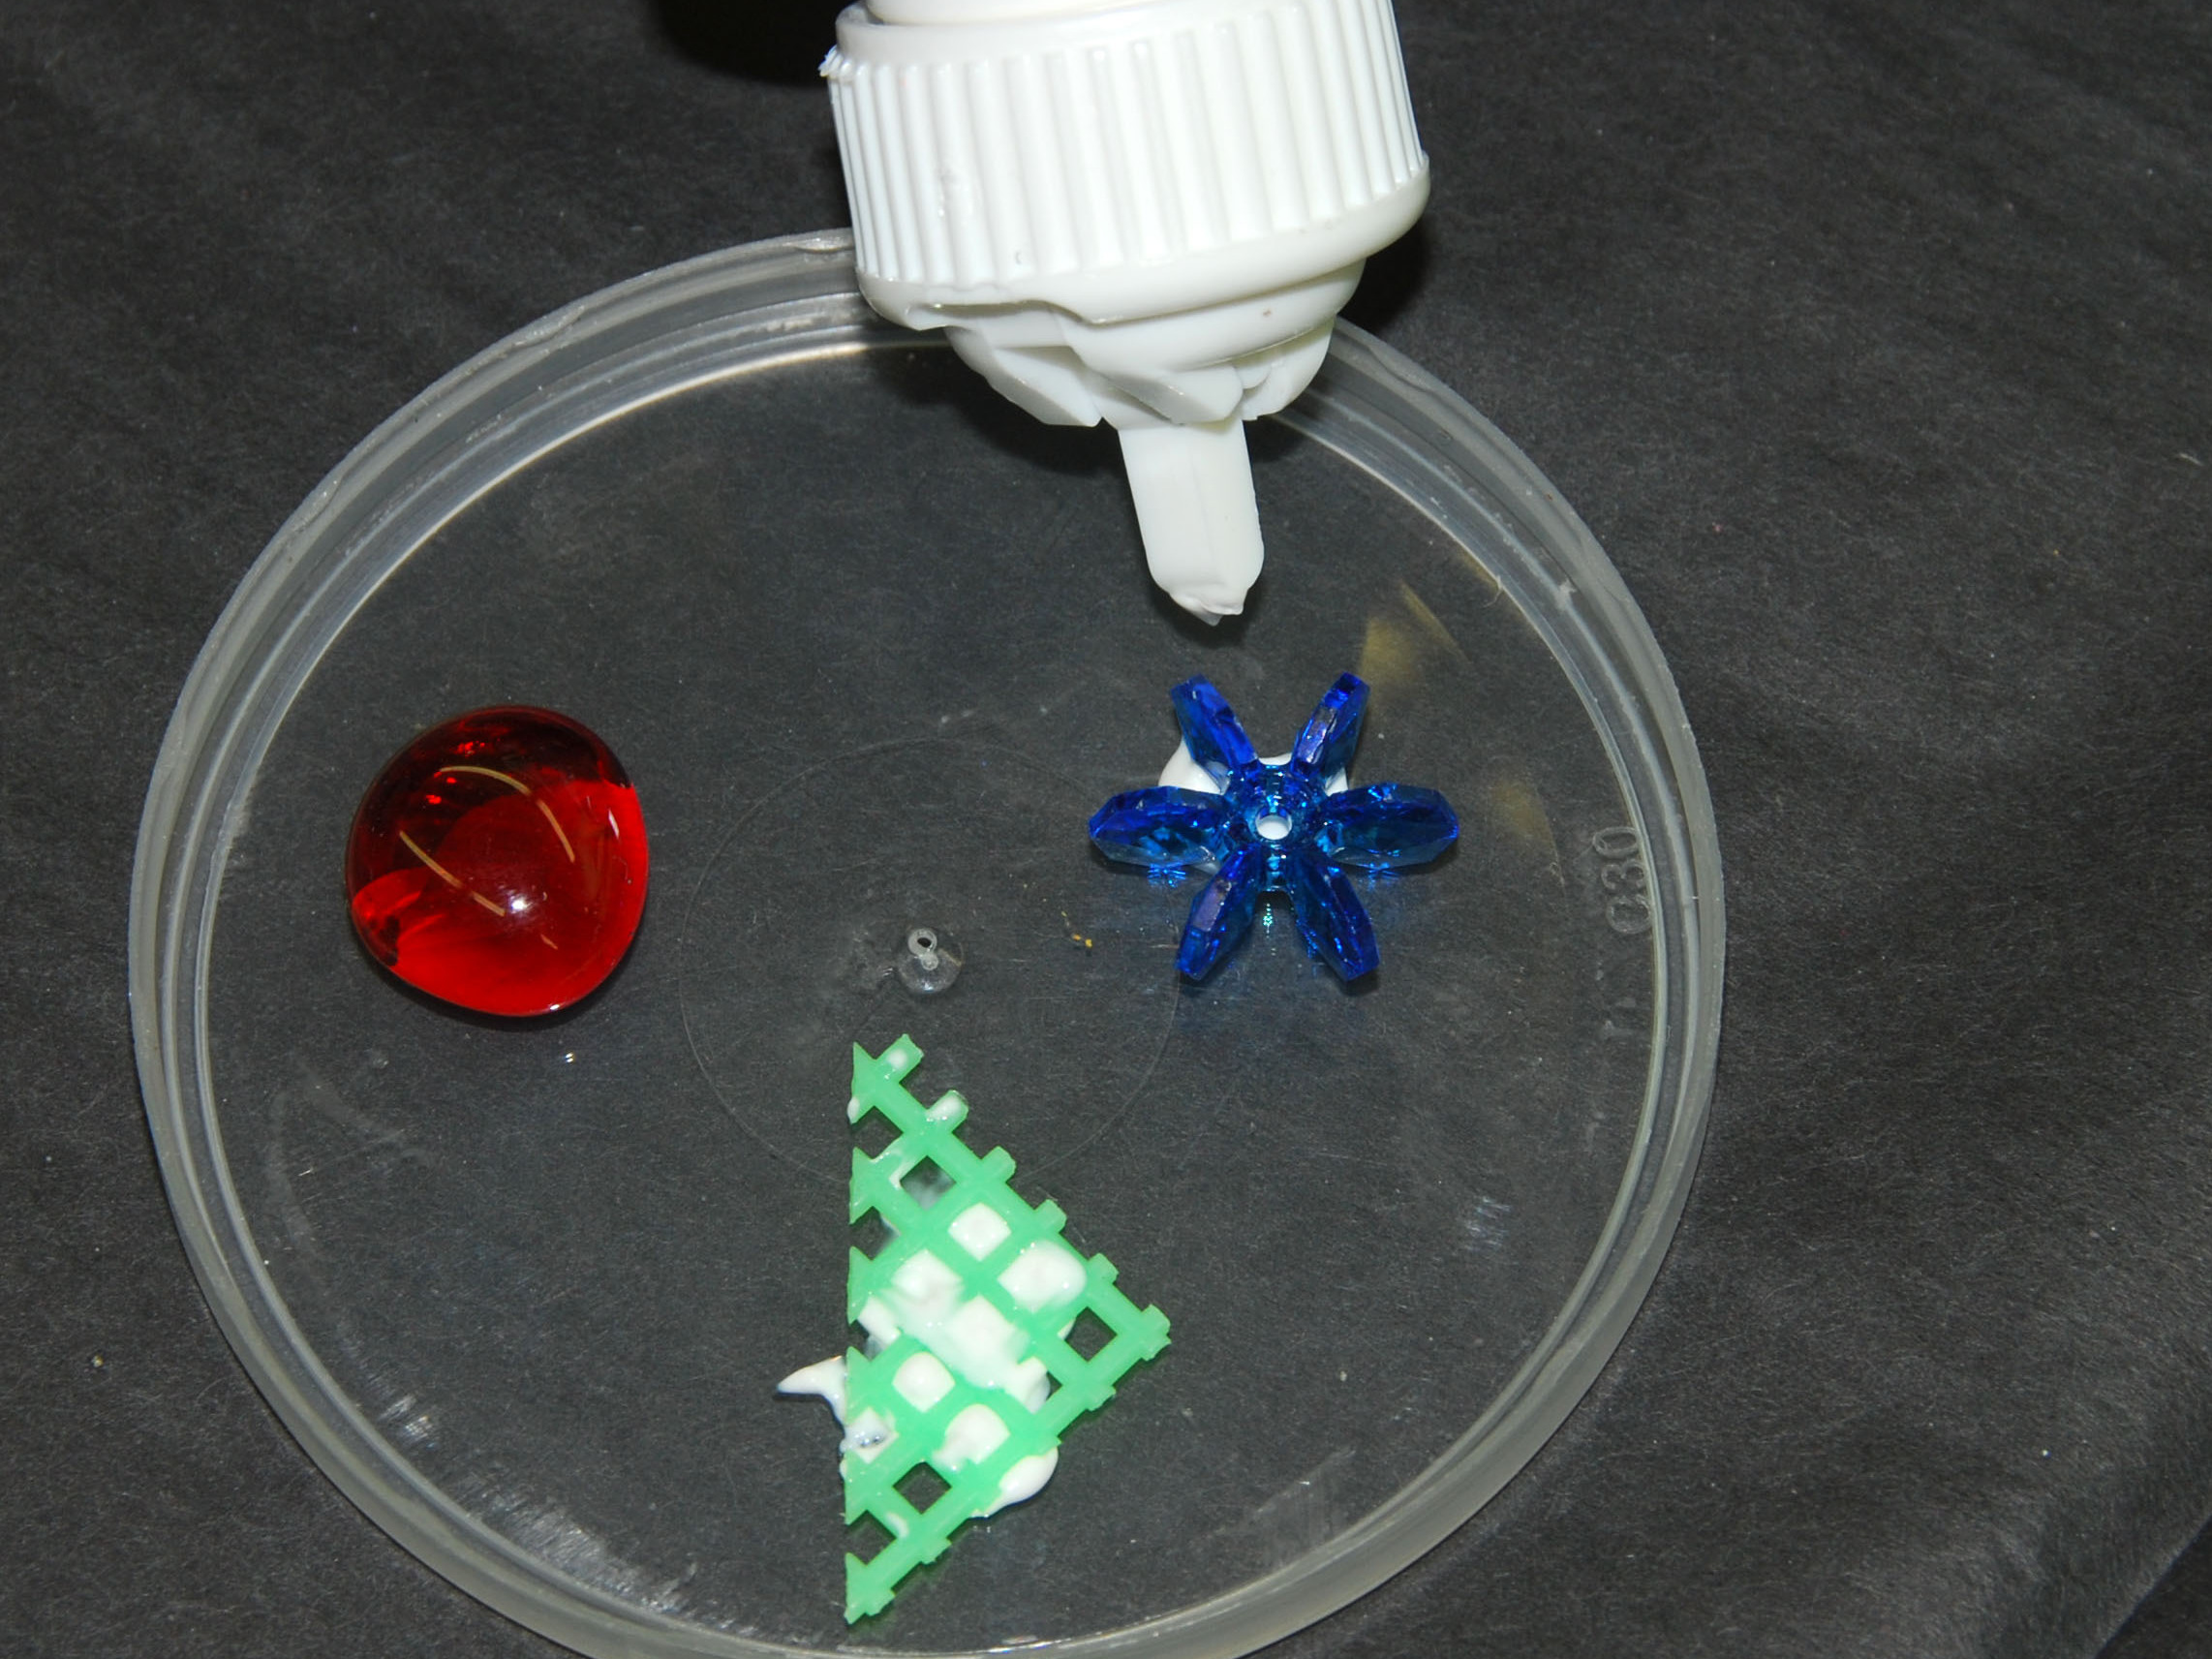
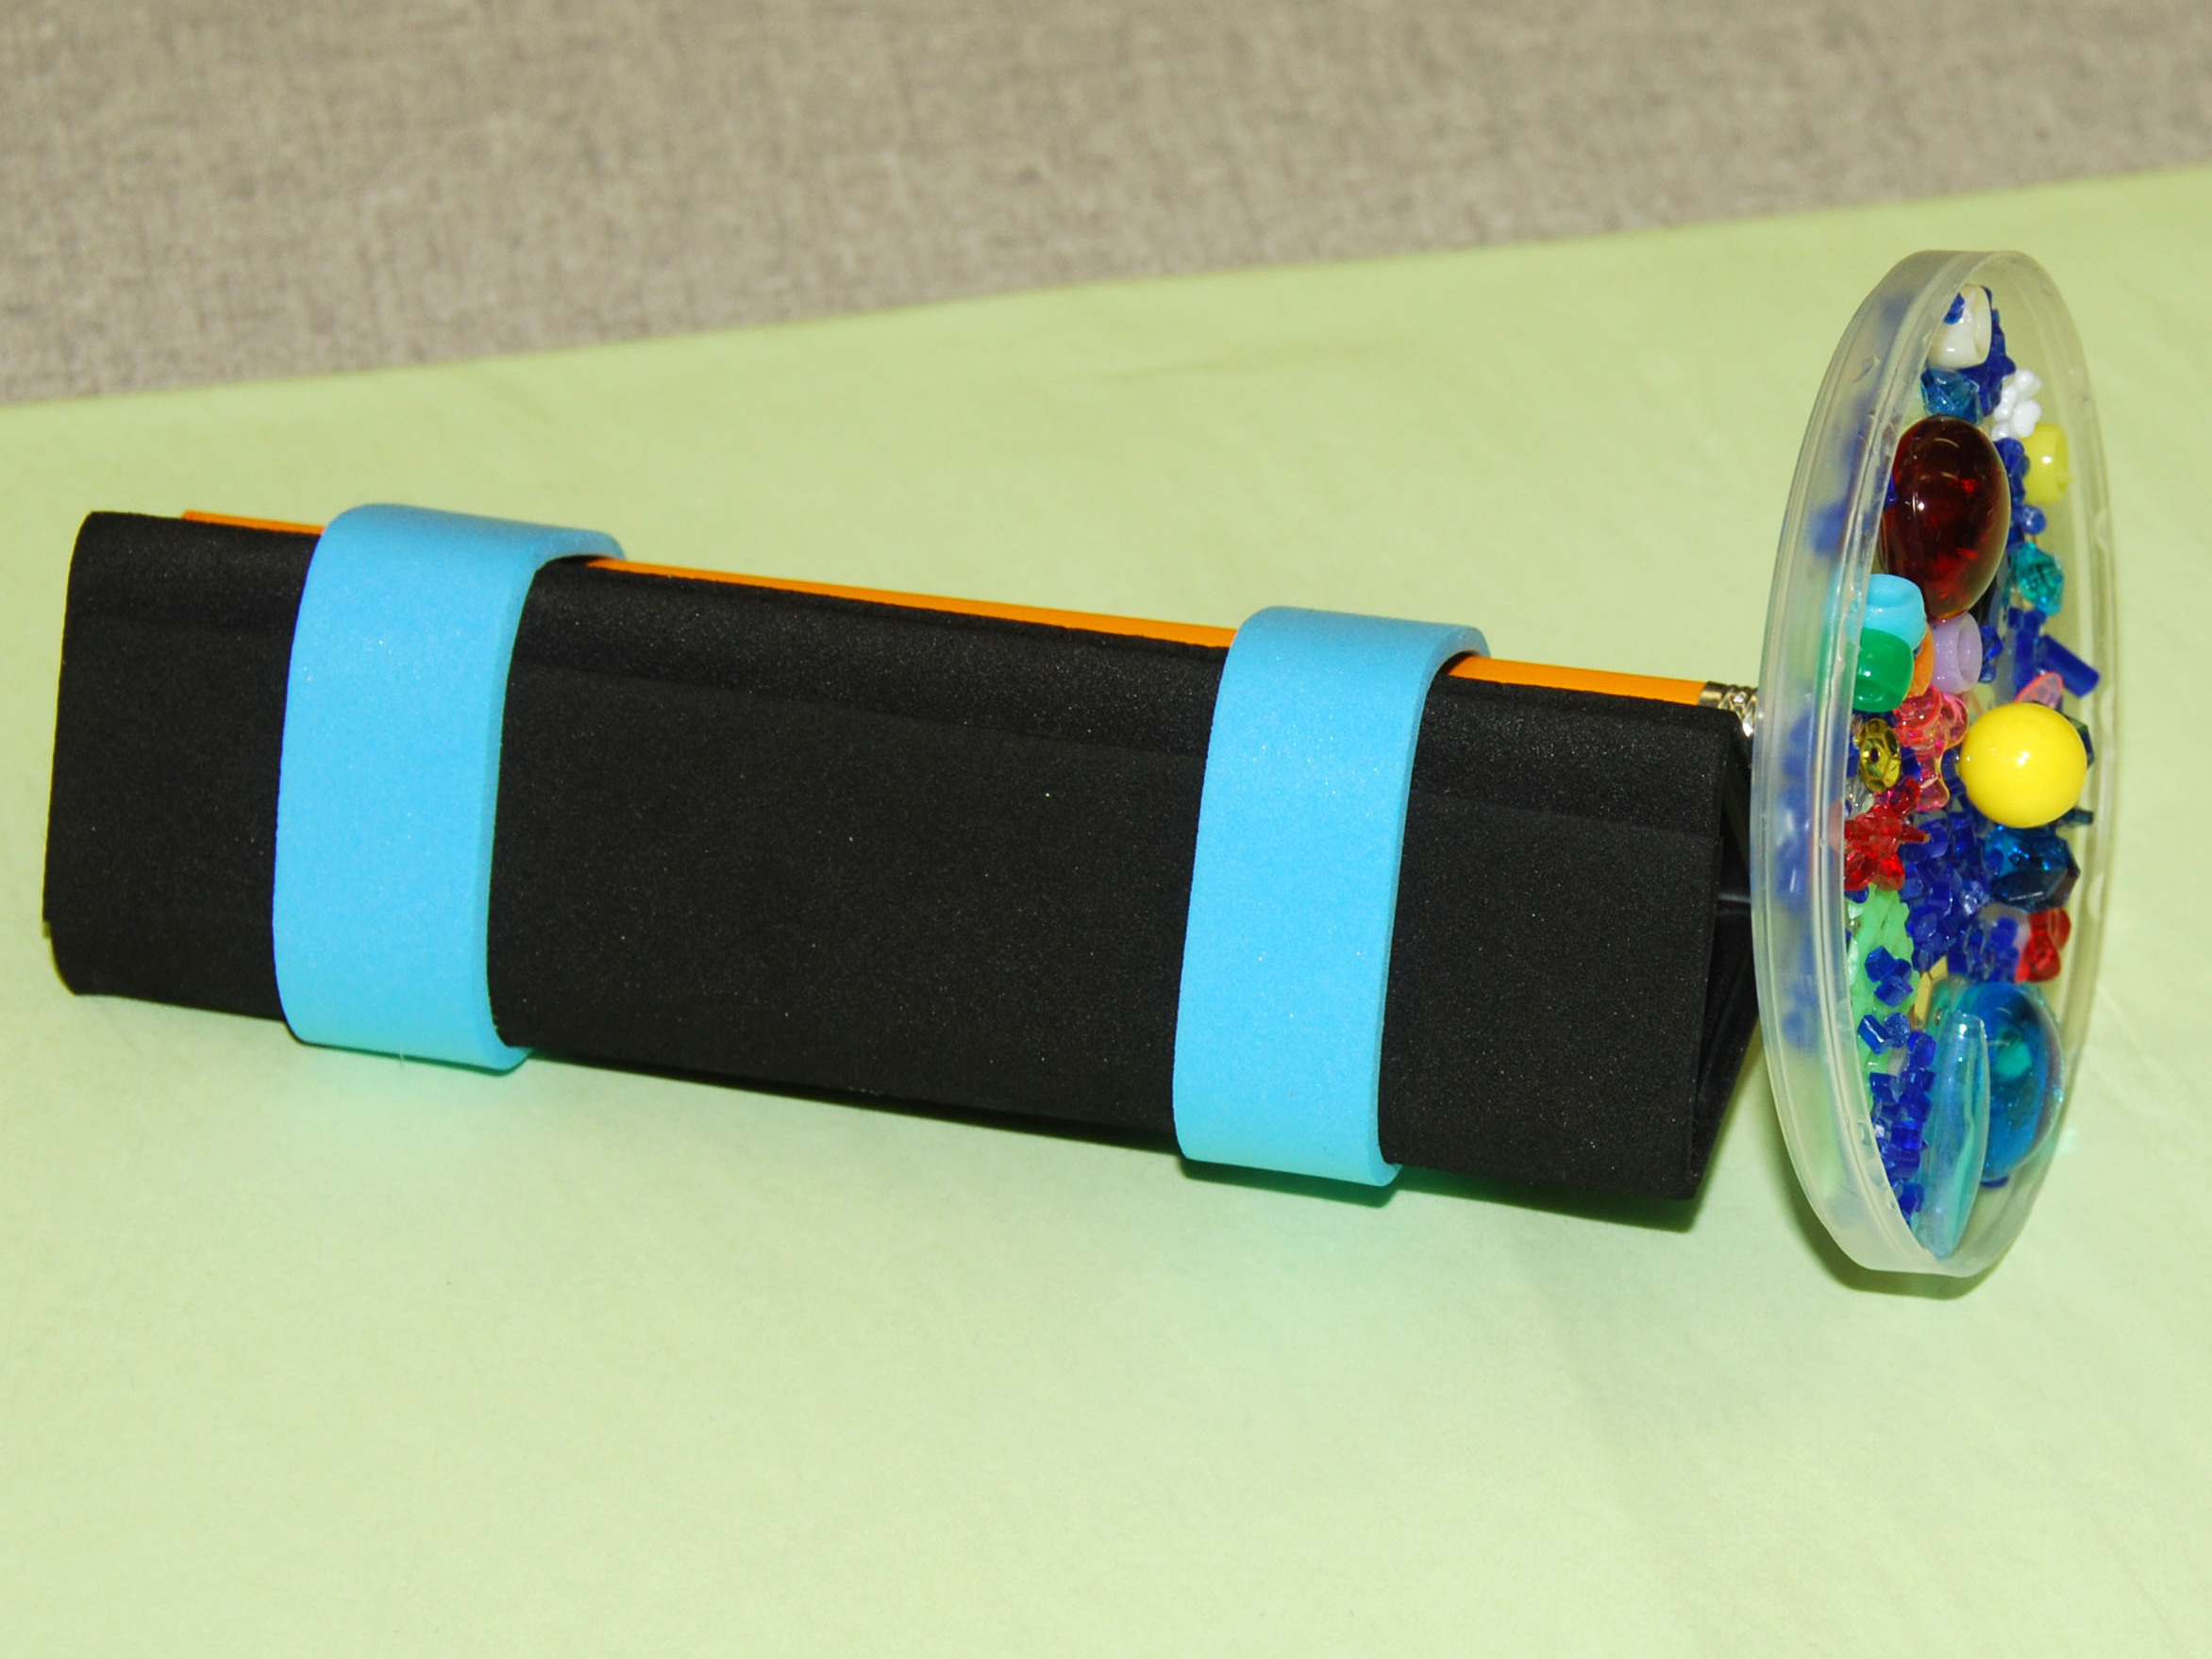
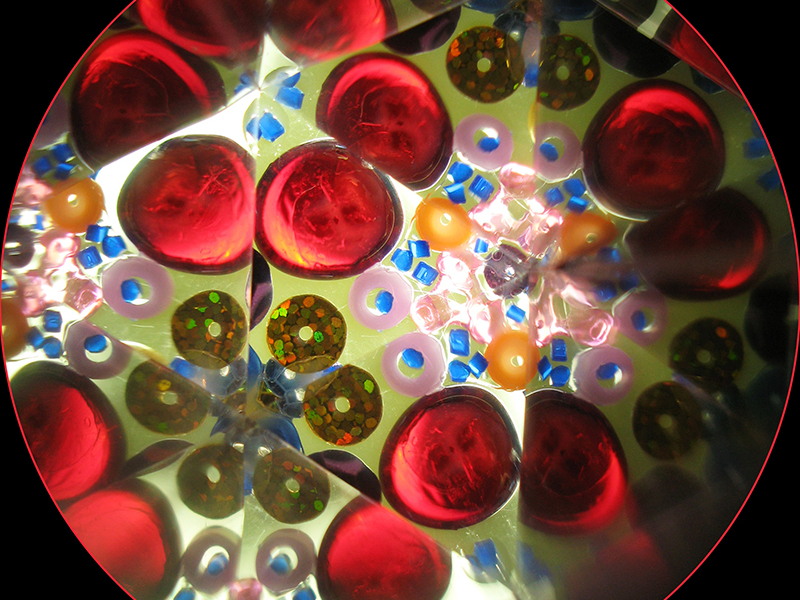
The kaleidoscope was invented in 1816 by a Scottish physicist named Sir David Brewster, and it has intrigued people of all ages ever since. Through the years, kaleidoscopes have been made of nearly every possible material. Now it’s time to take the kaleidoscope green. Here’s a simple one you can create from recycled materials and common household items. For the mirror elements, we’ll use pieces of an old “jewel box” CD case backed with black paper or neoprene.

Project Steps

Remove all the raised edges from 1 half of the CD case, to get a flat piece of plastic. It’s easy to cut the plastic, if you’re careful. Score along the inside edges of the CD case with an X-Acto knife, running it along each edge about 6–8 times. This will weaken the plastic. Then snap the ends off with your fingers.

Cut 3 strips of case plastic that are exactly the same width. My easy method was to use the width of my ruler as the mirror width, scoring along each edge and then measuring the next strip from the previous edge. Score the plastic over and over; it will become so soft that if you keep scoring you could cut through it completely. Instead, align the score lines with the edge of a table, and snap the strips apart cleanly.

Form an equilateral triangle shape (technically a prism) with the 3 strips of plastic. Use the rubber bands to hold the prism tube together, then wrap around it tightly with tape to secure it. You can remove the rubber bands after it’s taped.

Cut a piece of black paper or foam that’s the length of the triangular prism tube and wide enough to wrap around it completely, with a little overlap. Glue or tape this black backing around the tube to create the mirrors.

Measure and cut the pencil to the length of the prism tube plus enough to let the eraser hang over the edge. You can cut through the pencil with an X-Acto, a utility knife, or a small saw. Make sure the cut end is smooth.

Use electrical, cloth, or foam tape to tape the pencil tightly to the middle of one of the flat sides of the tube, running parallel along the outside.

Glue beads and treasures to the yogurt lid with craft glue. Allow the glue to dry overnight. It will dry clear, so don’t be stingy; make sure everything is glued securely.

Stick the pushpin or thumbtack through the center of the decorated lid and anchor it into the middle of the pencil eraser.

That’s it. Spin the disk and look through the tube to a beautiful image! Making this kaleidoscope unlocks the principles of how the instrument works. Learn more about all things kaleidoscopic at http://www.brewstersociety.com.

Conclusion

This project first appeared in MAKE Volume 14.

Related Posts on Make: Online:

DIY Kaleidoscope

http://blog.makezine.com/archive/2008/06...

Cat-leidoscope

http://blog.makezine.com/archive/2008/10...

Flashback: Recycled Kaleidoscope

http://blog.makezine.com/archive/2009/12...