Introduction:

In the last tutorial, we went through an introduction to building a Raspberry Pi Camera Stream and viewing a live stream from any client device.

A picture containing indoor, table, monitor, desk Description automatically generated

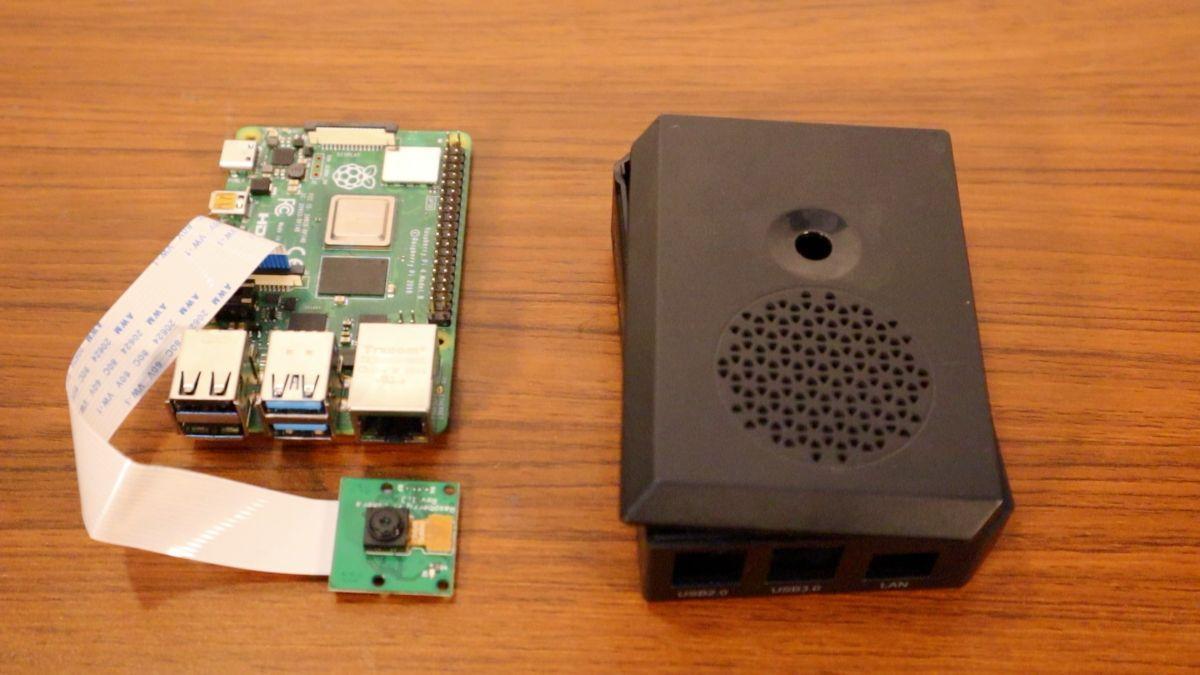
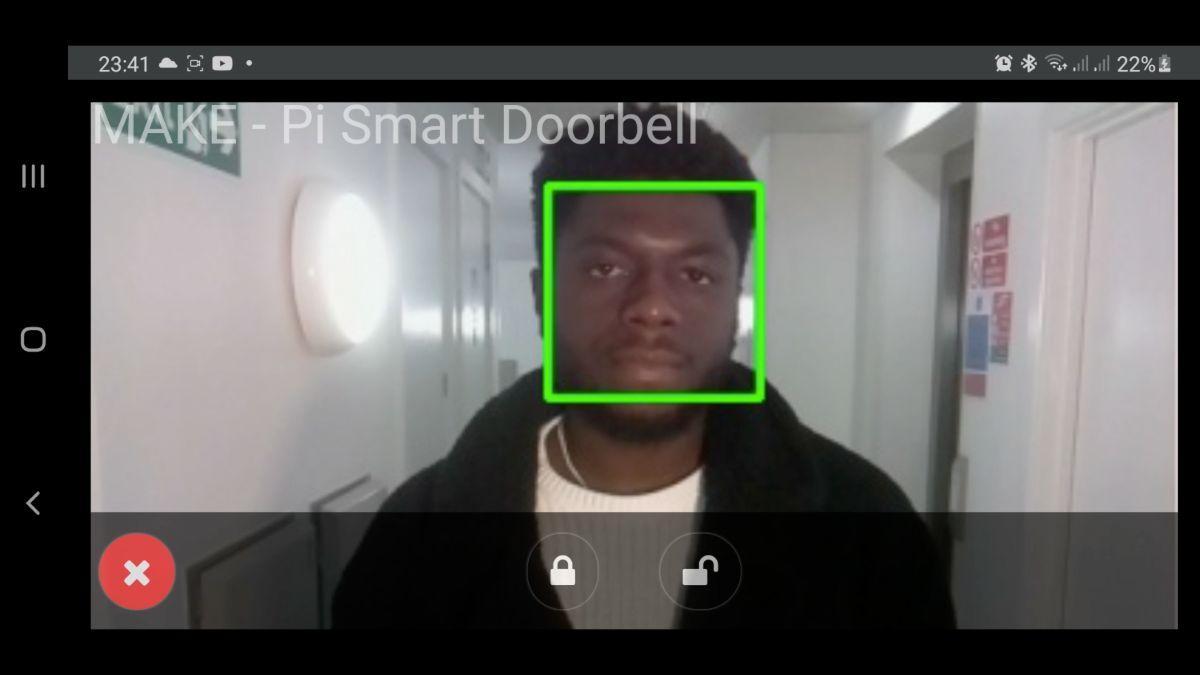
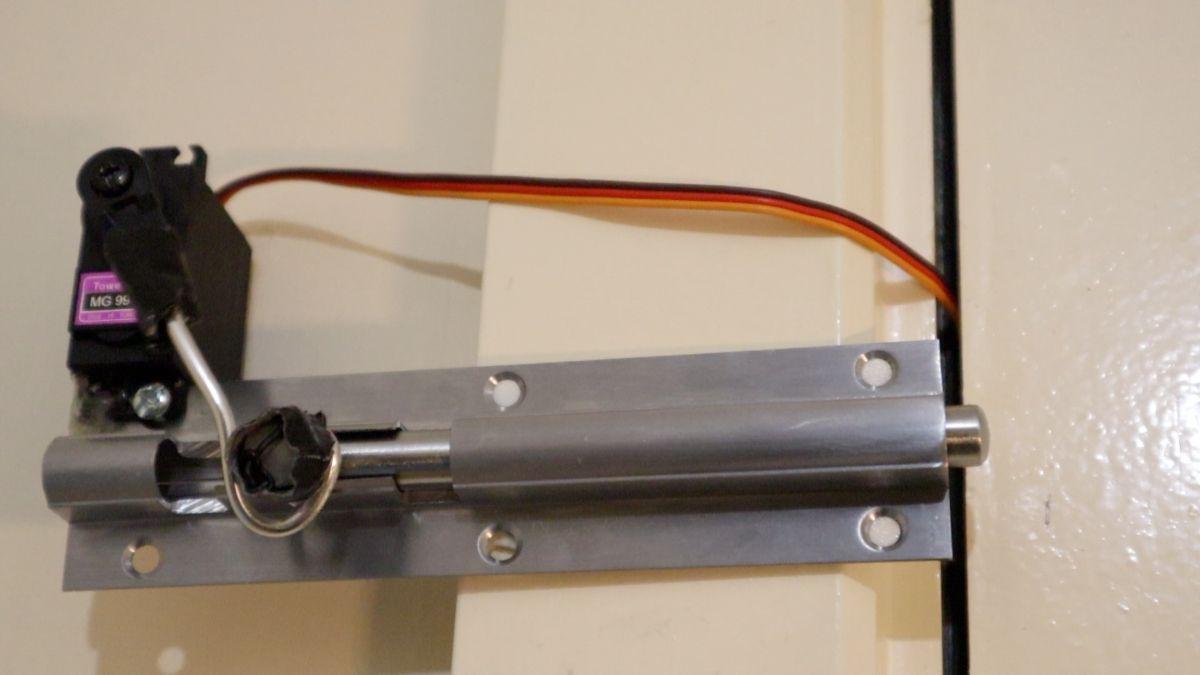
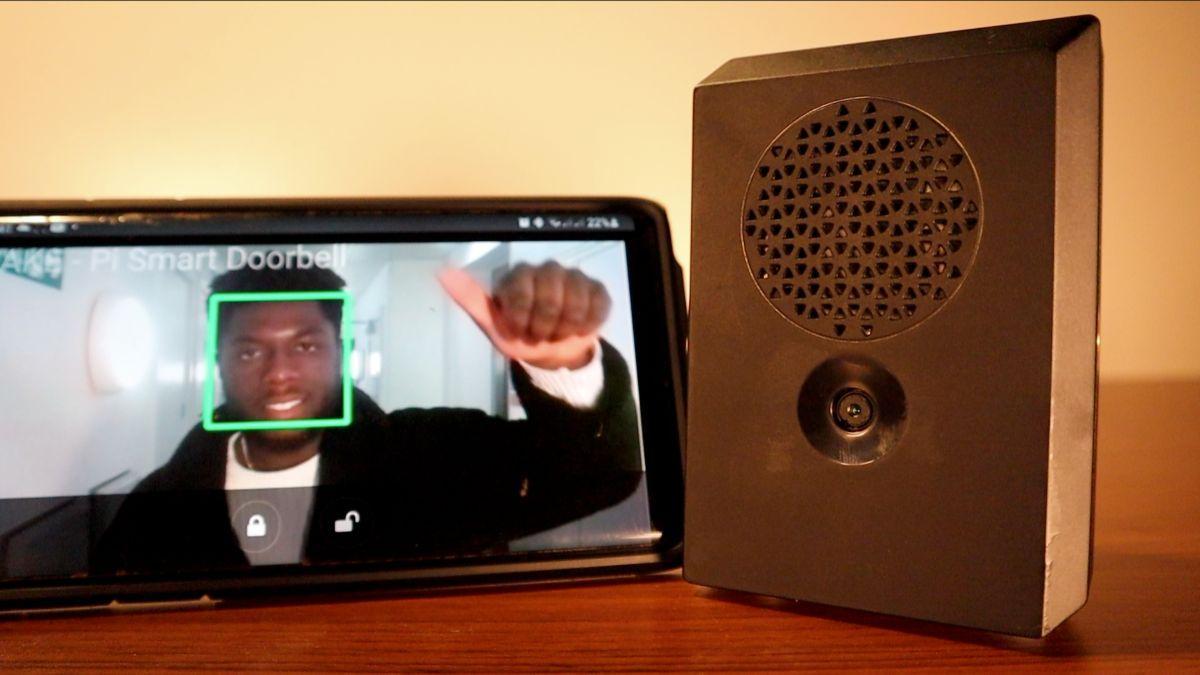
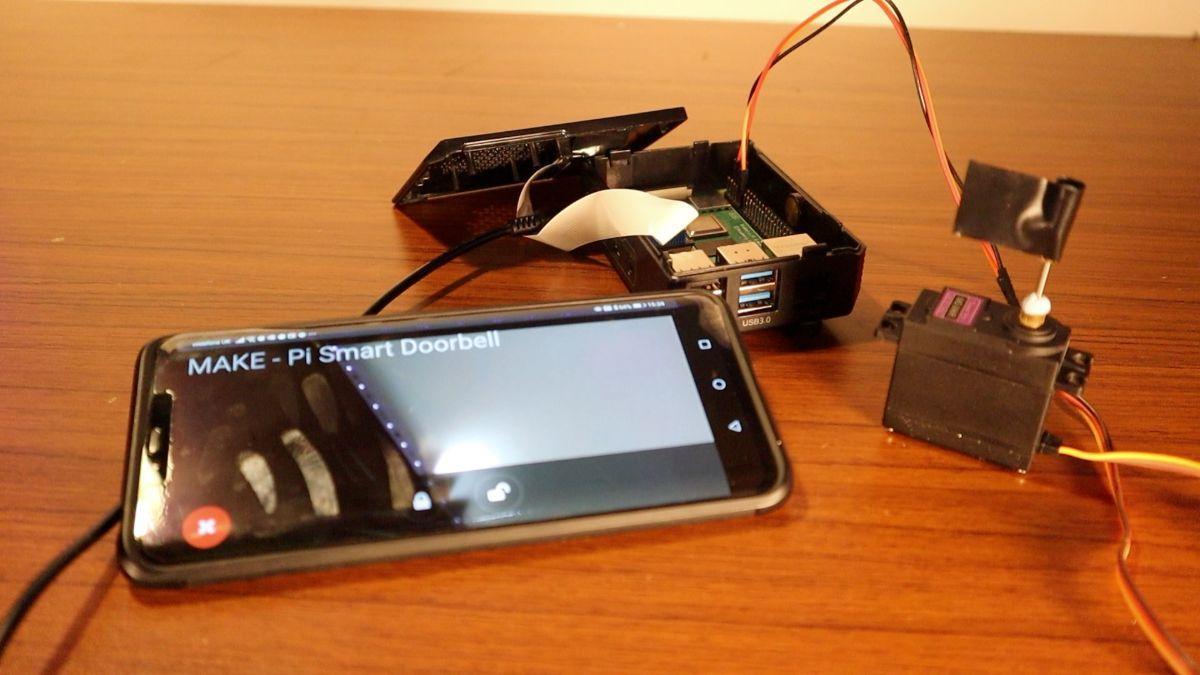
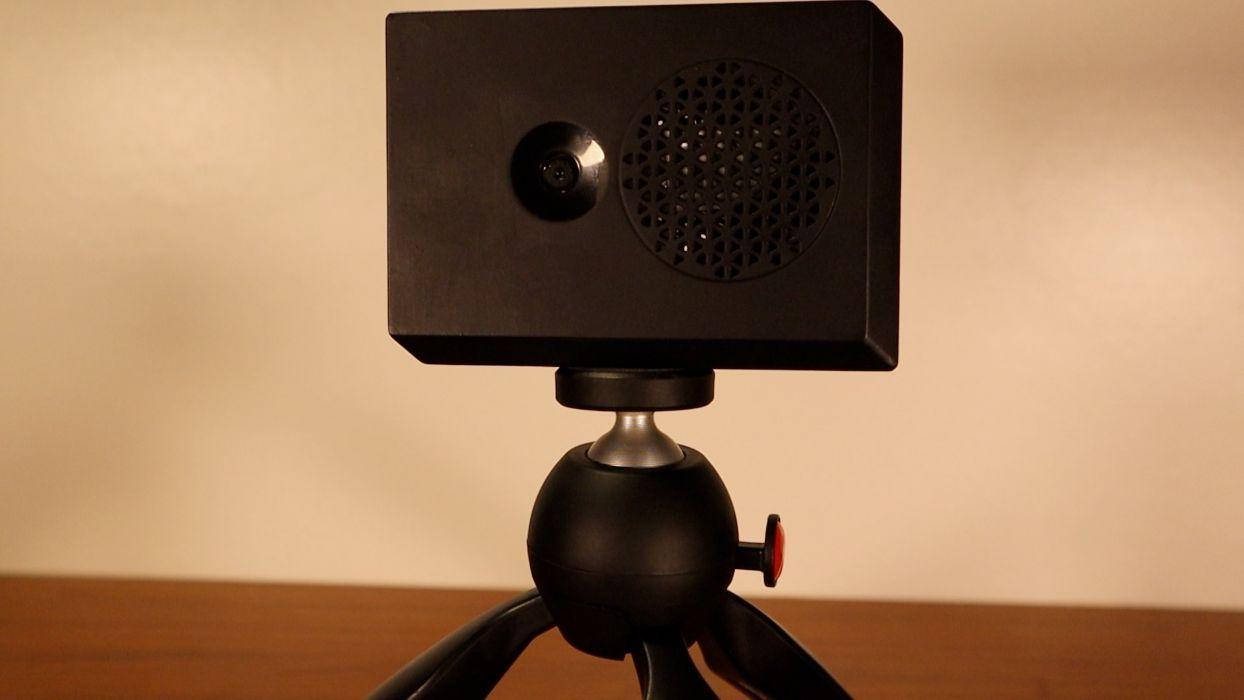
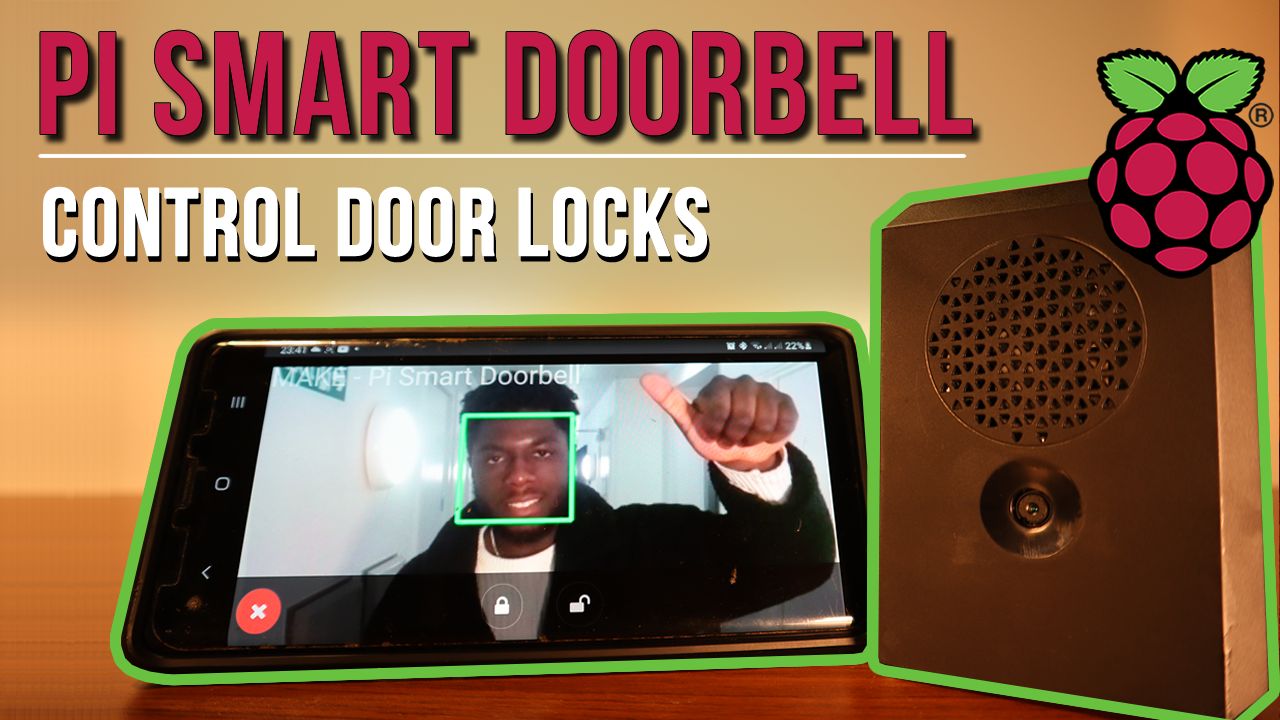
We’re taking this one step further and making our own ‘DIY Ring Doorbell,’ and we’ll name this the ‘Pi Smart Doorbell.’ The Smart Doorbell gives you the ability to view your live stream to see who’s at your front door and interact with the person via your phone (or any other client device) by unlocking/locking the door.

YouTube player

The Doorbell also features face detection, giving you the ability to be notified when you have someone at the door – Whether a friend or a parcel thief.

A picture containing monitor, indoor, electronics, photo Description automatically generated

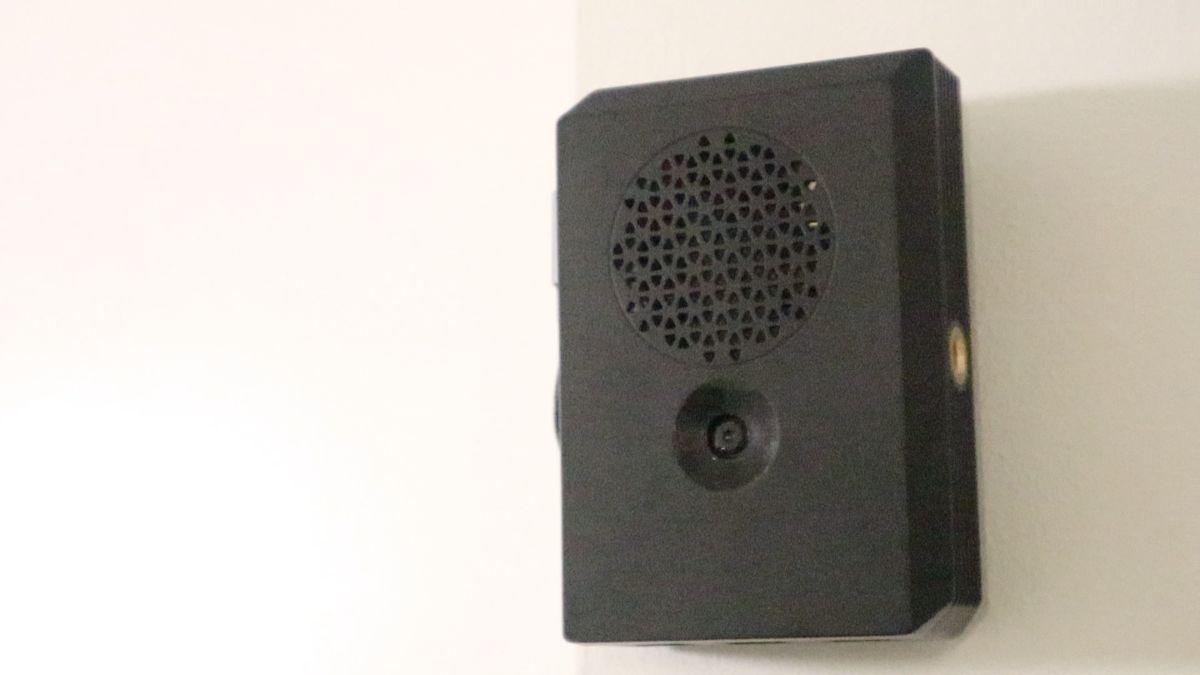
The Smart Doorbell is lightweight and has a small form factor making it ideal for installing on the wall by your door. This article aims to provide you with possible real-world ideas of a Pi Camera Stream, with the Smart Doorbell being our primary focus.

You could also just as much create your own ideas. e.g.

– Portable Go Pro Cameras

– Car Dashcam.

Pre-requisites:

Project Steps

Assembly of Pi

sembly of Pi

A picture containing table, wooden, sitting Description automatically generated

Since the Pi Smart Doorbell builds on the getting started guide of a Raspberry Pi Camera stream. We recommend you visit the post to complete the assembly of the Pi. However, here’s the overview:

  1. Download and Install the latest Raspbian OS
  2. Etch the Raspbian OS onto your SD Card
  3. Insert the Pi Camera Module Ribbon Cable into the Pi Camera port
  4. Place the Pi Camera build in a suitable case – for safety and avoiding ESD.
  5. Turn on your Pi and access via a remote session (VNC or SSH recommended)
  6. Complete the Pi Wizard Setup Guide
  7. Install the Pi Live Stream dependencies and the Git Repo.

A close up of a speaker Description automatically generated

If you stop here, you’ve pretty much completed a standalone Doorbell with a live stream.

However, the Smart Doorbell won’t be as ‘smart’ if its only functionality is viewing the live stream. We can improve the Smart Doorbell by adding an element of user interaction in the mix.

Smart Doorbell interaction provides the following functionality:

A picture containing electronics, monitor, photo, looking Description automatically generated

  1. Interact with the Smart Doorbell manually control the locks after viewing who’s at your door—giving access.
  2. Detect the face of an incoming person at your door and launch an action, e.g., unlock the door, turn on lights, play some music, etc.

So how can we interact with the camera stream client application to lock/unlock a door?

Assembly of a Pi Door Lock

A circuit board Description automatically generated

We’re essentially controlling servo motors through the Flask web application and controlling the direction and degree of rotation of the Servo Motor via the webpage.

Servo motors are ideal for applications that require a precise degree of spin. We’re using the MG996R servo motor in this project, which provides a full 180-degree spin enough to work with the lock/unlock mechanism.

Servo Wire Colour Function Pi 4 GPIO pins
Red +5V Pin 2
Brown GND Pin 6
Orange PWM Pin 11

The above shows the Servo Motor’s following wires to be attached to you Pi’s GPIO pins.

A picture containing indoor, mirror, sitting, sink Description automatically generated

Like the Raspberry Pi Camera stream, we’re capturing live footage from the camera build to create a live stream via Flask. However, where this differs is that we’re making an HTTP request via POST, which passes the desired parameters for the servo motor to rotate.

Smart Doorbell Assembly Final Build

rt Doorbell Assembly Final Build

A picture containing indoor, monitor, electronics, table Description automatically generated

The Smart Doorbell was placed in a Pi case, which was conveniently compact and featured a hole to give the lens visibility. Keep in mind, it is essential to allow you Pi with enough ventilation to avoid your pi heating up.

Install the Smart Doorbell Git Repo on your Raspberry Pi.

Note: You can also choose to use a Raspberry Pi Hi-Quality Camera Lens to improve the Doorbell’s camera quality. This may require you to make some changes to the codebase. (This has been implemented on a previous Smart CCTV Project)

Servo Motor Code Explanation:

ervo Motor Code Explanation:

A computer sitting on top of a wooden table Description automatically generated

The GPIO package provides a class to control the GPIO pins of the Raspberry Pi:

import sys

import time

import RPi.GPIO as GPIO

Define and declare the Raspberry GPIO pin as output for the servo motor at pin 11:

GPIO.setup(11, GPIO.OUT)

Initialize the servo motor PWM channel frequency at 50 Hz

servo1 = GPIO.PWM(11, 50)

Generate PWM signal

servo1.start(0)

Servo motor would rotate based on the given parameters passed through main.py

for i in range(0, int(loop)):

for dc in range(int(start), int(end), 1):

servo1.ChangeDutyCycle(2+(dc/18))

time.sleep(float(delay))

servo1.ChangeDutyCycle(0)

time.sleep(0.3)

print(dc)

Smart Doorbell Directory Structure:

Below is the following directory breakdown: You can find the full code on the Smart Doorbell Repo.

Web Page:

Templates Folder – This is where the HTML webpage would be stored to generate the Flask Web Application

Python script:

Camera.py – The script access the Pi Camera module via OpenCV, encoding the frames into JPEG for streaming.

Servo.py – This python script controls the servo motor of the door lock via PWM. (rotating Clockwise or anti-clockwise)

MaIn.py – Where the Flask stream is created – importing servo.py and camera.py

Face Detection (Example)

  • The following example provides the base template to integrate your own face detection based on the Haarcascade model. (More details on the Git Repo).

Next Steps & Other Application

Steps & Other Application

A picture containing indoor, table, desk, computer Description automatically generated

The applications of a Raspberry Pi Live stream doesn’t stop at a Smart Doorbell. You can even build your own Pi Car Dashcam streaming to a web application or even a portable Go Pro by creating your portable battery pack.

The possibilities are endless. What will you build?