


Follow the steps below to turn a foam plate into a soaring falcon!
Quick — make this fun mini-project by upcycling a foam picnic plate into a flying falcon!
Follow the steps below to turn a foam plate into a soaring falcon!
Download the full-size pattern. Print it on thick paper or cardstock and carefully cut out the two shapes, one for the wings/body and one for the tail fin. Be sure to cut out the thin slots for the tail and for the ailerons.
TIP: You can cut the parts with a hobby knife, but for extra fun, why not use your “Five Minute Foam Factory” (FMFF) hot wire cutter from Make: Volume 16. With it you can slice out multiple flying falcons from a stack of plates all at once!
If you’re cutting by hand, place the pattern on the plate and trace all around with a ballpoint pen. Trace the tail, too. Then cut out carefully with a hobby knife or scissors.
If you’re cutting with the FMFF, pin the pattern in place onto a foam plate and connect the power to the cutting wire with the alligator clips. Adjust the voltage so that the wire is just hot enough to slice the foam, but not hot enough to smoke or burn. That will minimize harmful fumes — but always cut foam outside or with plenty of ventilation! The wire slices though the foam easily as you slide it along the edge of the pattern. If you go off course, just go back and trim again. Be sure to cut the slots, too.
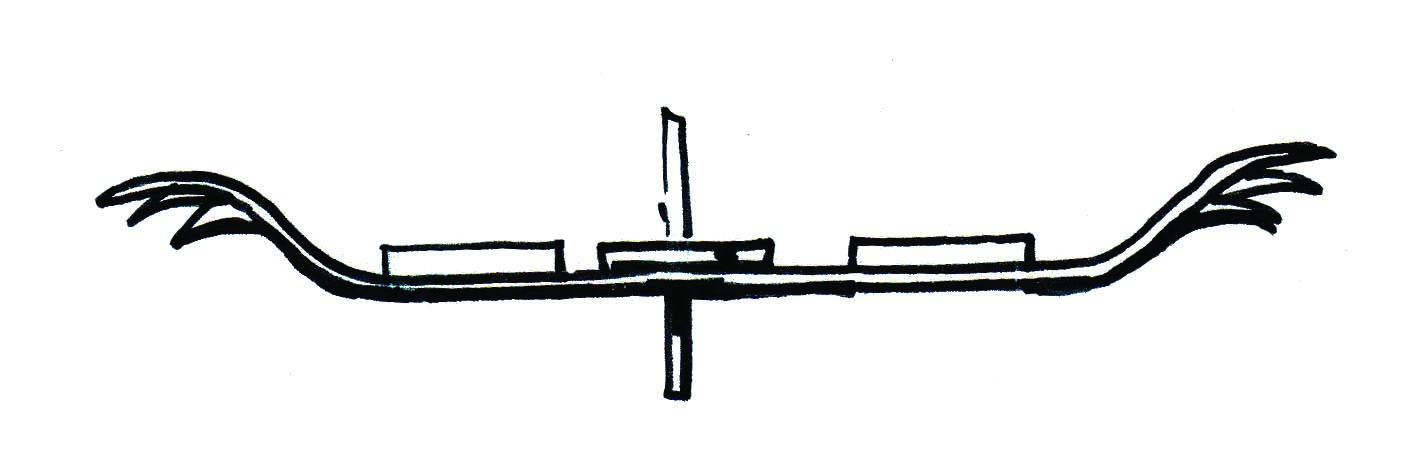
To assemble, slide the tail into the slot as shown. Add a penny with tape for a nose weight. Bend the ailerons up a bit and adjust the tail to be perpendicular. The curved shape of the plate makes a cool dihedral angle on the wingtips.
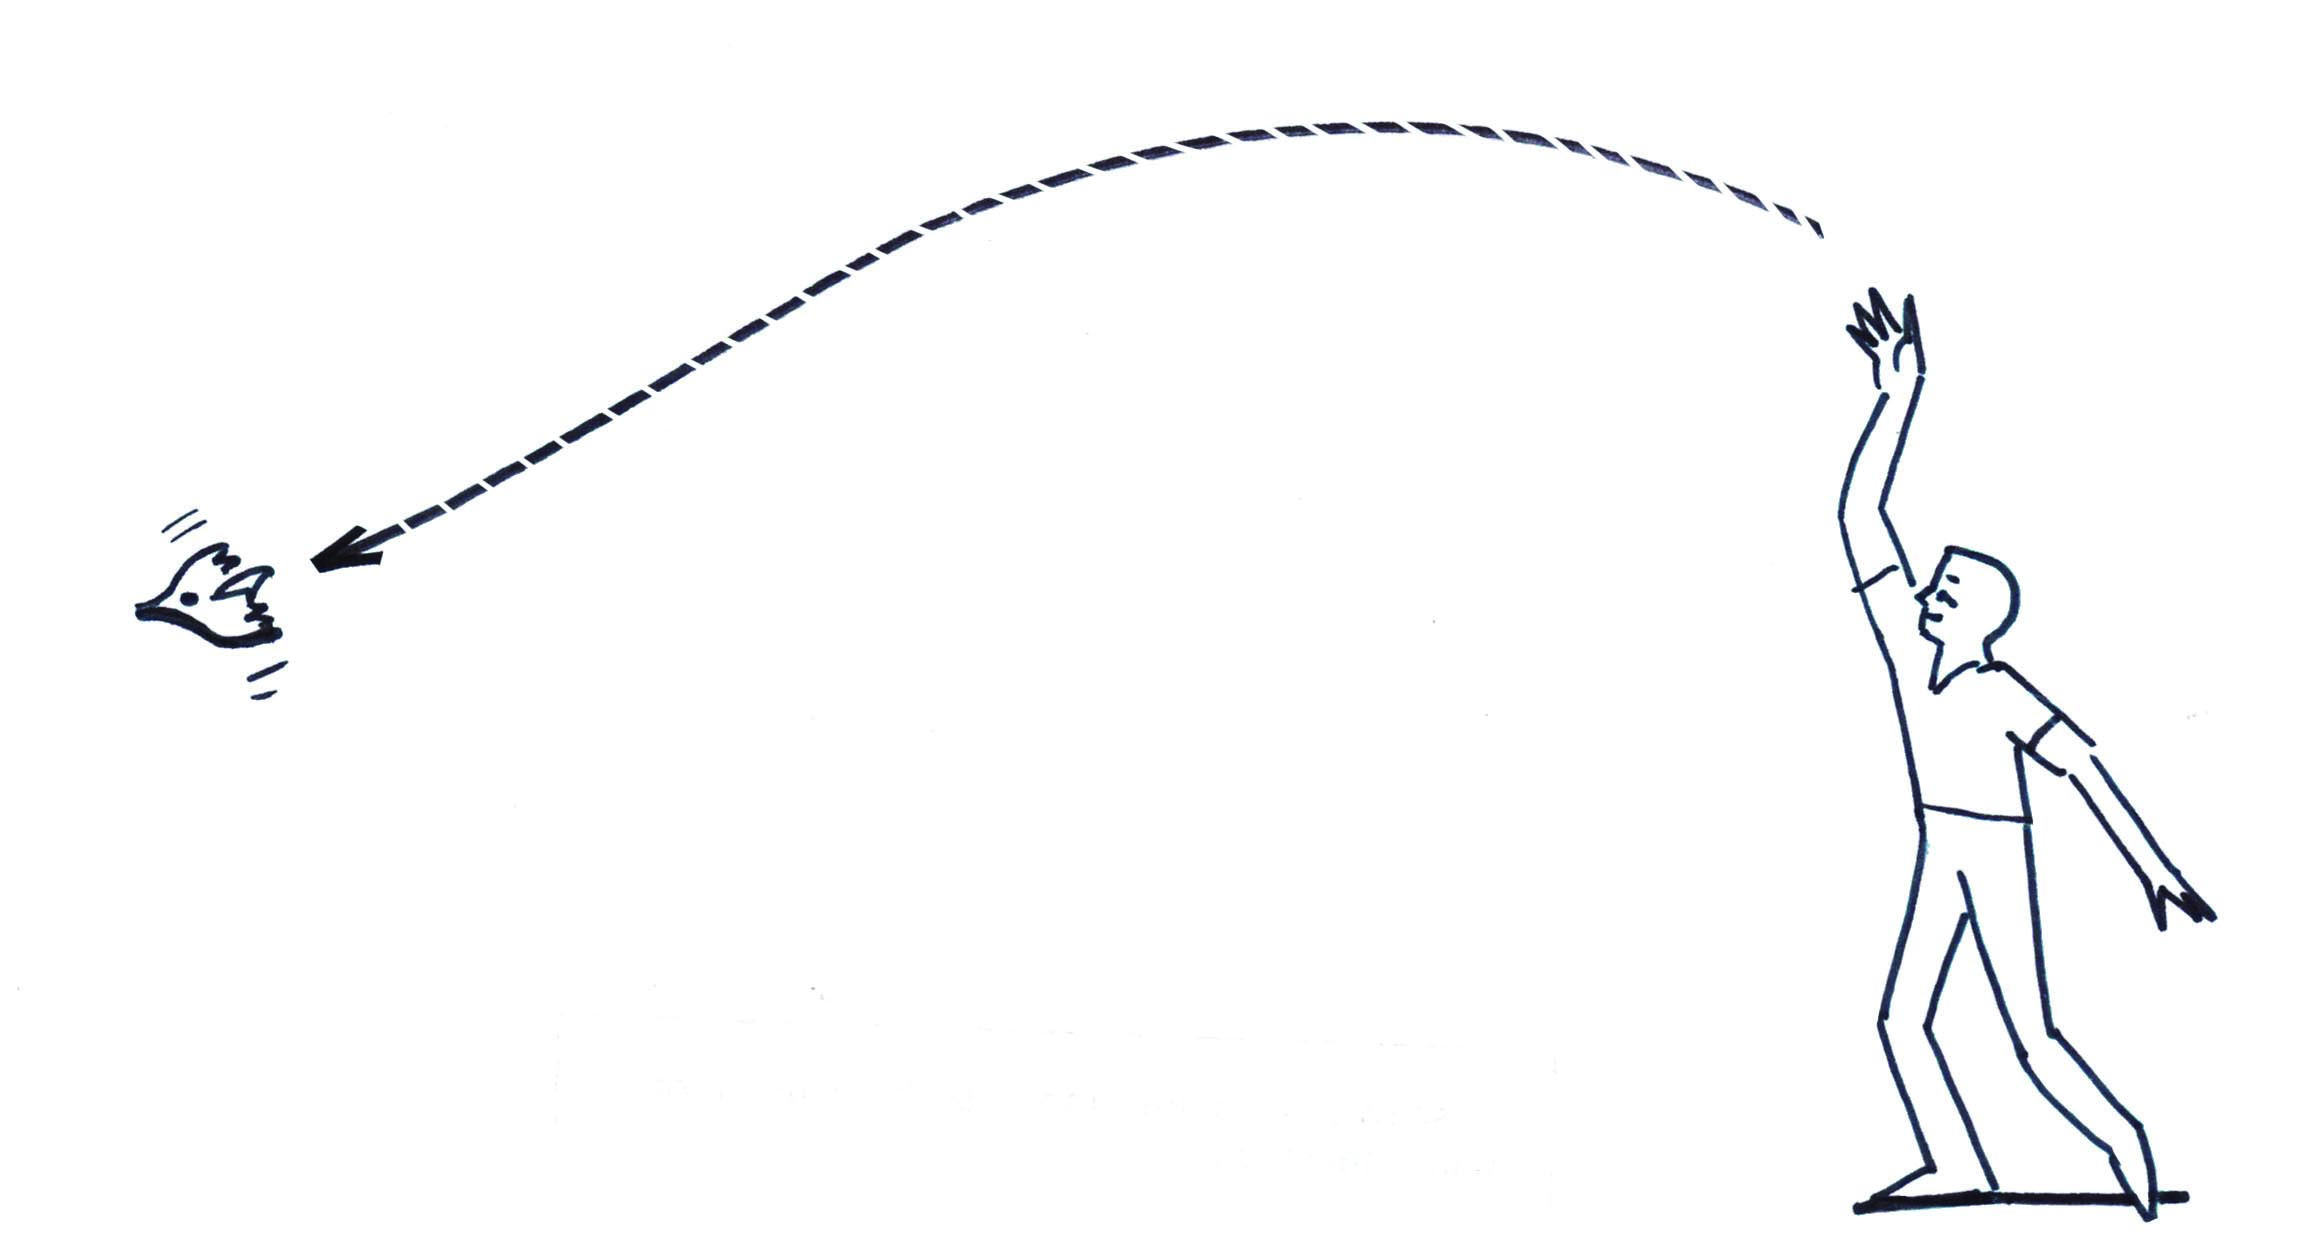
To fly, toss gently overhand from a high point. The falcon should glide down. Adjust the ailerons and position of the weight if needed. Enjoy!


