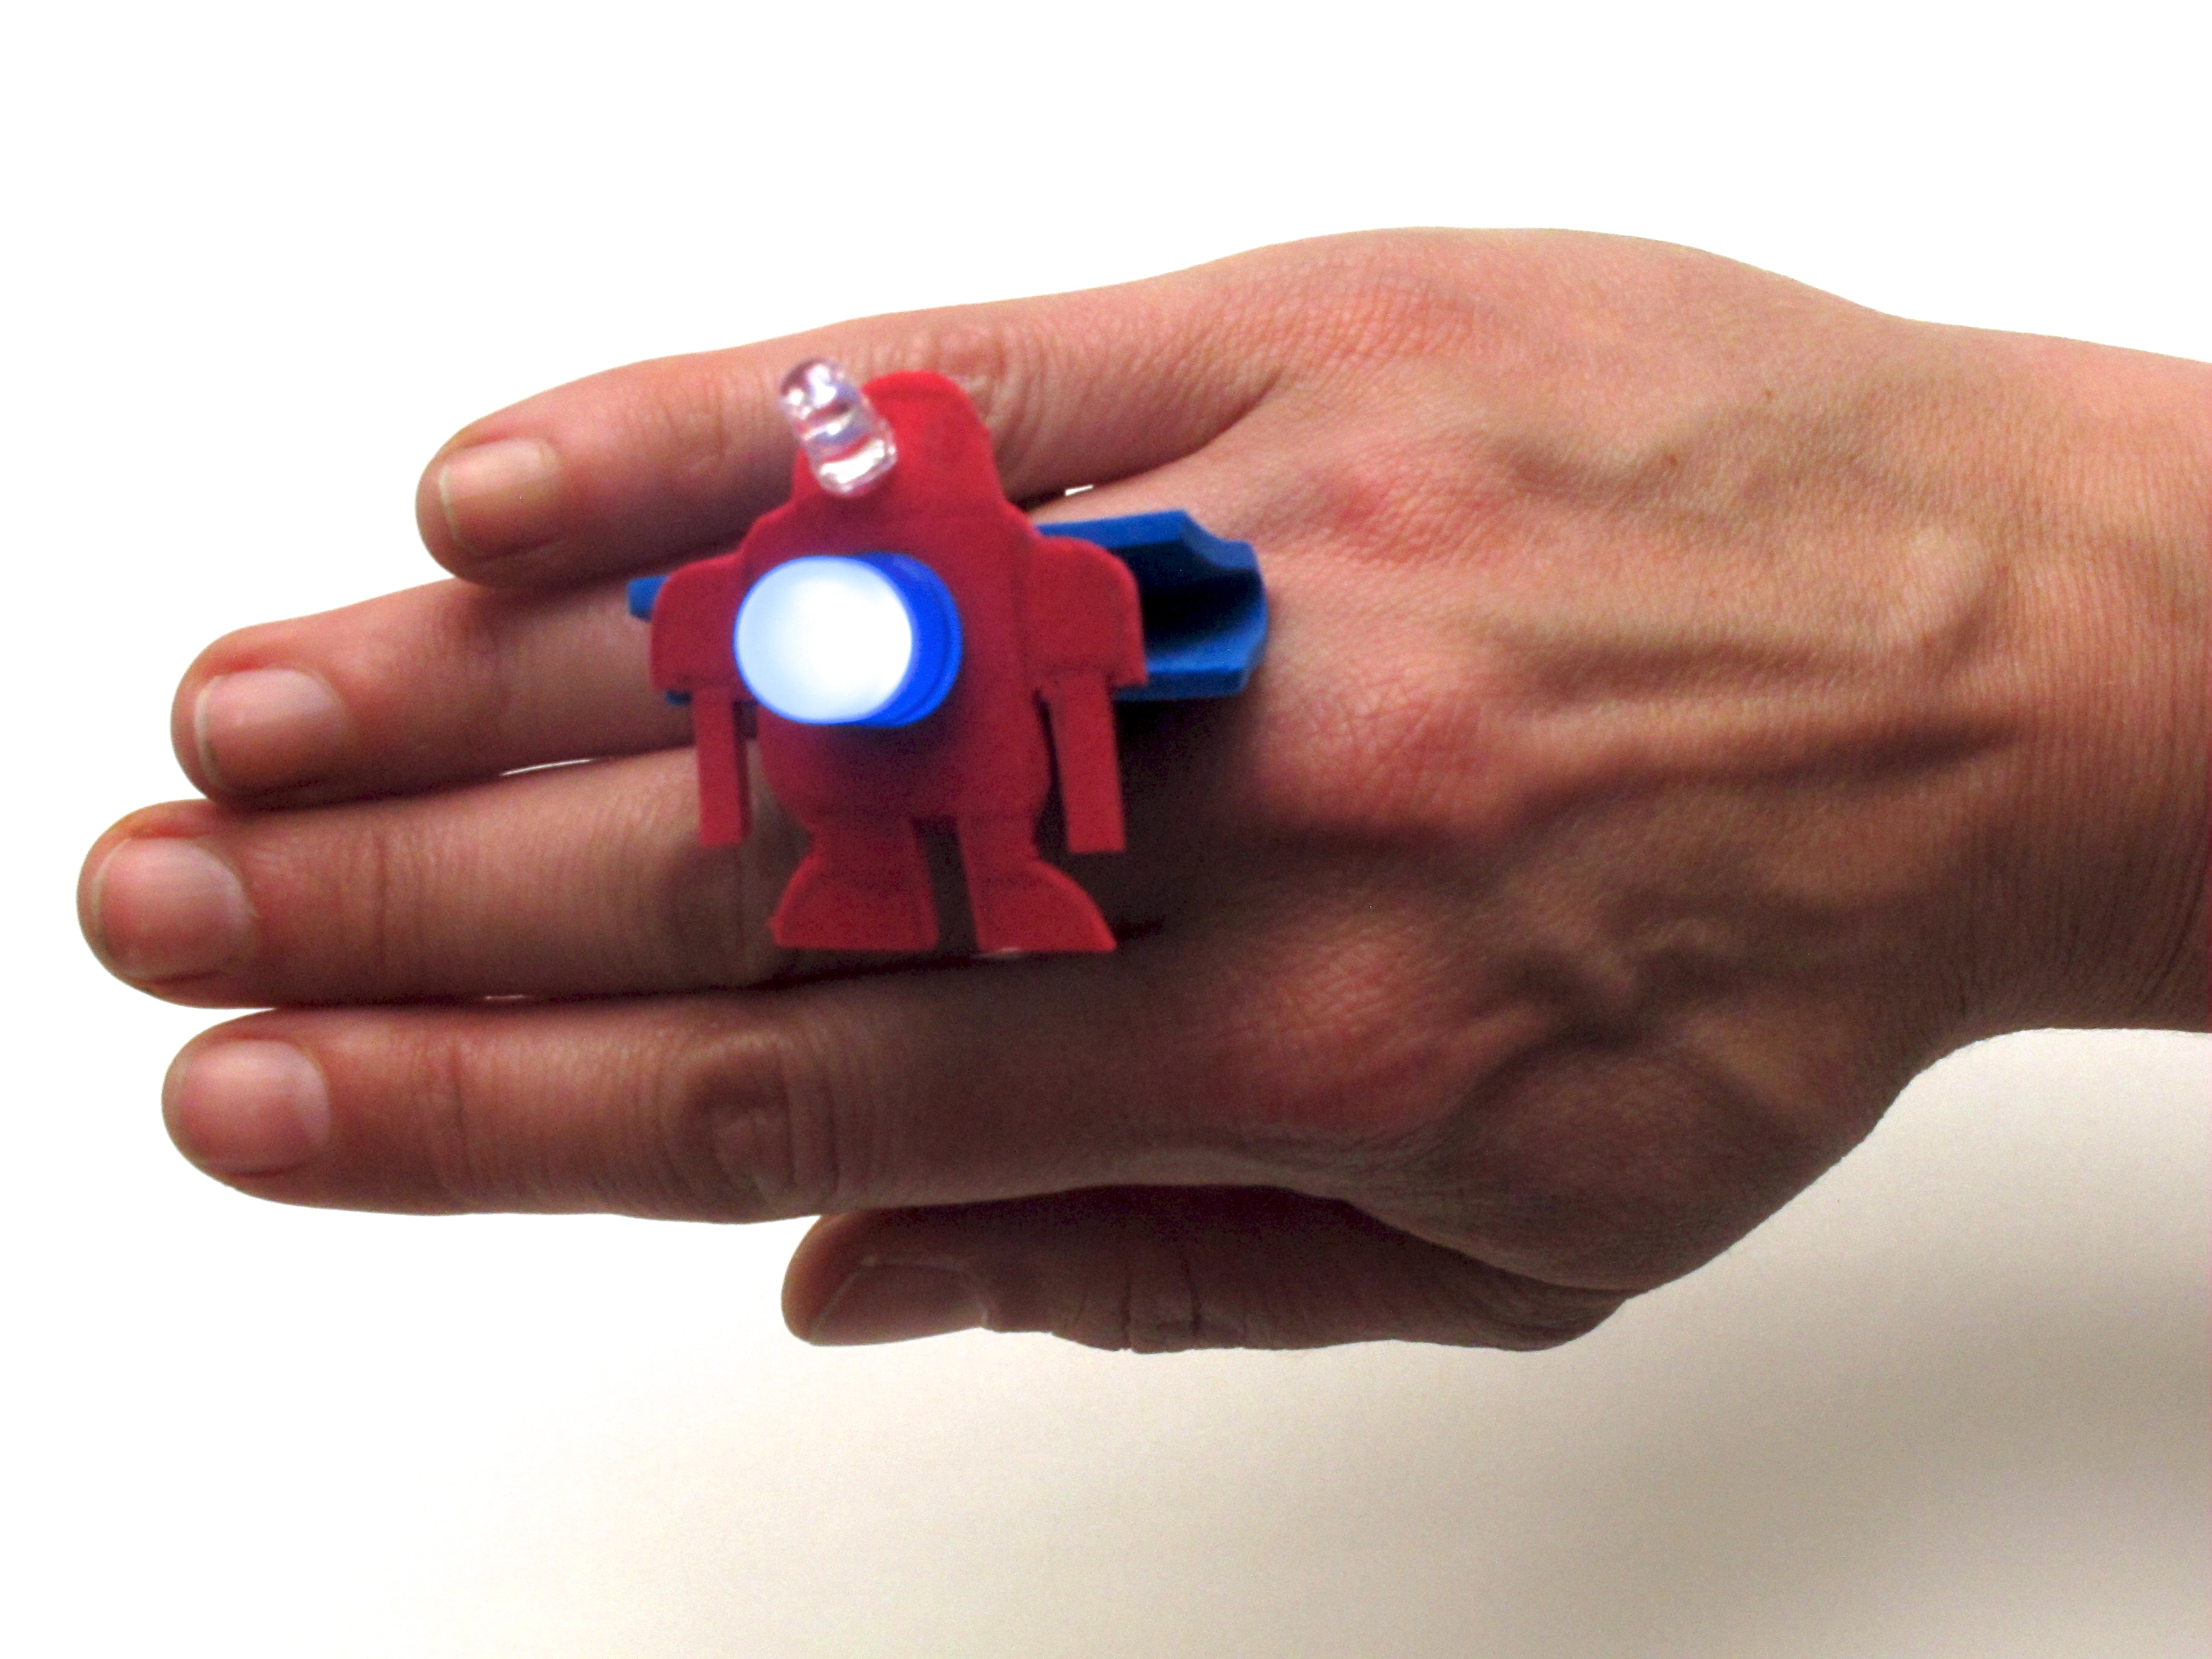
Binder Clip Bling is an update on the classic LED Throwie. By using a binder clip, you can turn off your LED bling by removing and separating your LED and battery circuit. Remember, the battery will run out long before the LED stops working!

LED binder clip bling-ring

The binder clip also provides a great way to attach your LED light to your person or your clothes. Use a chenille stem (formerly known as a pipe cleaner) to create a ring, bracelet, or light for your bag. Alternatively, glue the binder clip to a pin or barrette for a light-up wearable that’s easy to take on and off. Just make sure the binder clip’s metal wings are folded back when you glue your connector, or it will be very hard to open.

This project is based on Digital Bling, developed by The Tinkering Studio at the Exploratorium in San Francisco.

What will the next generation of Make: look like? We’re inviting you to shape the future by investing in Make:. By becoming an investor, you help decide what’s next. The future of Make: is in your hands. Learn More.

Project Steps

Make a circuit

Slide 1 to 3 LEDs onto a coin battery. The longer lead goes on the + side. No light? Flip the LED around.

Cut a foam rectangle. Make it large enough to cover the battery when folded in half.

Hold the battery, LED, and foam together with a binder

clip.

Test to make sure it works, then take it apart. Time to make it interesting.

Decorate your circuit

Cut out foam shapes to make your bling. Attach pieces together with hot glue or glue dots. Make holes for LEDs with a pencil or by folding and cutting a tiny line at the fold.

Add LEDs to your foam creation. Slide the battery back in. You may need to bend the leads a little to get it into the binder clip.

Hold everything together with a binder clip.

Add layers, add colors, and make it your own!

Attach your bling

Use a piece of chenille stem to attach your bling to your hand, clothes, backpack, or anything you like! Or glue it to a pin or barrette for an easy to attach light-up wearable.