


A long skinny ruffle felt scarf? What could be more in fashion right now? The concept for this scarf came from my love of felting, and my love of making the best of my mistakes. I knit a ton of scarves in the garter stitch on my circular needles. It’s the fastest method I know. But the first time I tried the technique, I accidentally cast on too loose and then cast off too tightly. This created uneven tension, and gave the scarf a neat ruffle. When you purposefully try it, the ruffle is even more exaggerated.
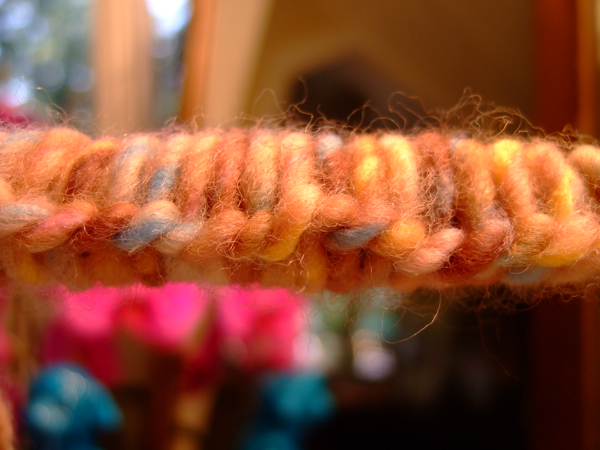
Add the amazing Landscapes yarn to the mix. Landscapes is a very cool blend of 50% pure wool and 50% acrylic. When you knit it, and then felt it, the wool felts, but the acrylic does not. That leaves these very interesting spots of color embedded in the felt. I am a very basic knitter, with only knit and perl in my repertoire. When I use a yarn like Landscapes, even with my simple stitches, I get beautiful and interesting effects.
Oh, and if you are interested, please check out my book, Feltique, for more fun felting projects!

Materials
2 skeins of Landscapes Yarn by Lion Brand
Size 15 circular needles
Crochet hook
[Not shown:]
Liquid dishwashing soap
Washer and dryer
Directions

Step 1: Cast on 200 stitches. Cast them on quite loosely.


Step 2: Knit 9 rows. Use a loose tension. The scarf will get wider and wider, and the whole thing will begin to spiral around itself. When the first skein runs out, leave about 3″ for a tail, and then just lay the yarn from the new skein on the needles and keep working. Leave about a 3″ tail on the new yarn as well.


Step 3: Cast off, but the trick is to use lots of tension when casting off. Pull each cast-off stitch as tightly as you can. The difference in tension between the loose cast on and the tight cast off is what will create the ruffle.

Step 4: Use the crochet hook to weave the tails into the scarf. Because the project will be felted, it’s not necessary to worry about how the weave in looks. Just make sure that the long ends are all buried in the scarf.


Step 5: Felt the scarf. Put it in the washing machine, with about 1 tablespoon of dishwashing detergent. Set the washer to HOT water, and then let it do its thing. Check the scarf every couple of minutes to make sure that it’s not tangled. After about 5 to 7 minutes of agitation in the hot water, remove the scarf and squeeze any leftover water and soap out. Put the scarf in the dryer, on hot, and let it dry for about 10 minutes. Every 2 minutes, pull it out and check the progress. When the rows of stitches have all disappeared into felt, it’s done!
ADVERTISEMENT


