Len Cullum is a woodworker in Seattle, where he specializes in building Japanese-style architectural elements, teaches, writes, and dreams of a robot that would sharpen his chisels. He wrote “Grit Stash,” “Japanese Toolbox,” “$30 Micro Forge,” “Salt and Pepper Well,” and more projects and skill builders.
This project appeared in Make: Vol. 97. Subscribe to Make: for more great projects.
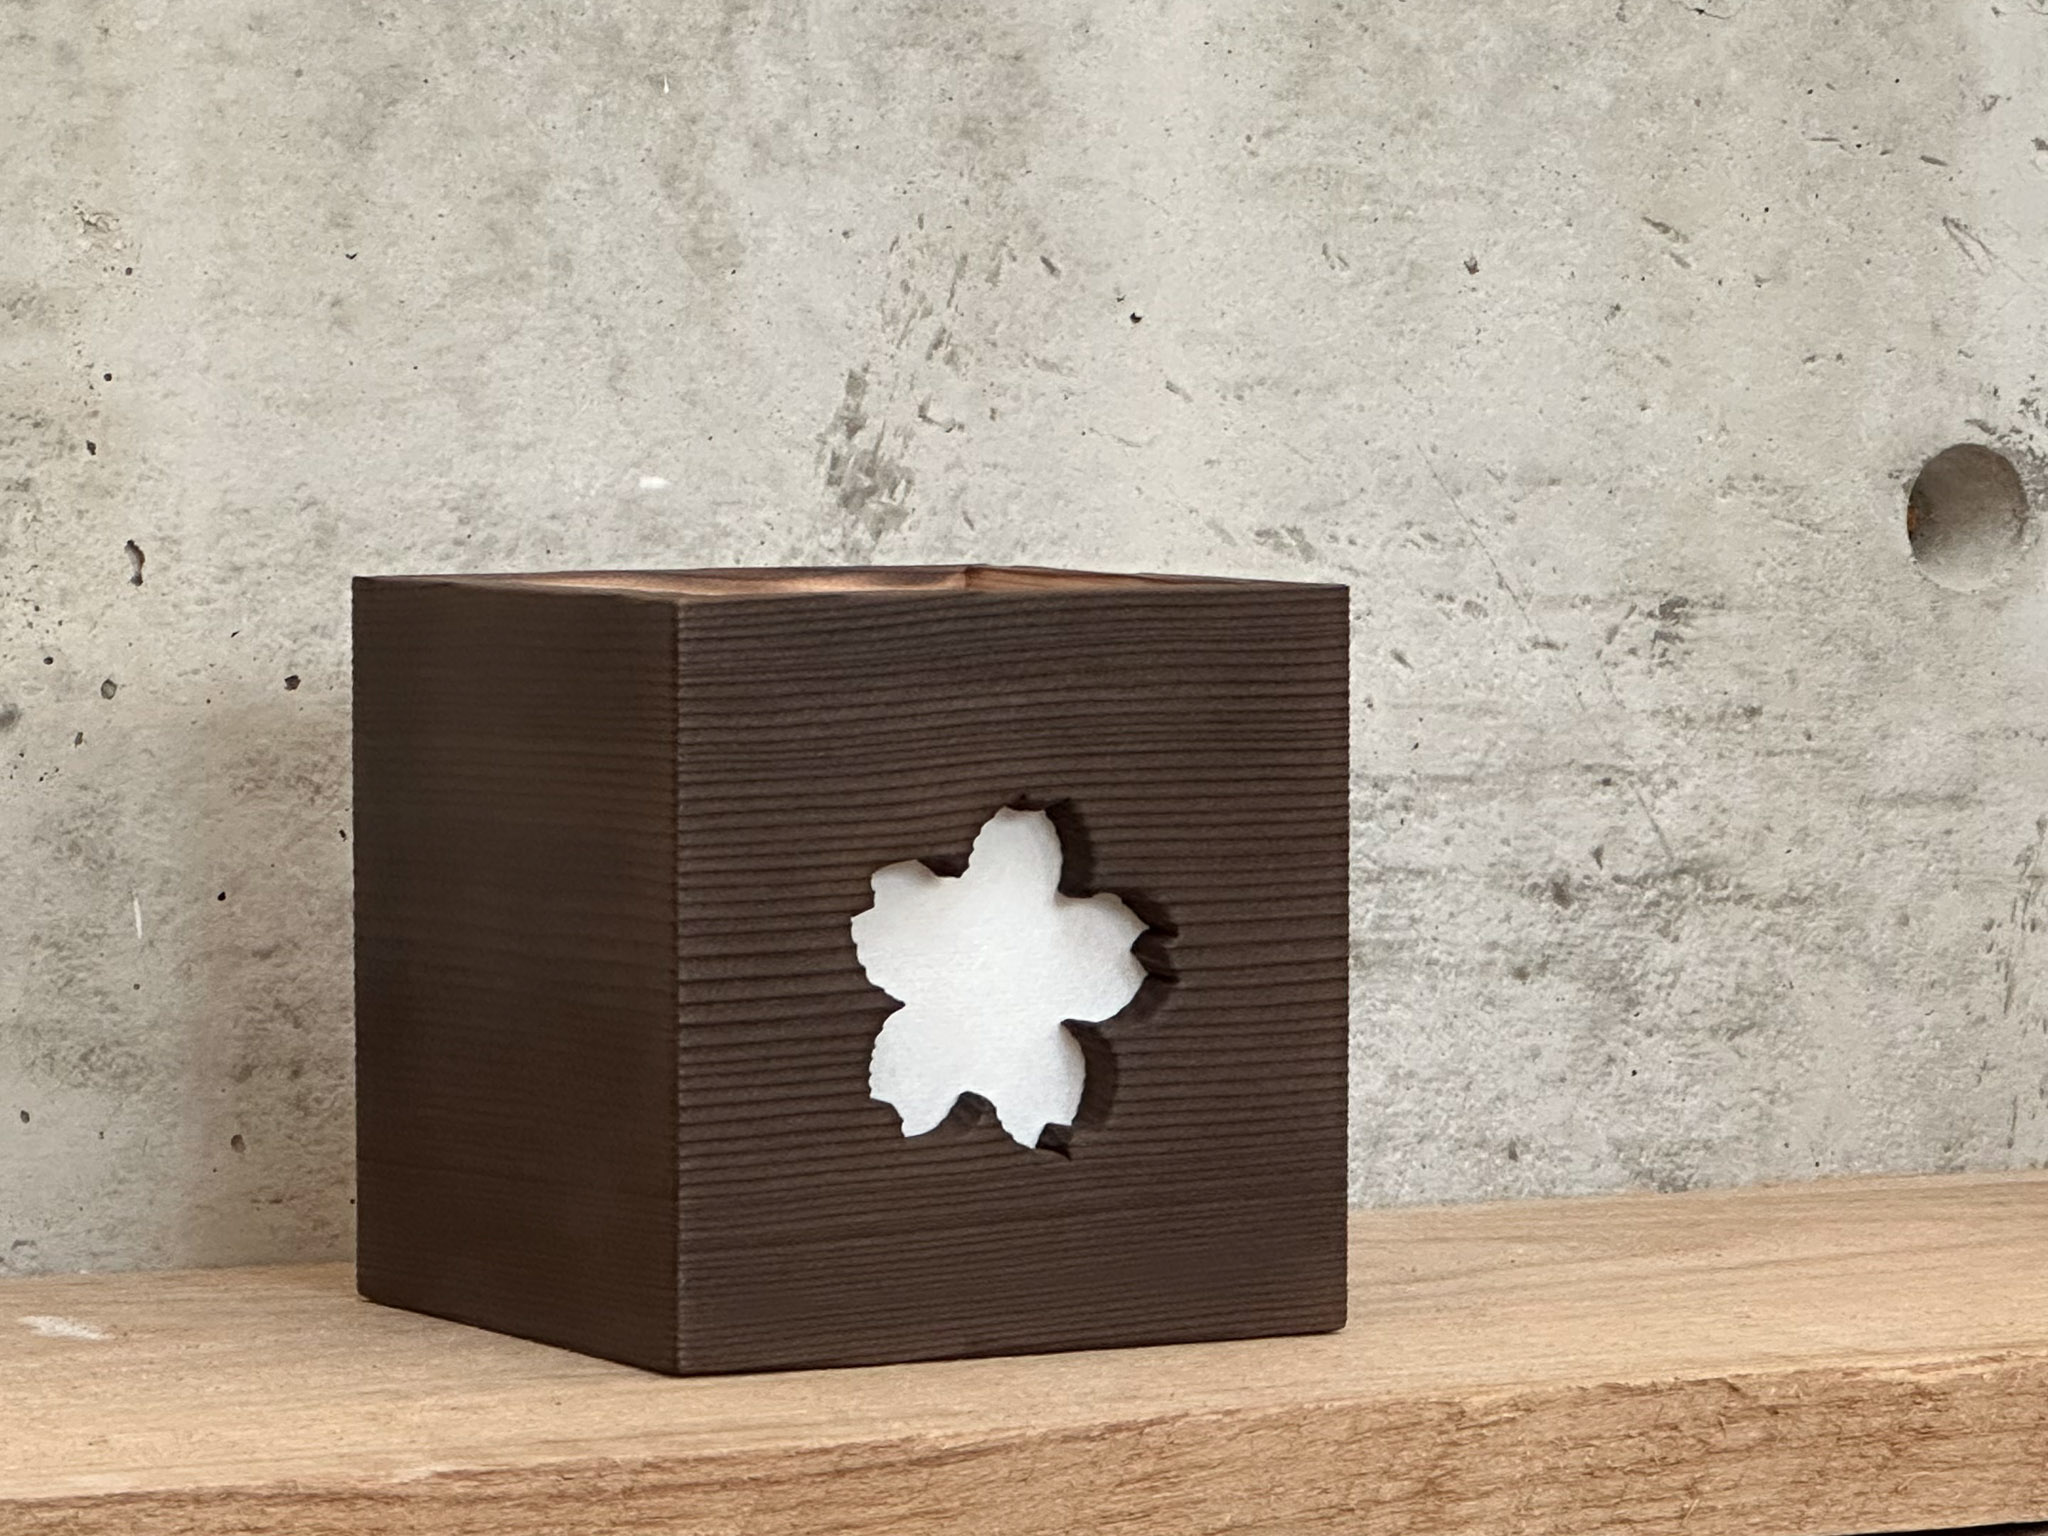
This little wall sconce is built for LED tea lights. It can also be built as a table light, with two or more panels having cutouts, but I’m going with the sconce version.
Project Steps
1. Cut
Starting with a clear, straight-grained cedar board measuring 4¼" wide by 29" long by 3/8" thick, I cut it into four 4¼" squares, and one 3¾" square. To keep the grain running in continuous lines around the corners, I number each one as I cut it.
2. Miter and Dado
Next, I take the squares to the table saw and cut 45° miters on two sides. This could all be done on the chop saw or table saw, but I used both to keep the amount of wood lost in the kerf to a minimum, helping the grain line up around the corners.
Then I cut a 3/8" wide, 1/8" deep dado, 3/16" up from the bottom of each piece.
3. Cherry Blossom Cutout
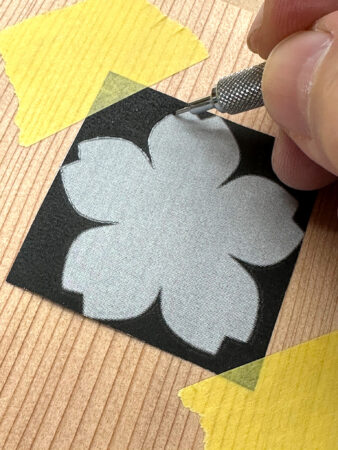
On the #2 square I’ll transfer a 2" cherry blossom motif to the face, a modified version of free clip art.
After printing out the pattern, I load up the back of the paper with graphite, tape it in place, and then trace the pattern.
Double check that the whole pattern is transferred before taking it off.
To cut out the pattern, I use a scroll saw, but it could also be cut out by hand using a coping saw.
4. Hanging Hole
Once the pattern is cut out I add a 3/8" hole to square #4 and countersink the inside, to act as a hanging hole. I’ve sized it to fit a drywall screw.
5. Assembly
To assemble the box, I add a strip of “delicate surface” painter’s tape to one edge of each piece and, working against a straightedge to keep everything aligned, lay each piece tight to the next and press it into the tape.
When all four squares are connected, fit the 3¾" bottom piece into its dado and close the sides into a box. At this point double check that your numbers are in the right order (much to my annoyance, I forgot to).
If everything looks good, open it up and add a thin line of glue along each miter, fold it back up and secure the tape. Because of the tensions that burning will place on the wood, it’s a good idea to let the glue cure overnight.
6. Torch It!
It’s time to yaki that sugi! Because torches don’t blow into tight spaces very well, I start by heating up an X-Acto blade and when it’s glowing hot, press it into the blossom corners until all of them are charred.
Time for the torch. I’ll start with the interior edges of the cutout, being very careful to put out any flames that burn after the torch is moved; if they’re allowed to burn they’ll leave small divots. Be especially careful around the thin, sharp parts, as they will burn completely away if allowed to.
After the inner edges are burned I move on to the rest of the face. I like to do the charring in two or three passes, first getting the surface dark, then bringing it to a black, shiny, blistered char. Repeat on the other sides, bottom, and top edge. Avoid the back to keep from leaving charcoal lines on the wall you hang it on.
7. Brush
When everything has a nice black sheen, it’s time to remove the char. I like to use a small fingernail brush, and a trimmed acid brush for getting into the corners and pattern. Remember that this is cedar, so it is soft and the surface is delicate. Anything too aggressive like a wire brush will cut really deep and go below the char.
A good careful rub with a cloth or paper towel to remove the last of the dust and it’s pretty much done, no finishing required.
8. Window
I cut a 3" square of Japanese paper, and using double-stick tape at the corners, affix it behind the blossom cutout.
Then all that’s left is to put an LED candle inside and hang it up. (Remember this is not designed for use with an actual burning candle.) Enjoy!
Len Cullum is a woodworker in Seattle, where he specializes in building Japanese-style architectural elements, teaches, writes, and dreams of a robot that would sharpen his chisels. He wrote “Grit Stash,” “Japanese Toolbox,” “$30 Micro Forge,” “Salt and Pepper Well,” and more projects and skill builders.